

How to Join Yarn: Seamless Techniques for Crafters
Most American knitters and crocheters know that a single weak yarn join can unravel hours of work. The quality of your joining method can mean the difference between a polished result and frustrating do-overs. With over 85 percent of crafters reporting issues from poor yarn joins, mastering these essential steps not only saves time but guarantees your handmade projects look and feel their best. Get ready to discover practical ways to achieve strong seamless joins every time.
Table of Contents
- Step 1: Gather Needed Materials for Yarn Joining
- Step 2: Prepare Yarn Ends for a Clean Join
- Step 3: Select the Best Yarn Joining Method
- Step 4: Securely Join Yarn in Your Project
- Step 5: Check Your Join for Strength and Smoothness
Quick Summary
| Key Insight | Explanation |
|---|---|
| 1. Gather essential materials | Collect matching yarn, sharp scissors, and a tapestry needle for a professional join. |
| 2. Prepare yarn ends properly | Cut yarn at a 45-degree angle and separate plies for a seamless join that is strong and flat. |
| 3. Choose the right joining method | Select a technique based on yarn type and project needs to ensure an invisible transition. |
| 4. Join yarn with precision | Maintain consistent tension and avoid knots to secure a smooth connection in your project. |
| 5. Test your join’s strength | Visually and tactically check the join for durability and smoothness after completing it. |
Step 1: Gather Needed Materials for Yarn Joining
Successful yarn joining starts with collecting the right materials and understanding their purpose. You’ll need several key items to create a seamless connection between yarn sections that looks professional and holds strong through multiple uses.
First, gather your primary materials. This includes the yarn you’ll be joining (ensuring the same weight and fiber content for consistency), sharp scissors for clean cutting, and a tapestry needle for weaving in ends. If you’re working with wool or animal fibers, you might also want a small sample of yarn preparation techniques to ensure smooth transitions. Select tools that match your specific yarn type platinum or cotton blend will require slightly different handling.
Prepare a clean workspace with good lighting. Lay out your materials systematically plastic containers or craft trays work well for organizing smaller items like stitch markers, measuring tape, and your selected joining method tools. Consider having a backup skein or extra yarn in case you need additional length or make a mistake during the joining process.
Pro Tip: Before starting your project, always check your yarn for any inconsistencies in texture or color. Subtle variations can impact the final appearance of your joined sections, so selecting uniform yarn will help create a more polished finished product.
Step 2: Prepare Yarn Ends for a Clean Join
Creating a professional looking yarn join requires careful preparation of your yarn ends. Your goal is to create a smooth transition between yarn sections that looks seamless and remains strong through multiple uses and washes.
To prepare your yarn ends, start by carefully examining your yarn joining techniques. Cut the old and new yarn sections at a 45 degree angle to create a longer surface area for weaving and blending. This angled cut helps distribute stress and prevents bulky knots. For animal fibers like wool or alpaca, gently separate the plies slightly before joining to create a more invisible connection. For smoother synthetic yarns, you might need to trim the ends more precisely to ensure a flat join.
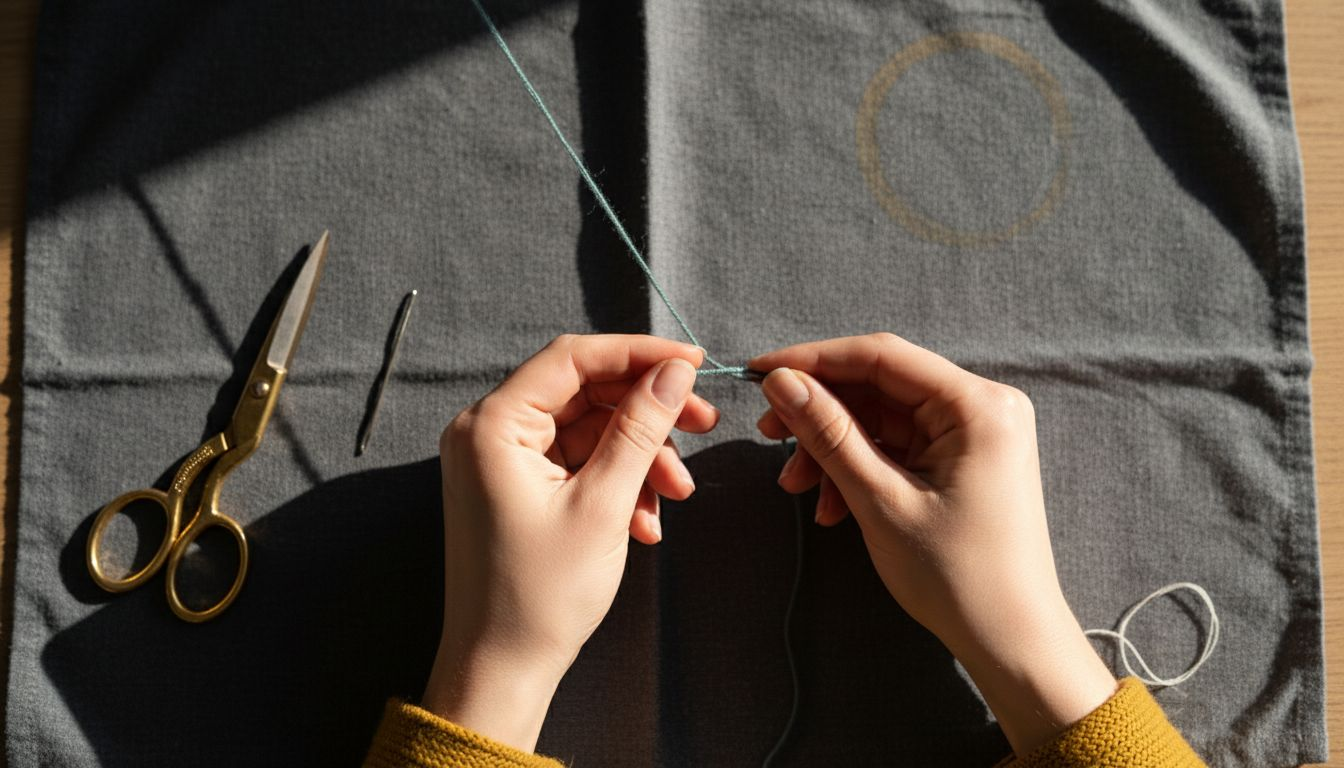
When working with different yarn types, always match fiber content and weight for the most consistent result. Unwind about 6 inches from each yarn end to give yourself enough working room. Hold the yarn ends side by side and prepare to interweave them using your preferred joining method such as the Russian join or felted join. Ensure your work surface is clean and well lit to help you maintain precision during this delicate process.
Pro Tip: Always test your yarn join on a small sample section before incorporating it into your main project. This allows you to check the strength and appearance of the join and make adjustments if needed.
Step 3: Select the Best Yarn Joining Method
Choosing the right yarn joining method can make the difference between a professional looking project and one that appears amateurish. Your goal is to select a technique that creates a smooth invisible transition between yarn sections while maintaining the structural integrity of your work.
Your yarn joining approach will depend on several key factors including fiber type texture and project requirements. Exploring different yarn joining techniques reveals multiple strategies such as the Russian join braided join and the simple overlap method. For animal fibers like wool and alpaca the felted join works exceptionally well as the fibers naturally mesh together. Synthetic yarns often require more precise techniques like the magic knot or split splice method to ensure a secure connection.
Consider your specific project needs when selecting a joining method. Delicate lace work requires a nearly invisible join while chunky sweaters can tolerate more visible connections. Evaluate factors like yarn thickness stitch pattern and intended use. Some methods work better for flat knitting while others excel in circular or textured patterns. Practice your chosen technique on scrap yarn first to perfect your approach and understand how different joining methods behave with various yarn types.
Pro Tip: Always test your yarn joining method on a small sample piece before incorporating it into your main project to ensure the join meets your aesthetic and durability standards.
Here is a quick reference comparing popular yarn joining methods and their best use cases:
| Method | Best for Fiber Type | Strength | Visibility in Finished Project |
|---|---|---|---|
| Russian Join | Acrylic, wool blends | High | Nearly invisible |
| Felted Join | Wool, animal fibers | Very high | Completely invisible |
| Magic Knot | Synthetic, cotton | Strong | Slightly noticeable |
| Split Splice | Animal, some synthetics | High | Minimally visible |
| Braided Join | Most yarn types | Moderate | Can be visible |
Step 4: Securely Join Yarn in Your Project
Successfully joining yarn requires precision technique and careful attention to your project’s specific requirements. Your goal is to create a seamless connection that maintains the structural integrity of your knitting or crocheting work.
Following recommended knitting and crocheting guidelines, focus on joining yarn at strategic points like project edges or within seam allowances. When joining mid row, carefully knit the old and new yarn together for several stitches to create a secure transition. Avoid creating knots which can create uncomfortable bulges and compromise the fabric’s durability. For animal fiber yarns like wool or alpaca, gently separate the yarn plies and interweave them to create an almost invisible connection. Synthetic yarns might require more precise techniques such as the split splice method to ensure a smooth join.
When executing your yarn join, maintain consistent tension and watch how the new yarn blends with your existing work. Hold the yarn ends together and work them into your stitches smoothly. For projects with intricate stitch patterns, you might need to practice your joining technique on a sample piece first to understand how different methods affect the overall texture and appearance of your fabric.
Pro Tip: Always leave a 6-inch tail when joining yarn to provide enough length for weaving in ends securely and preventing unraveling during wear or washing.
Step 5: Check Your Join for Strength and Smoothness
After completing your yarn join, a thorough quality check is crucial to ensure the durability and aesthetic appeal of your project. Your objective is to create a connection that looks professional and withstands the wear and tear of regular use.
Following recommended knitting and crocheting guidelines, focus on achieving a smooth seam finish with uniform tension. Carefully examine the joined section by gently stretching and manipulating the fabric to test its strength. Look for any irregularities such as unexpected bulges, tension variations, or visible transition points. Pay special attention to how the new yarn blends with the existing fabric. For animal fiber yarns, the join should appear almost invisible with the fibers smoothly intertwined. Synthetic yarns might require more careful inspection to ensure a clean transition.
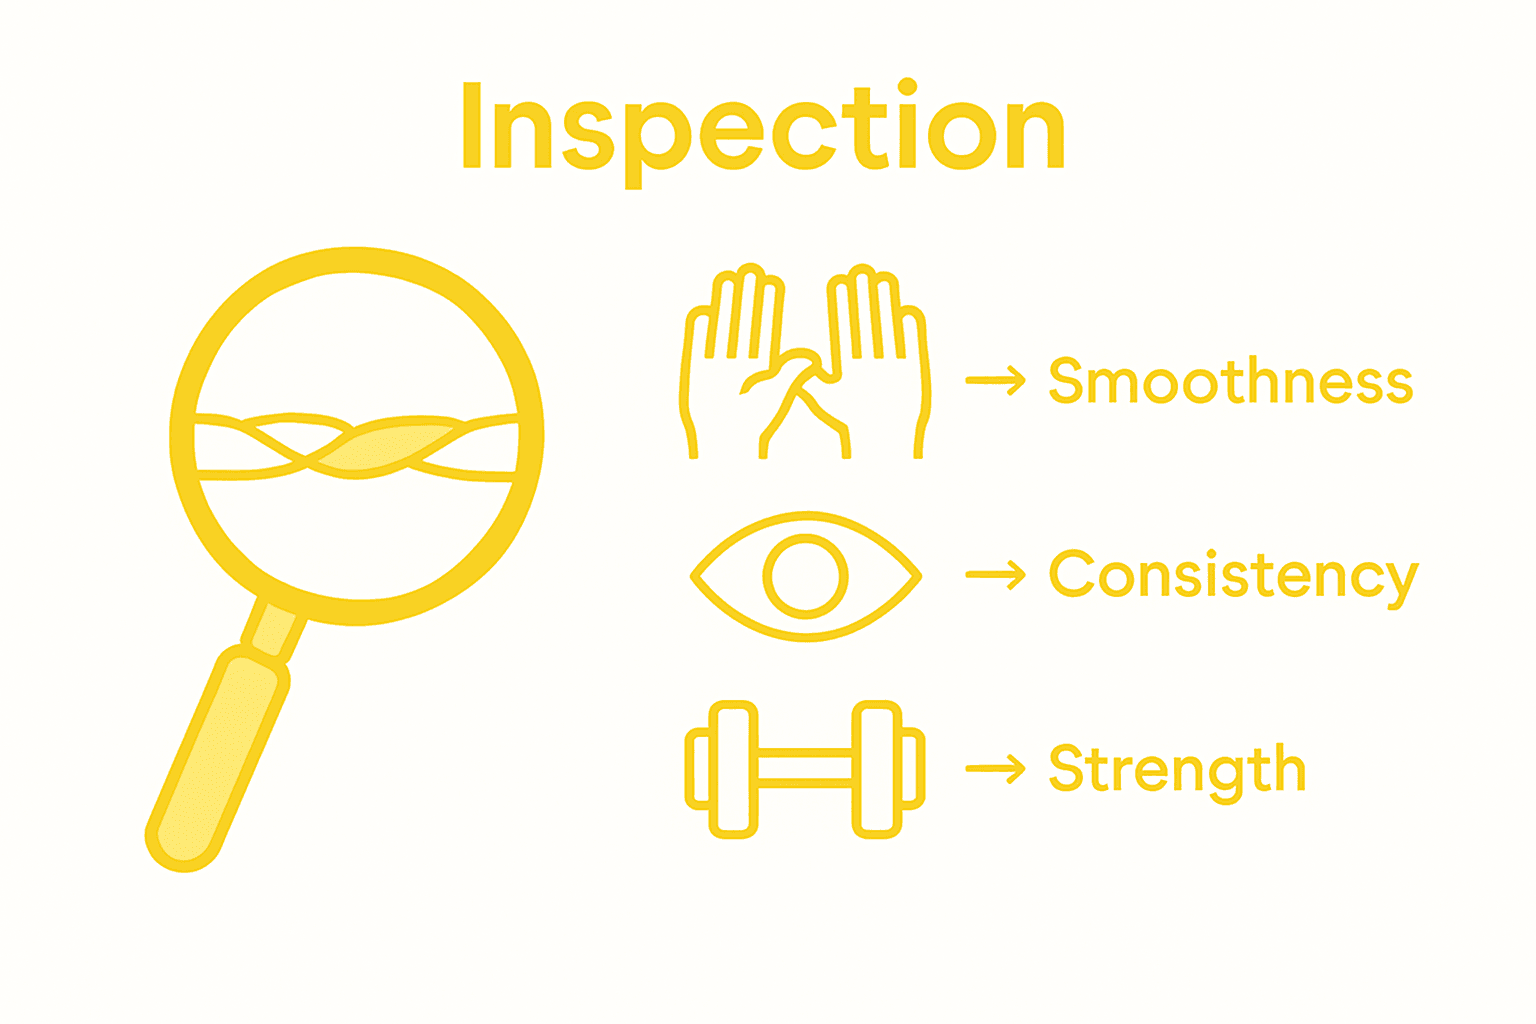
When evaluating your yarn join, use both visual and tactile assessment methods. Run your fingers along the joined section to feel for any unexpected bumps or rough spots. Hold the fabric up to good lighting to check for any inconsistencies in color or texture. If working on a garment or accessory, simulate the way the item will be used by stretching and manipulating it as you would during normal wear. This comprehensive examination helps ensure that your yarn join will maintain its integrity through multiple uses and washings.
Pro Tip: Create a small test swatch using your chosen joining method and subject it to gentle stress testing before applying the technique to your main project to identify any potential weaknesses.
Below is a summary of visual and tactile checks to ensure a strong yarn join:
| Assessment Type | What to Check For | Purpose |
|---|---|---|
| Visual | Uniform color and tension | Seamless appearance |
| Tactile | No bumps or rough transitions | Comfortable finished fabric |
| Stress Test | Join holds under stretching | Ensures durability in use |
Master Seamless Yarn Joins with Quality Tools and Supplies
Joining yarn flawlessly can be challenging when you face uneven joins or weak connections that affect your craft’s durability and look. Whether you are mastering the Russian join, felted join, or magic knot, having the right yarn with consistent texture and fiber content is key to achieving a smooth, professional finish. Our curated collection of premium, uniform yarns helps eliminate frustrating inconsistencies so your joins stay strong and nearly invisible.
.png)
Explore the perfect yarns at Yarn – CRAFTISS designed for expert joining techniques. Organize your tools and supplies effortlessly by complementing your yarn with our stylish Yarn Bags – CRAFTISS. Start your next project confidently and create durable, seamless joins by shopping now at https://craftiss.com. Take control of your craft with supplies that truly support your technique.
Frequently Asked Questions
What materials do I need to join yarn seamlessly?
To join yarn seamlessly, you’ll need yarn of the same weight and fiber content, sharp scissors for clean cutting, and a tapestry needle for weaving in ends. Gather these materials before starting to ensure a smooth process.
How do I prepare yarn ends for a clean join?
Start by cutting the old and new yarn sections at a 45-degree angle to create a longer surface area for weaving. This method helps prevent bulky knots and creates a smoother transition between yarn sections.
What is the best joining method for different yarn types?
The best yarn joining method depends on the fiber type and project requirements. For example, use a Felted Join for wool fibers and a Split Splice for synthetic yarns to ensure a secure and nearly invisible connection.
How can I ensure my yarn join is strong and smooth?
Check your yarn join by visually examining the connection and feeling for any bumps or rough spots. After joining, stretch the fabric gently to assess its strength and ensure that the join holds firm without compromising the overall appearance.
Should I test my yarn joining technique before starting my project?
Yes, always test your yarn joining technique on a small sample before incorporating it into your main project. This allows you to ensure that the method you’ve chosen meets your standards for strength and aesthetics before committing it to your work.
How do I maintain consistent tension when joining yarn?
To maintain consistent tension while joining yarn, hold the yarn ends together as you work them into your stitches smoothly. Keep an eye on how the new yarn blends with the existing fabric to avoid uneven tension or visible transitions.
