

How to Join Crochet Pieces for a Seamless Finish
Over 60 percent of American crafters say that neat seams are what set professional crochet projects apart from amateur ones. The method you choose to join your crochet pieces can dramatically affect both the appearance and durability of your final creation. Mastering this essential step not only gives your handmade works a clean, cohesive look but also helps them stand the test of time.
Table of Contents
- Step 1: Choose the Best Joining Method
- Step 2: Prepare Crochet Pieces for Assembly
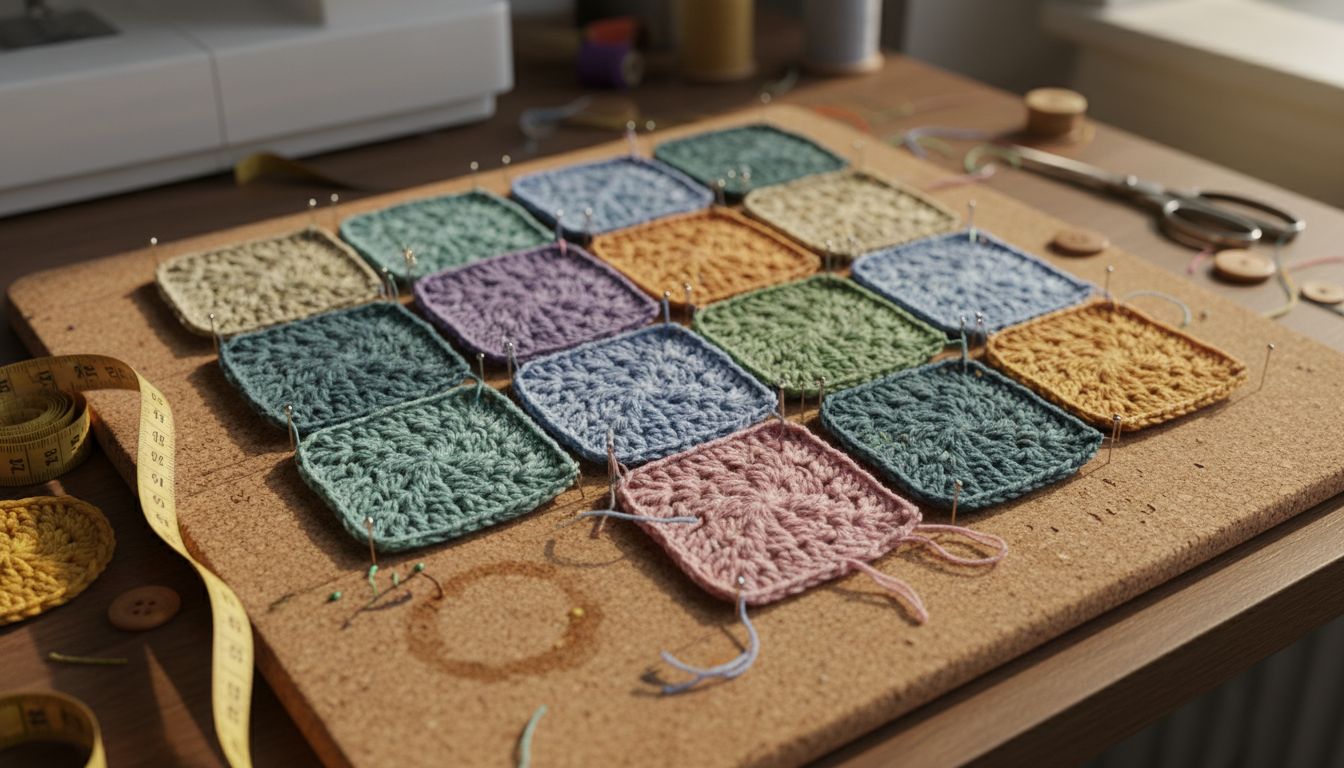
- Step 3: Align and Pin Pieces Securely
- Step 4: Stitch Pieces Together Neatly
- Step 5: Secure and Weave in Loose Ends
- Step 6: Check for Seam Quality and Consistency
Quick Summary
| Key Point | Explanation |
|---|---|
| 1. Choose the Right Joining Method | Select a joining method for neat, professional seams; options include slip stitch, single crochet join, whip stitch, and mattress stitch. |
| 2. Block Your Crochet Pieces First | Properly block pieces to ensure uniform edges and shapes, preventing distortion during the joining process. |
| 3. Align and Pin Pieces Accurately | Carefully pin your pieces to maintain tension and shape, starting with corner points and working outward. |
| 4. Use Matching Yarn for Joining | Always use the same weight yarn for joining as in your project to maintain consistent tension across seams. |
| 5. Assess Seam Quality Before Finishing | Inspect seams for even tension and imperfections in natural light; adjust as needed for a polished look. |
Step 1: Choose the Best Joining Method
Choosing the right joining method can make the difference between a professional looking crochet project and one that looks homemade. Your goal is to create seamless connections between crochet pieces that look intentional and neat.
The most popular methods for joining crochet pieces include slip stitch, single crochet join, whip stitch, and mattress stitch. Each technique offers unique advantages depending on your project’s texture, yarn type, and desired visual effect. For instance, slip stitch works beautifully for flat seams with minimal bulk, while single crochet joins provide more structure and definition.
Pro tip: Always test your joining method on scrap pieces first. Different yarns and stitch patterns can dramatically change how a seam looks and feels. Some yarns like wool will hide imperfections better, while smooth cotton or acrylic might reveal every tiny inconsistency in your joining technique.
As you practice, you’ll develop a sense for which method suits different projects best. In the next section, we’ll break down each joining technique so you can select the perfect approach for your specific crochet creation.
Step 2: Prepare Crochet Pieces for Assembly
Before joining your crochet pieces, proper preparation ensures a professional and polished final result. Your primary goal is to create uniform, clean edges that will connect smoothly and look intentional.
The first critical step in preparation is blocking your individual crochet pieces. Blocking techniques help standardize the shape and size of your project components, ensuring they align perfectly when joined. Different yarn types require specific blocking methods some pieces need steam blocking, while others might require wet blocking or even pinning to a flat surface to maintain their shape.
Pro tip: Always block your pieces before joining, and make sure they are completely dry and laid flat. Moisture can distort your careful measurements, and damp yarn can stretch or misshape during the joining process. Take time to measure each piece after blocking to confirm they match your original pattern specifications.
As you prepare your pieces, pay close attention to edge consistency. Trim any loose yarn ends, ensure edges are even, and check that the tension remains uniform across all sections. The more precise your preparation, the more seamless and professional your final crochet project will look.
Step 3: Align and Pin Pieces Securely
Successfully aligning and pinning your crochet pieces is crucial for achieving a professional finished project. Your goal is to create a precise arrangement that will guide your joining technique and ensure symmetry and accuracy.
Begin by laying out your blocked pieces on a flat surface like a blocking mat or clean ironing board. Use rust proof straight pins or specialized blocking pins to hold pieces in their exact intended position. Position your pieces exactly as they will appear in the final project careful placement now prevents uneven seams or misalignment later. Start by pinning the corner points first, then gradually secure the edges working from the center outward to maintain tension and prevent warping.
Pro tip: Invest in stainless steel or glass head pins that won’t rust or melt when steamed. Colored pins can help you distinguish different sections or mark specific alignment points. Always pin through the edge stitches rather than between them to maintain the most accurate positioning.
As you pin, periodically step back and view your layout from different angles. Check that edges line up precisely, corners match, and the overall shape matches your original design. This careful preparation sets the foundation for a seamless join in the next step of your crochet assembly process.
Step 4: Stitch Pieces Together Neatly
Joining crochet pieces requires precision and careful technique to create a professional looking final product. Your goal is to create invisible seams that look intentional and maintain the integrity of your original design.
Choose your joining method based on your project type and desired aesthetic. Essential crochet stitch types can dramatically influence how your pieces connect, so select a technique that complements your yarn and project style. For flat pieces, mattress stitch works wonderfully creating nearly invisible joins. For textured projects, a single crochet join might provide more structure and definition.
Pro tip: Always use the same weight yarn for joining that you used in your original pieces. Matching yarn ensures consistent tension and prevents bulky or loose connections that can detract from your project’s overall appearance.
Work slowly and methodically, checking your progress frequently. Pull your stitches snug but not tight maintaining an even tension throughout the joining process. Each stitch should blend seamlessly into the surrounding fabric creating a smooth continuous look that showcases your crafting skill. With practice, you will develop the muscle memory to create joins so smooth they look almost magical.
Step 5: Secure and Weave in Loose Ends
Finishing your crochet project requires careful attention to those stray yarn ends that can make or break your final presentation. Your goal is to create a clean seamless finish that looks professional and withstands repeated use and washing.
Crochet finishing techniques are crucial for transforming a good project into an exceptional one. Begin by threading a tapestry needle with a matching yarn tail approximately 6 inches long. Start weaving your end through the back side of your work using a zigzag pattern that follows the natural flow of your stitches. This method distributes tension and prevents yarn ends from working loose over time.
Pro tip: Always weave your ends in the opposite direction of your original stitching and through multiple stitch paths. Pull gently but firmly to ensure the end is secure without distorting your project’s shape. For particularly slippery yarns like silk or synthetic blends, you might want to create a small knot before weaving to provide extra security.
Take your time with this final step. A well woven end becomes virtually invisible and ensures your crochet piece maintains its shape and integrity through years of use. Trim any remaining yarn tail close to the fabric surface using sharp scissors angled parallel to your work surface to create a clean nearly imperceptible finish.
Step 6: Check for Seam Quality and Consistency
Evaluating the quality of your crochet seams is the final crucial step in creating a professional looking project. Your goal is to ensure that your joins are smooth invisible and structurally sound before declaring your work complete.
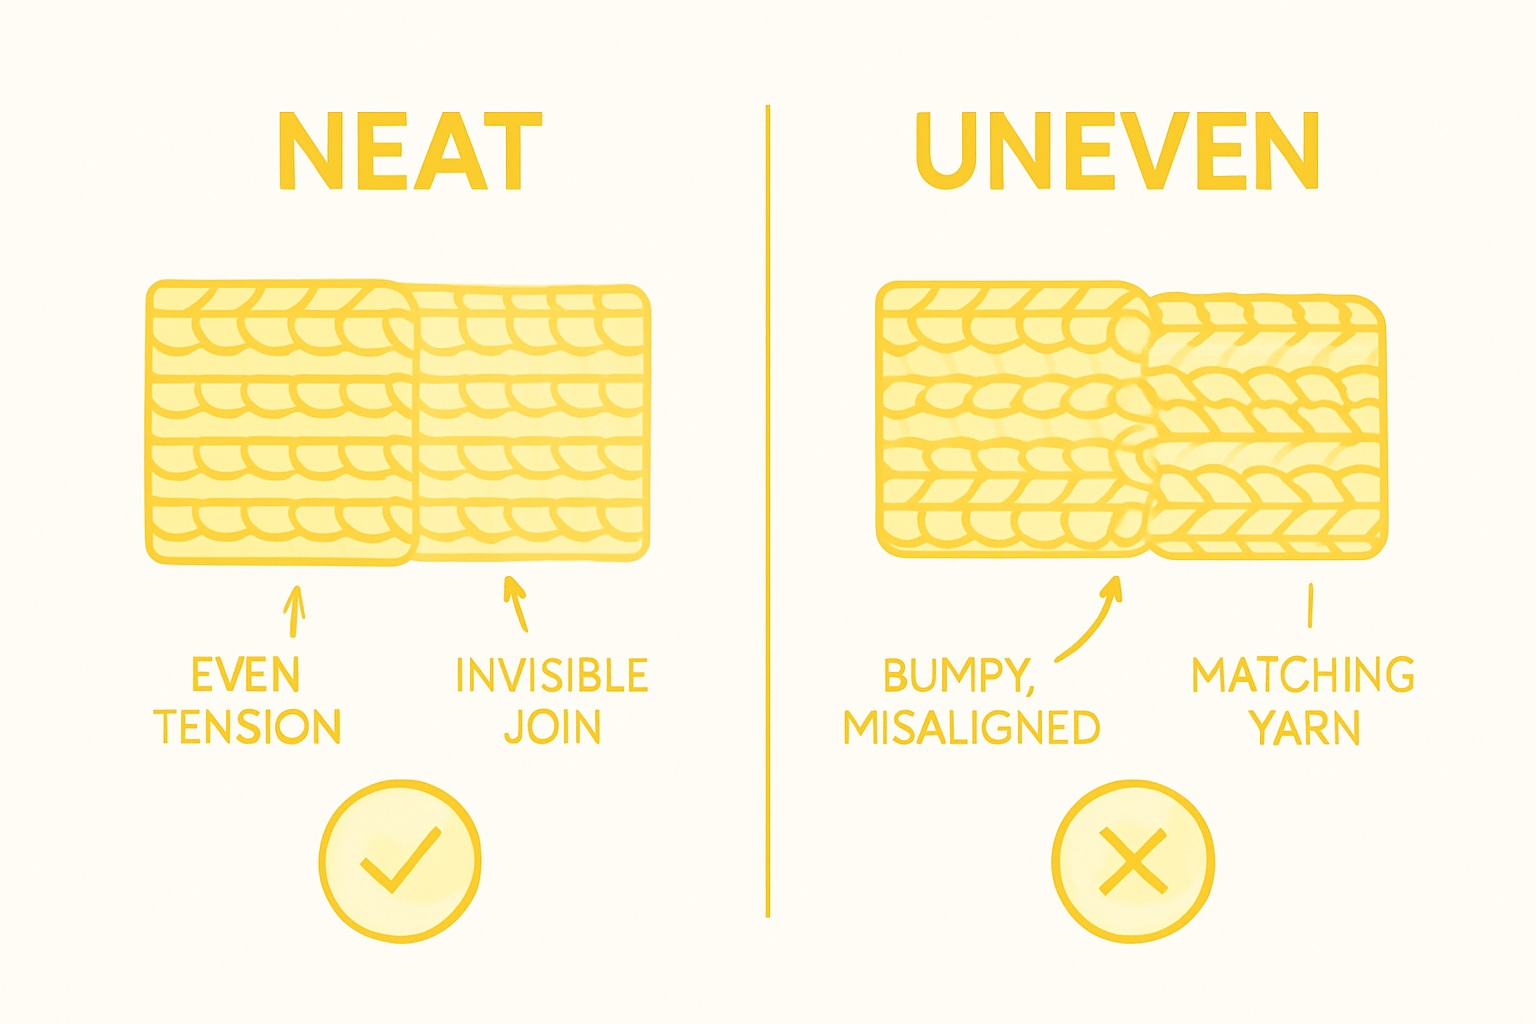
Techniques for creating an invisible join can dramatically improve your project’s final appearance. Begin by examining your seams from multiple angles stretch the fabric gently and observe how the joined sections respond. Look for any uneven tension areas where stitches might pucker or create unnecessary bulk. Run your fingers along the seam feeling for any irregularities that might compromise the project’s overall texture and structural integrity.
Pro tip: Natural light provides the best visibility for detecting subtle imperfections. Lay your project flat on a white or neutral surface and inspect each seam carefully. Pay special attention to color transitions yarn weight consistency and stitch alignment. If you notice any areas that seem slightly off take the time to adjust your joins before completing the project.
Remember that practice makes perfect. Even experienced crocheters sometimes need multiple attempts to achieve seamless joins. Your attention to detail in this final review stage will elevate your project from handmade to professionally crafted.
Elevate Your Crochet Joining Technique with Premium Yarn and Tools
Achieving a seamless finish when joining crochet pieces demands precision and the right materials. Whether you are using slip stitch or mattress stitch, mastering these joining methods starts with selecting the perfect yarn that complements your project’s texture and style. Avoid common frustrations like uneven tension or bulky seams by choosing high-quality yarn designed for durability and smooth joins. For reliable supplies and expert tips, explore our extensive collection of Yarn at CRAFTISS.
.png)
Take your crochet projects from homemade to professionally crafted with the right tools and materials. Visit CRAFTISS today to find everything you need for flawless finishes. Plus, keep your yarn organized and protected with our stylish and functional Yarn Bags. Start creating seamless joins now and transform your work into lasting art.
Frequently Asked Questions
What is the best method to join crochet pieces for a seamless finish?
To achieve a seamless finish, consider using methods like slip stitch, single crochet join, or mattress stitch based on your project. Experiment with each method on scrap yarn pieces to determine which provides the best results for your specific project style.
How do I prepare crochet pieces before joining them?
Prepare your crochet pieces by blocking them to standardize their shape and size. Ensure all pieces are completely dry and lay them flat to maintain uniform edges before joining.
How should I align and pin crochet pieces before stitching?
Align your crochet pieces on a flat surface, starting by pinning the corner points first and working outward to secure the edges. Use rust-proof pins and make sure the edges line up precisely for a smooth joining process.
How can I ensure my crochet seams are high quality and consistent?
To ensure high-quality seams, examine them from multiple angles and feel for any irregularities. Check for even tension and alignment, and make adjustments before completing the project to enhance the final appearance.
What should I do with loose yarn ends after finishing my crochet project?
Weave in loose yarn ends securely using a tapestry needle and a zigzag pattern through the back side of your work. This technique keeps your project looking clean and maintains its integrity over time.
Recommended
- Master Crochet Finishing Techniques Guide for Perfect Projects – CRAFTISS
- How to crochet with yarn: your ultimate beginner’s guide to mastering – CRAFTISS
- 7 Essential Types of Crochet Stitches Every Crafter Should Know – CRAFTISS
- What is Double Crochet? Understanding this Essential Stitch – CRAFTISS


