

How to Join Granny Squares for Seamless Crochet Projects
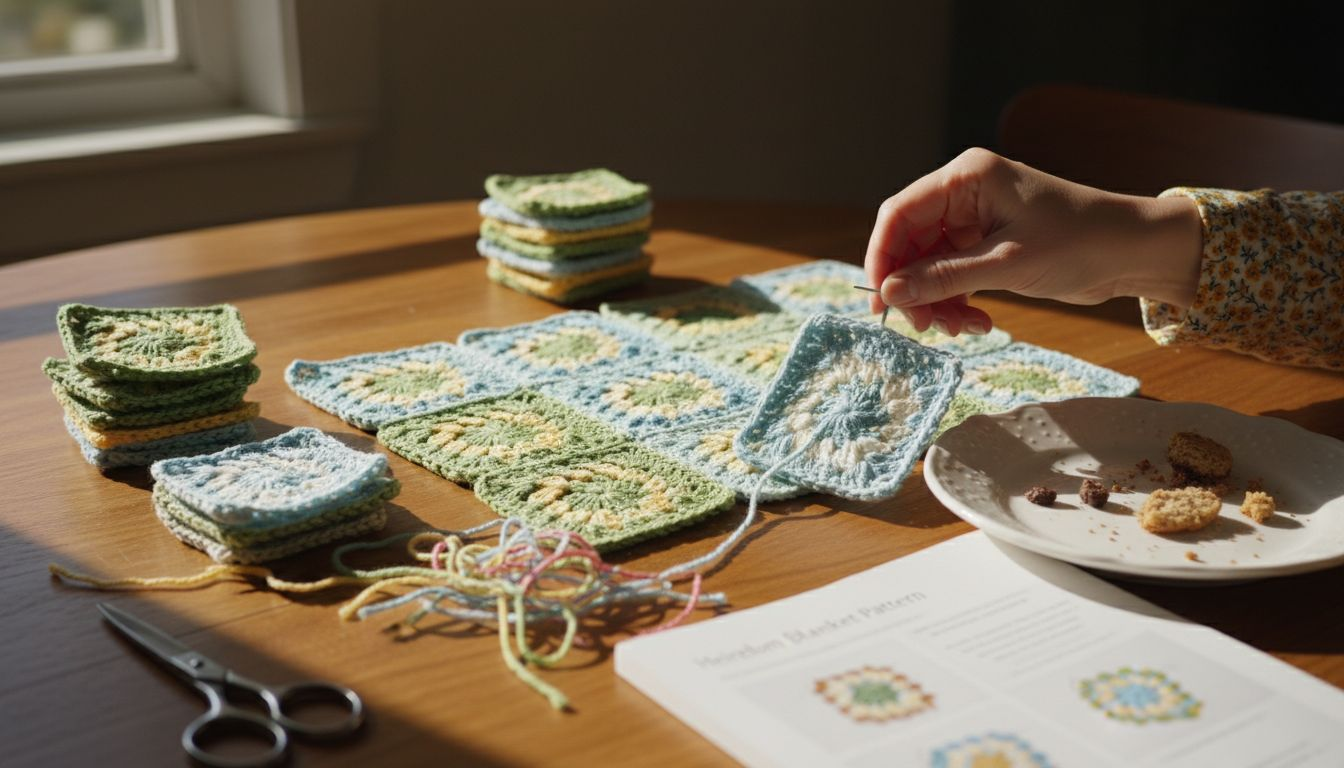
Every crochet enthusiast knows the excitement of seeing a vibrant stack of granny squares ready for assembly. Yet turning those squares into a cohesive project demands more than creativity—it requires careful planning and technique. From preparing each square to mastering various joining methods, understanding the intricacies of granny square alignment and joining lays the groundwork for professional results. This guide offers practical steps to help you elevate your crochet projects with confidence and polish.
Table of Contents
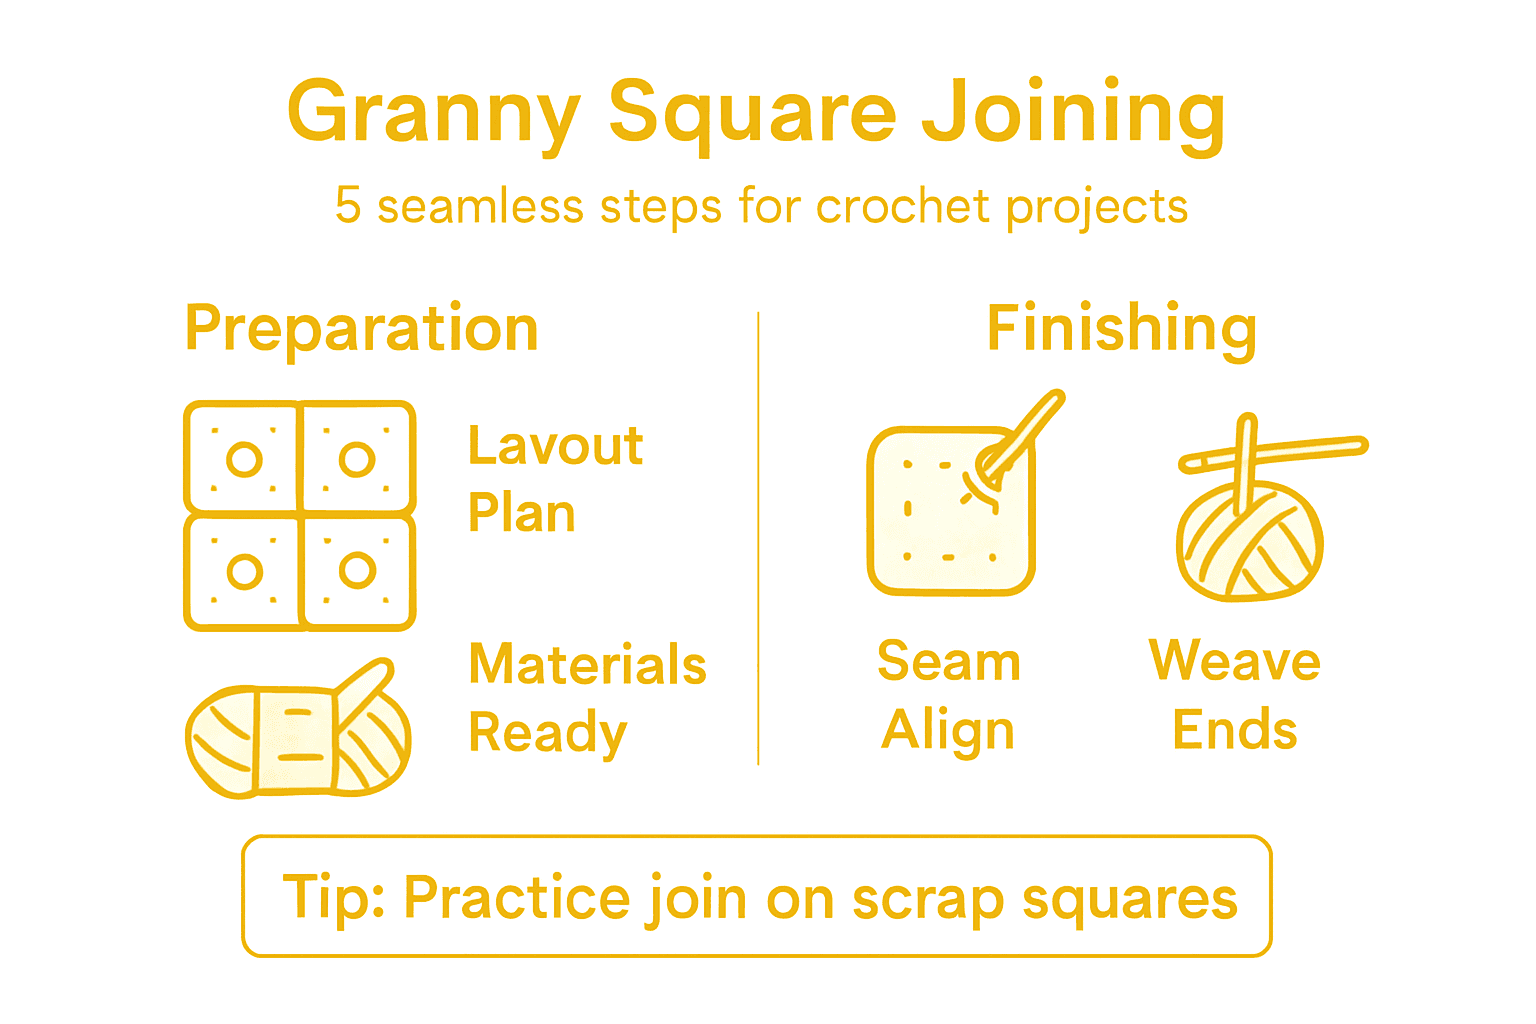
- Step 1: Prepare And Organize Granny Squares For Joining
- Step 2: Select And Ready Your Joining Method And Materials
- Step 3: Align And Connect Granny Squares Securely
- Step 4: Seam And Weave In Ends For A Polished Finish
- Step 5: Check And Adjust Joined Squares For Uniformity
Quick Summary
| Key Point | Explanation |
|---|---|
| 1. Block Squares for Uniformity | Block completed granny squares to ensure even size and shape before joining them to achieve a polished look. |
| 2. Choose the Right Joining Method | Selecting a joining technique impacts aesthetics and durability; options include slip stitch, single crochet, whip stitch, and join-as-you-go. |
| 3. Securely Align Squares When Joining | Lay squares flat, maintain even tension, and check alignment frequently to ensure a professional appearance in the final project. |
| 4. Weave in Ends for a Clean Finish | Use a yarn needle to weave in ends securely, ensuring no visible lumps or bumps remain, enhancing overall quality. |
| 5. Inspect and Adjust Joined Squares | Review your project for uneven edges, gaps, or misaligned patterns and use blocking techniques to achieve a smooth, uniform finish. |
Step 1: Prepare and organize granny squares for joining
Before diving into your crochet project, preparing and organizing your granny squares is crucial for achieving a professional, seamless finish. Learning how to arrange and align granny squares will set the foundation for a beautiful final product.
Start by blocking your completed granny squares to ensure they are uniform in size and shape. This process involves gentle washing, laying them flat, and pinning them to a blocking mat or clean towel to dry. Use a measuring tape to confirm each square’s dimensions match your project’s requirements. Create a layout diagram or use a design board to experiment with different color arrangements and square positioning before joining.
Organize your squares systematically by:
- Sorting squares by color scheme
- Arranging squares from lightest to darkest
- Grouping squares with similar stitch patterns
- Laying out your design to preview the final look
Pro tip: Take a photograph of your planned layout to serve as a reference guide during the joining process.
Step 2: Select and ready your joining method and materials
Choosing the right joining method can transform your granny square project from basic to extraordinary. When you explore crochet joining techniques, you’ll discover multiple approaches that can enhance your project’s overall aesthetic and durability.
Your joining method depends on several key factors, including the desired visual effect, project complexity, and personal skill level. The most common techniques for connecting granny squares include:
- Slip stitch join: Quick and nearly invisible connection
- Single crochet join: Sturdy and creates a defined line between squares
- Whip stitch join: Versatile method working from the back or front of squares
- Join-as-you-go: Eliminates separate joining step by connecting squares during creation
Before beginning, gather essential materials such as a matching or contrasting yarn weight, appropriate crochet hook, scissors, and a yarn needle for weaving in ends. Consider the visual impact of your joining yarn – it can either blend seamlessly or create a bold decorative accent.
Here’s a quick comparison of granny square joining techniques and their effects:
| Technique | Visual Impact | Difficulty Level | Best For |
|---|---|---|---|
| Slip Stitch Join | Subtle, nearly hidden | Beginner | Minimal look projects |
| Single Crochet | Defined, bold lines | Intermediate | Durable, decorative projects |
| Whip Stitch | Flexible placement | Beginner | Versatile, easy joining |
| Join-As-You-Go | Seamless, uninterrupted | Advanced | Speed, less finishing needed |
Selecting the right joining technique can dramatically impact your project’s final appearance and structural integrity.
Pro tip: Practice your chosen joining method on scrap squares before working on your final project to perfect your technique.
Step 3: Align and connect granny squares securely
Perfecting the alignment of your granny squares is crucial for creating a polished and professional-looking crochet project. Crochet finishing techniques can make the difference between a homemade and handcrafted masterpiece.
To ensure secure and precise alignment, start by laying out your squares on a flat surface. Use straight pins or blocking mats to hold squares in their intended position. Pay close attention to the orientation of each square’s stitches and color pattern to maintain a consistent look. When joining, work systematically across your project:
- Align squares edge to edge
- Match stitch heights carefully
- Keep tension consistent
- Check alignment frequently
Precision in alignment transforms a collection of individual squares into a cohesive, professional-looking project.
Consider working in rows or sections rather than attempting to join all squares at once. This approach allows you to maintain control and ensure each connection is neat and secure. Maintain even tension throughout the joining process to prevent puckering or stretching.
Pro tip: Use contrasting colored stitch markers to help track your alignment and maintain symmetry during the joining process.
Step 4: Seam and weave in ends for a polished finish
The final stage of your granny square project is all about creating a professional, clean finish that showcases your craftsmanship. By mastering crochet edge techniques, you’ll elevate your project from handmade to truly artisan.
Weaving in ends requires patience and precision. Follow these essential steps to ensure a seamless finish:
- Use a yarn needle matching your project’s yarn weight
- Work ends through the back of stitches
- Weave in a minimum of 2-3 inches
- Avoid creating visible bumps or lumps
- Trim yarn ends close to the work, leaving a small tail
A meticulously woven end is the hallmark of a truly professional crochet project.
Choose a weaving technique that matches your joining method. For slip stitch joins, weave ends diagonally through the back loops. For single crochet joins, weave ends in multiple directions to distribute tension and prevent unraveling. Work slowly and carefully to maintain the integrity of your stitches.
Pro tip: Use a sharp yarn needle with a rounded tip and good lighting to ensure precise and nearly invisible end weaving.
Step 5: Check and adjust joined squares for uniformity
After joining your granny squares, the final critical step is ensuring your project looks polished and professional. Seamless crochet techniques will help you achieve a flawless finished product.
Carefully inspect your joined squares for potential issues that could compromise the overall appearance:
- Check for uneven edges
- Verify consistent stitch tension
- Look for gaps between squares
- Examine color alignment and pattern matching
- Confirm overall project flatness
Precision in final adjustments separates amateur crafts from professional-looking masterpieces.
Use blocking techniques to resolve minor inconsistencies. Gently steam or wet block your project to help squares settle into a uniform shape. If significant variations exist, you might need to adjust individual squares by adding or removing stitches. Pay special attention to corners and edges, ensuring they align perfectly.
Use this summary to troubleshoot and refine your finished granny square project:
| Issue Identified | Possible Cause | Solution |
|---|---|---|
| Uneven edges | Misaligned joining | Re-block and adjust seams |
| Gaps between squares | Loose stitch tension | Retighten joins and reinforce |
| Pattern misalignment | Incorrect layout | Rearrange or rejoin affected area |
| Project not flat | Uneven blocking | Steam or wet block again |
Pro tip: Photograph your project from multiple angles and in different lighting to catch subtle irregularities that might be missed during close-up inspection.
Bring Your Granny Square Creations to Life with Craftiss
Mastering how to join granny squares for seamless crochet projects often comes with challenges like maintaining consistent tension, precise alignment, and secure joins for a polished look. If you want to turn your crochet skills into a flawless masterpiece, having the right tools and yarn makes all the difference. Whether you prefer subtle slip stitch joins or bold single crochet seams, Craftiss offers premium yarn options and accessories designed to enhance your finishing techniques and ensure lasting durability.
.png)
Unlock your crochet project’s full potential today with high-quality materials from Craftiss. Discover expert advice and shop everything you need to practice perfect joining methods and achieve professional results. Start your seamless granny square journey now and transform your passion into handcrafted excellence.
Frequently Asked Questions
How do I prepare my granny squares for joining?
To prepare your granny squares for joining, start by blocking them to ensure uniform size and shape. Gently wash and pin them flat, then create a layout diagram to experiment with color arrangements before joining.
What are the best joining methods for granny squares?
The best joining methods for granny squares include slip stitch join for a subtle finish, single crochet join for durability and definition, whip stitch join for versatility, and join-as-you-go for seamless work. Choose a method based on your desired visual effect and skill level.
How can I align my granny squares correctly before joining?
To align your granny squares correctly, lay them out on a flat surface and use pins to secure their positions. Pay close attention to stitch orientation and color patterns, adjusting the squares as necessary to achieve a cohesive look before you start joining.
What should I do if my joined squares have uneven edges?
If your joined squares have uneven edges, you can gently steam or wet block the project to help squares settle into a more uniform shape. Recheck the alignment of each square and adjust as needed to make the edges even.
How do I weave in ends for a polished finish?
To weave in ends for a polished finish, use a yarn needle that matches your yarn weight and work the ends through the back of the stitches for at least 2–3 inches. Ensure to avoid making visible bumps by weaving in different directions to blend the ends seamlessly with the work.
What final adjustments can I make for a professional look?
For a professional look, carefully inspect your project for any gaps, uneven edges, or stitch tension issues. Make adjustments through re-blocking or by rearranging squares, checking for consistent alignment to enhance the overall presentation.
Recommended
- How to Make Granny Squares: A Beginner’s Guide – CRAFTISS
- What Is a Granny Square? Complete Guide for Crafters – CRAFTISS
- How to Crochet Granny Square for Beginners: Easy Steps – CRAFTISS
- Crochet Granny Square Guide: Master the Classic Design – CRAFTISS


