

Crochet Granny Square Guide: Master the Classic Design
Most American crafters are surprised to learn that nearly 80 percent of crochet beginners struggle with gathering the right supplies for their first granny square. This small yet iconic textile project has inspired generations, but starting often feels daunting if you are unsure which materials or steps to choose. With clear guidance on preparing your workspace, selecting yarn, and learning essential techniques, anyone can make beautiful granny squares with confidence and ease.
Table of Contents
- Step 1: Gather Essential Granny Square Supplies
- Step 2: Learn the Basic Crochet Stitches
- Step 3: Start the Granny Square Center
- Step 4: Build Outward with Repeating Rounds
- Step 5: Check Square Shape and Finish Off
Quick Summary
| Key Point | Explanation |
|---|---|
| 1. Select the Right Supplies | Choose a medium weight yarn and appropriate hook size for easier stitch visibility while learning. |
| 2. Master Basic Crochet Stitches | Practice chain, single, half double, and double crochet stitches for a solid foundation in crocheting. |
| 3. Create a Magic Ring | Start your granny square by forming a magic ring, ensuring consistent tension for a neat center. |
| 4. Build with Consistent Rounds | Use corner spaces and side clusters; maintain careful stitch count to avoid shape distortion. |
| 5. Finish and Block Your Square | Assess the square’s shape, block if necessary, and weave in ends for a polished look. |
Step 1: Gather Essential Granny Square Supplies
Learning to create granny squares starts with assembling the right materials. Crochet beginners need a few key supplies to get started crafting these classic textile motifs.
Your essential granny square toolkit will include a crochet hook sized appropriately for your yarn weight, a selection of yarn in colors you love, scissors, and a yarn needle for weaving in loose ends. When choosing your first materials, select a medium weight yarn that provides good stitch definition and a corresponding hook size typically ranging between G (4.0mm) and H (5.0mm). Acrylic or wool blend yarns work wonderfully for beginners because they are affordable and forgiving while you practice your technique.
Pro tip: Purchase light colored yarns when you are first learning. Lighter shades make it easier to see your stitches and track your progress as you create each round of your granny square. Once you feel confident in your technique, experiment with vibrant colors and interesting yarn textures to make your squares truly unique.
Step 2: Learn the Basic Crochet Stitches
Mastering granny squares begins with understanding fundamental crochet techniques. The essential crochet stitch types will serve as your foundation for creating beautiful textile designs.
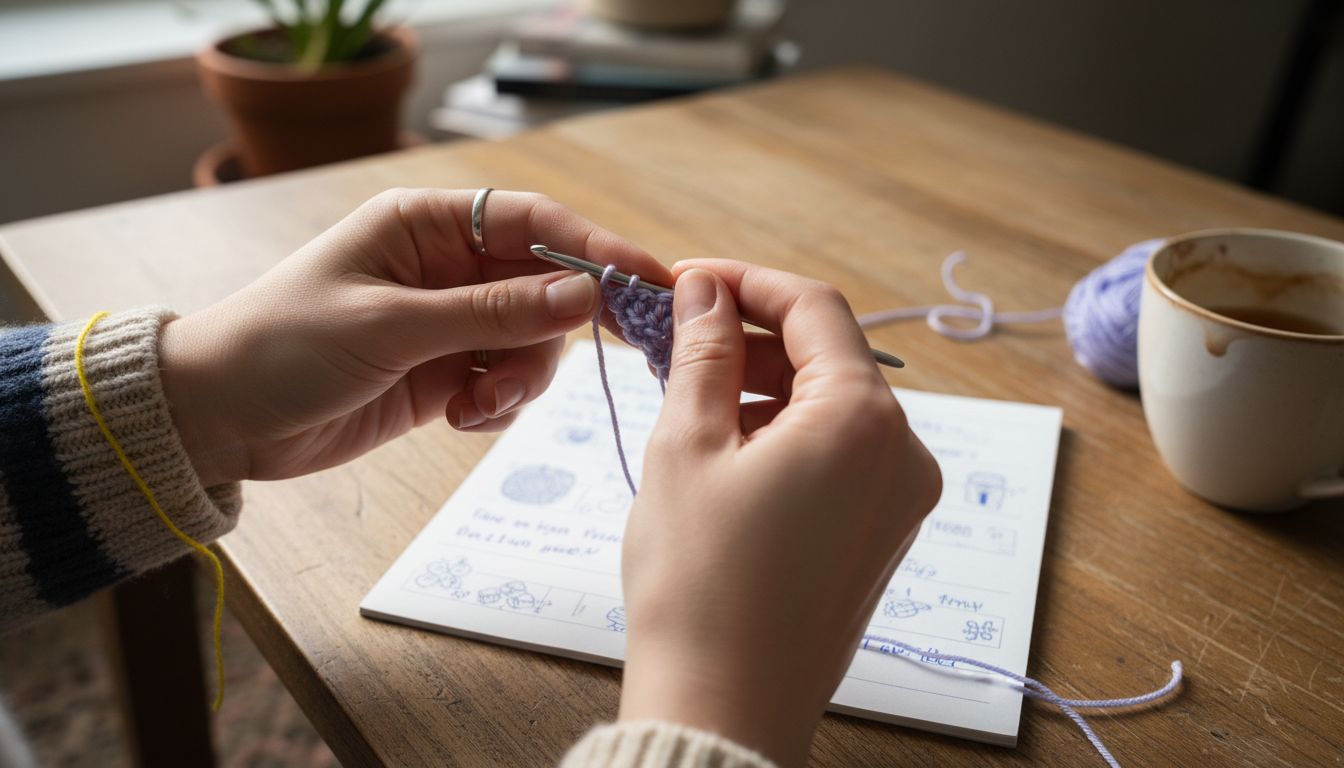
Start with the chain stitch, which forms the base of most crochet projects. Hold your yarn and hook comfortably, then create a slip knot by wrapping the yarn around your hook and pulling through. Next, practice the single crochet stitch by inserting your hook into the previous row, yarning over, and pulling through both loops. The half double crochet and double crochet stitches build upon these basic techniques, offering more texture and complexity to your work.
Pro tip: Consistency is key when learning new stitches. Practice each stitch repeatedly on a sample piece, focusing on maintaining even tension and uniform stitch size. As you become more comfortable, you will find your rhythm and develop muscle memory that makes crocheting feel natural and enjoyable.
Step 3: Start the Granny Square Center
Creating a beautiful granny square begins with mastering the fundamental starting technique. Beginner crafters can learn to make granny squares by focusing on creating a solid central ring.
To start your granny square, create a slip knot and form a magic ring (also called a magic circle). Hold the yarn tail between your thumb and middle finger, wrap the working yarn around your finger to create a loop, then insert your crochet hook and pull the yarn through. Chain three stitches to establish your first round, then work double crochet stitches into the center of the ring. Typically, you will want to work between 8 and 12 double crochet stitches to create a sturdy foundation for your square.
Pro tip: When working the magic ring, keep your tension consistent and pull the yarn tail gently to close the ring completely. This technique ensures a tight, neat center that will serve as the perfect starting point for your granny square. As you practice, you will develop muscle memory and find the technique becoming more natural with each attempt.
Step 4: Build Outward with Repeating Rounds
Expanding your granny square requires understanding the rhythmic pattern of building subsequent rounds. Advanced granny square techniques help crafters create consistent and symmetrical textile designs.
To continue building your square, work a series of corner spaces and side clusters. After completing your initial center ring, chain three to create height, then work two double crochet stitches in the same space. Create a corner by working three double crochet stitches, chain two, and then three more double crochet stitches. Repeat this pattern around the square, ensuring you maintain four corner spaces with two chain stitches between each corner cluster.
Pro tip: Pay close attention to your tension and stitch count in each round. Consistent spacing and uniform stitches will prevent your granny square from becoming misshapen or wavy. Take your time and count your stitches carefully as you build each new round, which will help you develop muscle memory and improve your overall crochet technique.
Step 5: Check Square Shape and Finish Off
The final stage of creating a granny square involves carefully assessing your work and completing the project with precision. Crochet finishing techniques are crucial for achieving a professional looking result.
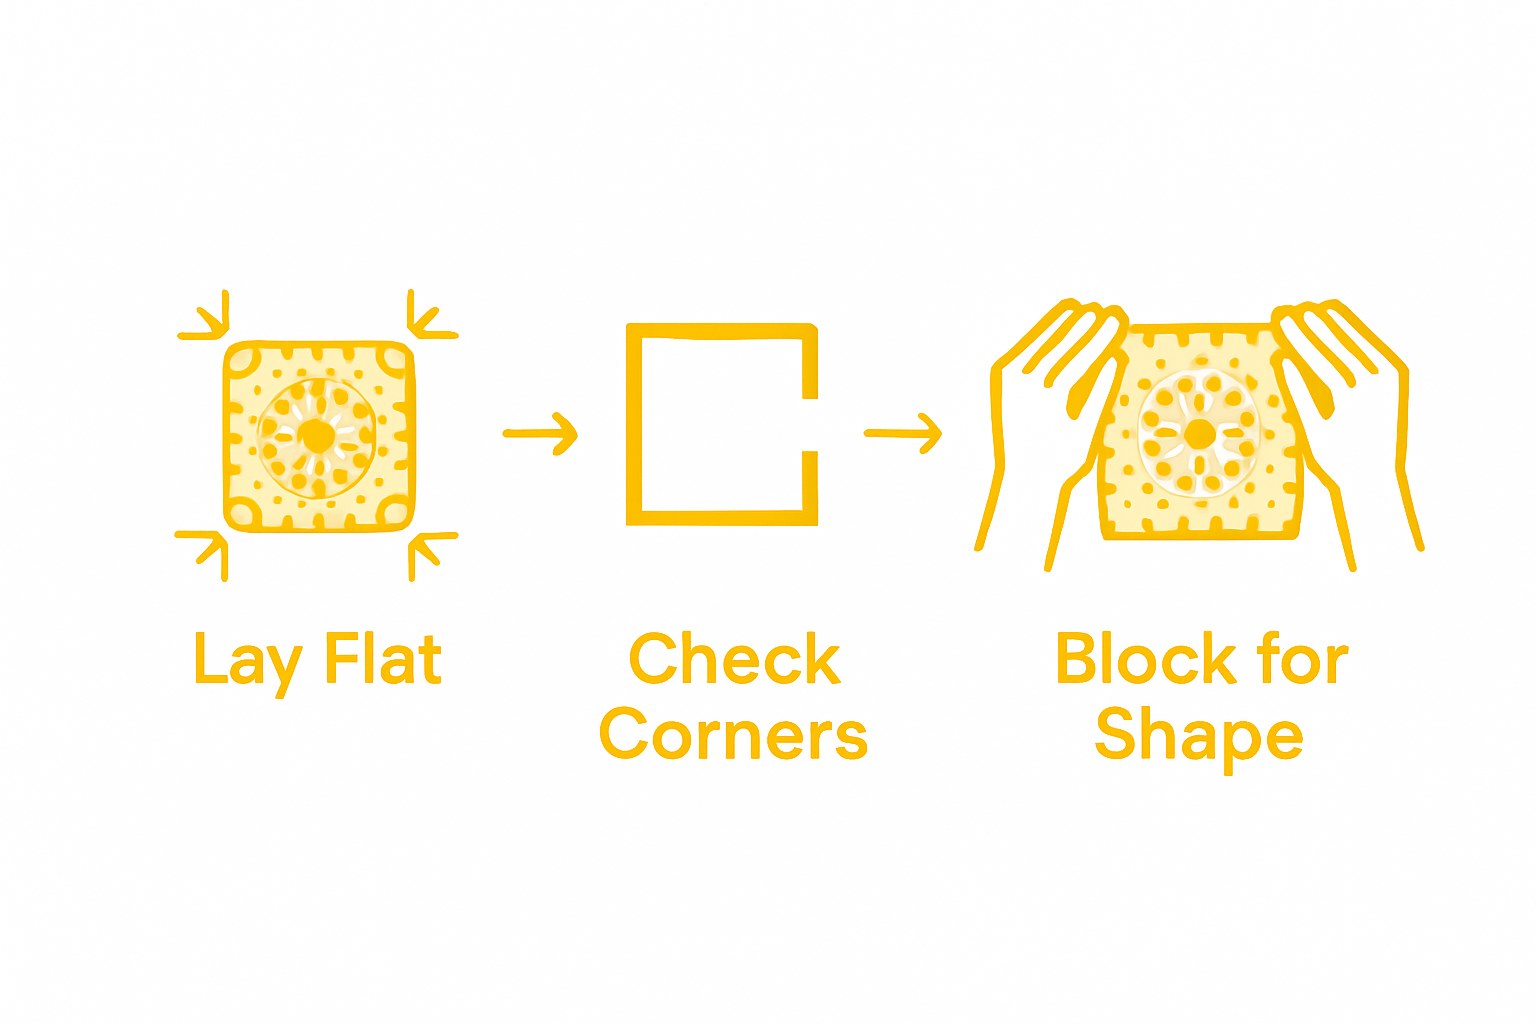
Lay your granny square flat on a smooth surface and examine its shape. Each corner should form a perfect right angle, and the sides should appear straight and even. If the square looks slightly uneven, gently block it by stretching the edges and pinning it into shape. To finish off, cut your yarn leaving a 6 inch tail, pull the tail through your last loop, and tighten to secure. Use a yarn needle to weave in the loose ends by threading the tail and carefully working it through the back of several stitches in different directions to prevent unraveling.
Pro tip: Always block your granny squares before joining them into larger projects. Blocking helps even out your stitches, creates a more uniform appearance, and ensures that all your squares will fit together seamlessly when you assemble them into a blanket or other textile creation.
Elevate Your Granny Square Crochet Experience Today
Mastering the classic granny square means overcoming challenges like maintaining consistent tension, perfecting stitch counts, and choosing the right yarn. Your goal is to create symmetrical, vibrant squares that hold their shape beautifully. To make these steps easier and more enjoyable craft enthusiasts need access to high-quality yarn that highlights every stitch and tools that support seamless assembly.
Discover the difference that premium supplies can make by exploring our exclusive selection of Yarn.
.png)
Unlock your full crocheting potential with yarn designed to enhance stitch definition and durability. Visit CRAFTISS to find everything you need to start or elevate your granny square projects now. Don’t wait to transform your crochet experience with supplies tailored to your creative journey. Start crafting with confidence today.
Frequently Asked Questions
What materials do I need to start making granny squares?
You will need a crochet hook suited to your yarn weight, medium weight yarn in colors you love, scissors, and a yarn needle. Start by selecting a hook size between G (4.0mm) and H (5.0mm) and purchase light-colored yarn for better visibility of your stitches.
How do I begin a granny square?
To start a granny square, create a magic ring by forming a loop with your yarn and pulling through, then chain three stitches. Work 8 to 12 double crochet stitches into the center of the ring to form a solid foundation for your square.
What steps should I follow to build my granny square?
After establishing your center, chain three for height, then create clusters of double crochet stitches and corner spaces as you build outwards. Repeat this pattern to create a symmetrical square, ensuring to maintain even tension and stitch count throughout.
How do I know if my granny square is shaped correctly?
Lay your granny square flat and check if the corners form right angles and the sides are straight. If needed, gently block your square to adjust its shape before finishing off the last round.
What is the best way to finish and weave in ends on my granny square?
Once completed, cut your yarn leaving a 6-inch tail, pull it through the last loop, and secure it. Use a yarn needle to weave the end through the back of several stitches to ensure it does not unravel, enhancing the finished look of your square.
How can I improve my crochet technique while making granny squares?
Focus on practicing each stitch slowly and maintaining consistent tension to develop muscle memory. Create sample pieces to refine your technique before progressing to larger projects, aiming for uniform stitches across all rows.
Recommended
- How to Make Granny Squares: A Beginner’s Guide – CRAFTISS
- What Is a Granny Square? Complete Guide for Crafters – CRAFTISS
- 7 Inspiring Crochet Pattern Ideas for Every Yarn Crafter – CRAFTISS
- How to crochet with yarn: your ultimate beginner’s guide to mastering – CRAFTISS


