

How to Crochet Granny Square for Beginners: Easy Steps
Starting a new craft often feels overwhelming, especially when you browse aisles brimming with colorful supplies. Every American beginner crocheter discovers that choosing the right yarn and hook can make all the difference in mastering those first granny squares. Creating these classic pieces matters because they are the foundation for blankets, scarves, and treasured handmade gifts. You will find clear, step-by-step directions and practical tips to help you organize supplies and build your confidence with every stitch.
Table of Contents
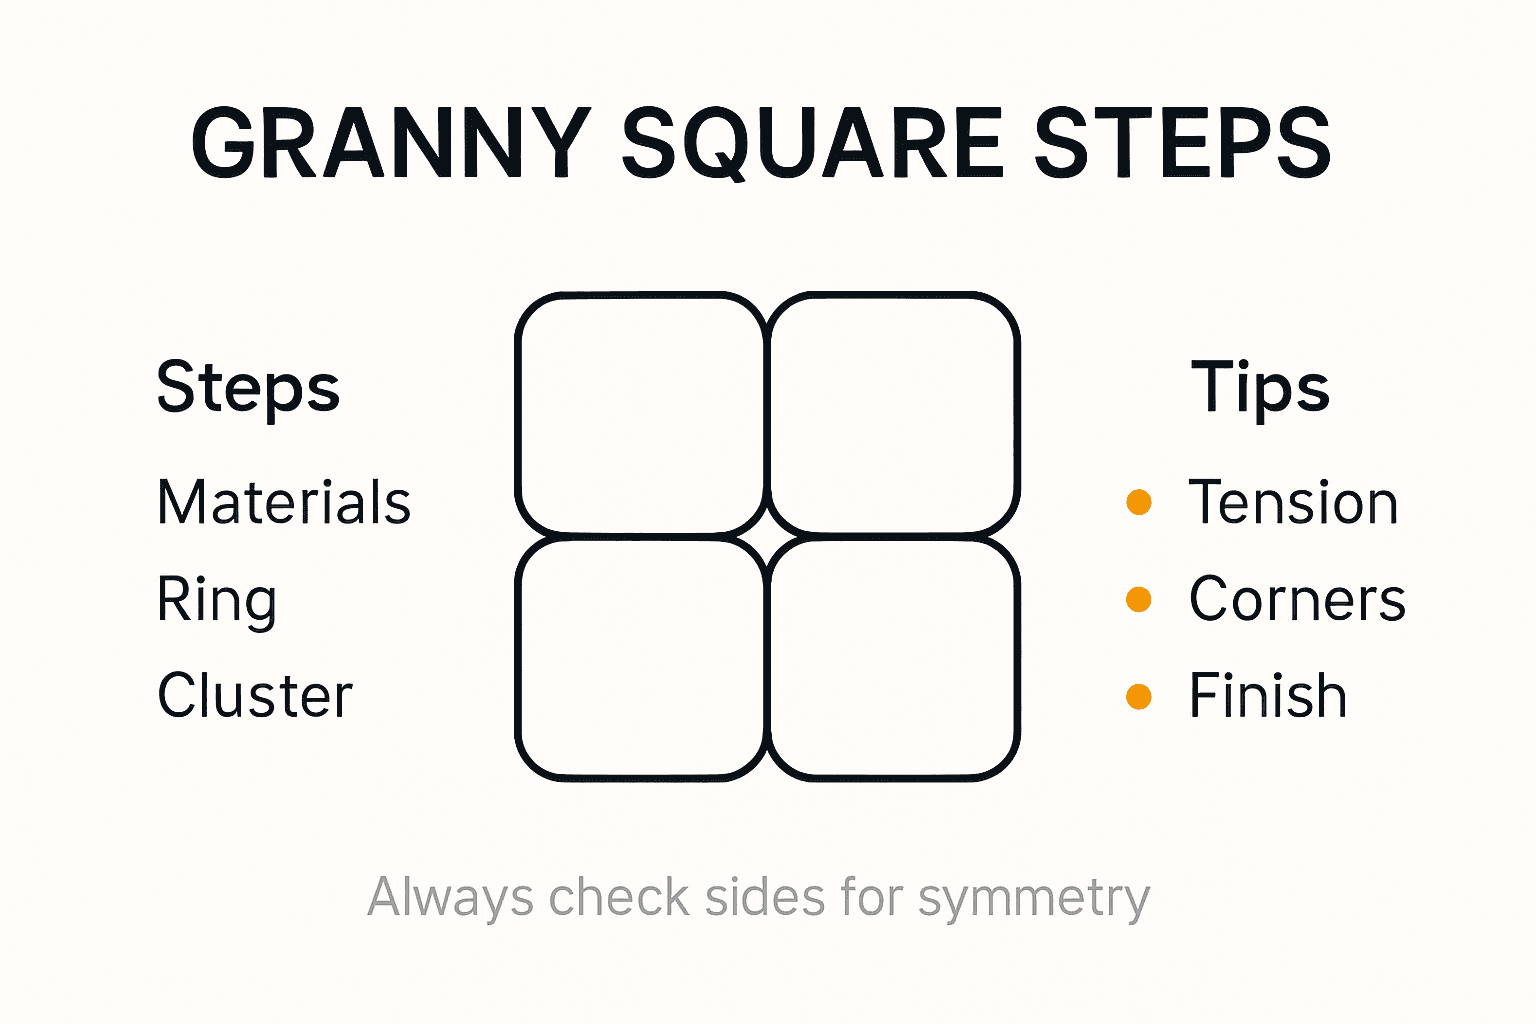
- Step 1: Gather Essential Materials and Tools
- Step 2: Create the Foundation Ring
- Step 3: Work the First Set of Double Crochets
- Step 4: Build Subsequent Rounds for the Square
- Step 5: Finish and Check Your Granny Square
Quick Summary
| Key Point | Explanation |
|---|---|
| 1. Choose the Right Yarn | Select a worsted weight acrylic yarn for easy handling and clear visibility of your stitches as a beginner. |
| 2. Consistent Stitch Tension | Maintain even tension throughout to ensure a neat square; adjust your grip if you notice tight or loose stitches. |
| 3. Correctly Finish Rounds | Complete your final round by making a slip stitch to secure and cut the yarn, ensuring a polished appearance. |
| 4. Track Your Stitch Count | Regularly count your stitches to prevent mistakes in corner clusters and maintain the square’s shape. |
| 5. Use a Project Bag | Keep your yarn and hook together in a designated bag to stay organized and prevent misplacing your tools. |
Step 1: Gather Essential Materials and Tools
Launching into your first granny square project requires assembling the right crafting supplies. Medium weight yarn offers an ideal starting point for beginners, providing an accessible and forgiving material for learning crochet techniques.
Your essential toolkit should include several key items. First, select a worsted weight acrylic yarn in a color that inspires you. Look for yarn labels that recommend hook sizes to simplify your selection process. For most beginner granny squares, a size H-8 (5mm) crochet hook works perfectly. You will also want sharp scissors for cutting yarn cleanly and a yarn needle for weaving in loose ends after completing your square.
Begin by choosing yarn in a light or medium color that shows your stitches clearly. This will help you track your progress and identify any mistakes more easily. Soft acrylic yarns are budget friendly and wash well, making them an excellent choice for new crafters learning basic techniques.
Pro tip: Keep your first skein of yarn and hook together in a dedicated project bag to stay organized and prevent losing these essential tools.
Here’s a summary of the most useful beginner materials and their advantages:
| Material or Tool | Purpose in Granny Square Making | Beginner Advantage |
|---|---|---|
| Worsted weight acrylic yarn | Forms foundation and stitches | Budget-friendly and easy to handle |
| Size H-8 (5mm) crochet hook | Creates uniform stitch sizes | Ideal size for learning basics |
| Sharp scissors | Cuts yarn cleanly | Prevents frayed or messy ends |
| Yarn needle | Weaves in loose ends | Ensures a polished final look |
Step 2: Create the Foundation Ring
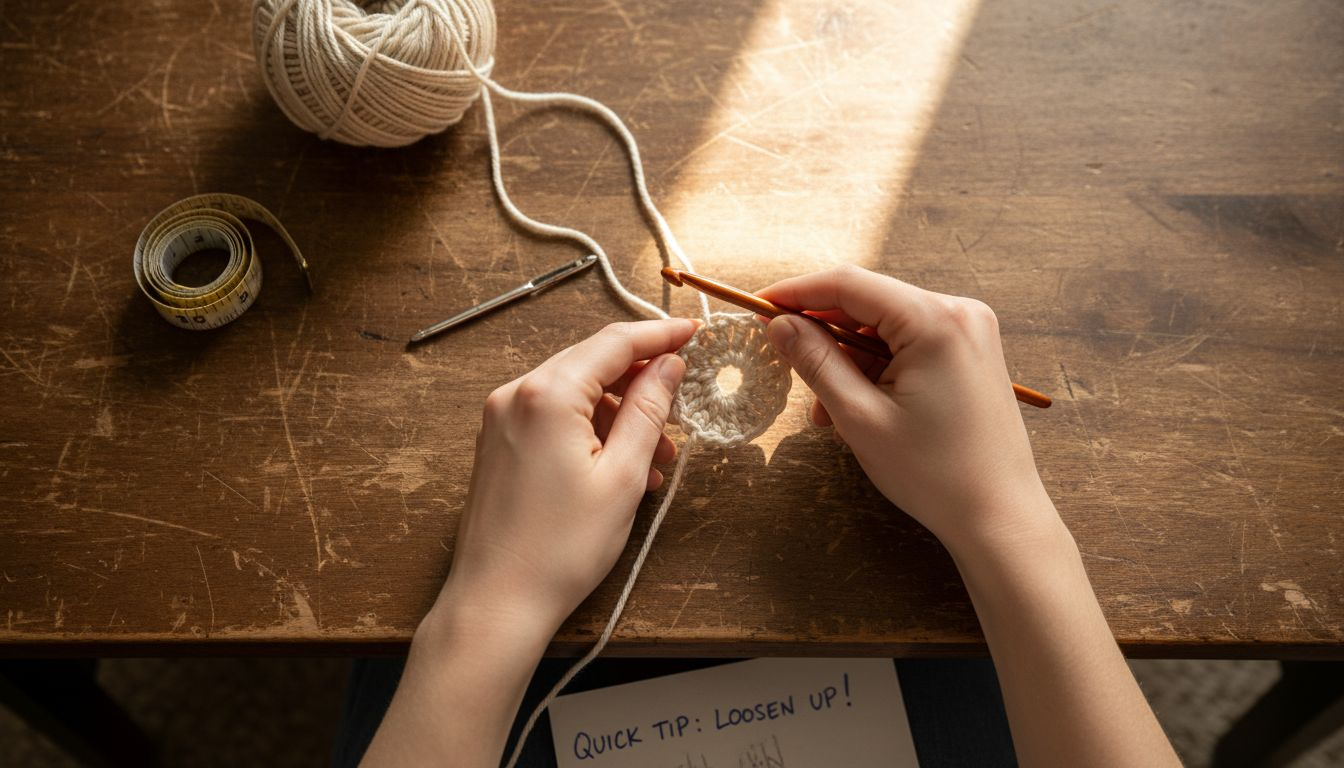
Creating the foundation ring is your first real step into the world of granny square crochet, establishing the central core from which your entire square will grow. This crucial starting point might seem intimidating, but with practice, youll master it quickly.
Begin by making a slip knot approximately 6 inches from the yarn end. Hold the slip knot loop on your hook, then chain six stitches to form the initial circular foundation. To close the ring, insert your hook into the first chain you created and complete a slip stitch. This connects the chain into a perfect small circle ready for your first round of stitches.
As you work, keep the tension of your stitches consistent and your loop relatively loose. A tight foundation ring will make subsequent rounds challenging to work into. Adjust your grip and yarn tension as needed to maintain an even circular shape.
Pro tip: If your foundation ring looks uneven, gently tug the yarn tail to tighten and reshape the circle before continuing to the next round.
Step 3: Work the First Set of Double Crochets
Double crochet clusters form the fundamental building blocks of your granny square, creating the distinctive texture and shape that makes this design so beloved by crafters. You will now transform your foundation ring into the beginning of a beautiful geometric pattern.
Start by creating the first cluster. Chain three stitches, which will count as your first double crochet. Then work two additional double crochets directly into the foundation ring. These three stitches create your first corner cluster. To do this, yarn over, insert your hook into the ring, yarn over and pull through, yarn over again and pull through two loops twice for each double crochet.
Continue working around the ring by repeating the pattern of three double crochets separated by a chain space. You will complete four identical clusters to form a square shape, with each cluster representing a corner. Take care to maintain consistent tension and spacing between your clusters to ensure a neat and symmetrical result.
Pro tip: Count your stitches after each round to confirm youve maintained the correct stitch count and prevent unintentional increases or decreases.
Step 4: Build Subsequent Rounds for the Square
Expanding your granny square requires a systematic approach that builds upon each previous round, creating a symmetrical and increasingly larger geometric design. Each new round will add depth and size to your growing project.
Begin your second round by chaining three stitches and working two double crochets into the first corner space of the previous round. This technique establishes your first corner cluster for the new round. Continue working three double crochets into each corner space, separating each cluster with a chain space. As you progress, youll notice the square expanding uniformly with each completed round.
The key to maintaining a perfect square is consistent tension and precise placement of your clusters. Pay close attention to your chain spaces and ensure you are working into the correct spaces from the previous round. Each subsequent round follows the same fundamental pattern of creating three double crochet clusters at each corner, separated by chain spaces along the sides.
Pro tip: Use stitch markers to track your corner spaces and help maintain consistent spacing as your granny square grows.
Step 5: Finish and Check Your Granny Square
Completing your first granny square involves carefully finishing the final round and ensuring your project meets quality standards. This last stage transforms your individual stitches into a polished, professional looking piece.
To finish, complete your final round by making a slip stitch into the third chain of the initial chain three. Cut your yarn, leaving a tail approximately 6 inches long. Use a yarn needle to carefully weave the loose end through the back side of your work. Weave in different directions to secure the yarn and prevent unraveling, ensuring the tail is completely hidden and the edges remain smooth.
Carefully inspect your granny square for consistency. Check that all corners are symmetrical, the sides are even, and the overall shape maintains a square form. Look closely at your stitch tension ensuring no areas appear looser or tighter than others. Minor adjustments can be made by gently blocking the square using steam or a light spray of water to help even out the stitches.
Pro tip: Lay your finished granny square on a flat surface and use a ruler to confirm all sides are equal in length before considering the project complete.
Use this quick reference to troubleshoot common granny square issues:
| Issue | Likely Cause | Suggested Fix |
|---|---|---|
| Foundation ring too tight | Tension too high | Loosen grip and retry |
| Square not lying flat | Irregular stitch spacing | Block with steam or adjust stitches |
| Gaps in clusters uneven | Incorrect stitch count | Recount and adjust as needed |
| Corners not sharp | Missed chain spaces | Ensure always chaining at corners |
Master Your Granny Squares with the Perfect Supplies from CRAFTISS
Starting your granny square journey can be challenging with concerns about yarn choices, hook sizes, and keeping your stitches even. If you want to transform those early frustrations into confident, beautiful results, finding the right materials is key. At CRAFTISS, we understand the importance of quality yarn and tools that make every stitch a joy.
.png)
Explore our curated selection of Yarn designed for beginners and seasoned crafters alike, offering soft, easy-to-handle options that bring your granny squares to life. Keep your project organized and your supplies close with our practical Yarn Bags crafted to fit your needs perfectly. Don’t let confusing or inferior supplies hold you back. Visit CRAFTISS now and get the tools to crochet your granny squares confidently. Start creating stunning granny squares today and feel the satisfaction of every perfect stitch!
Frequently Asked Questions
What materials do I need to start crocheting a granny square?
To start crocheting a granny square, you need worsted weight acrylic yarn, a size H-8 (5mm) crochet hook, sharp scissors, and a yarn needle. Gather these tools first to ensure you can complete your project smoothly.
How do I create the foundation ring for my granny square?
To create the foundation ring, make a slip knot and chain six stitches. Then, join the first chain with a slip stitch to form a circle, which will be the base for your double crochet clusters.
What is the pattern for the first round of stitches in a granny square?
In the first round, you will chain three stitches as your first double crochet, then work two additional double crochets into the foundation ring. Follow this with chain spaces between clusters, repeating this for four corners to form a square shape.
How can I expand my granny square in subsequent rounds?
To expand your granny square, start each new round by chaining three and working two double crochets into the first corner space. Make sure to continue adding three double crochets in each corner space and chain spaces along the sides for even growth.
What should I do to finish my granny square?
To finish your granny square, complete the last round and slip stitch into the third chain of your initial chain. Cut the yarn, weave in loose ends with a yarn needle, and inspect your work for consistency in shape and tension to ensure a polished final piece.
How can I troubleshoot common issues while making my granny square?
If you notice that your square is not lying flat or has gaps, check your stitch count and spacing. Adjustments like blocking with steam or recounting your stitches can resolve many common issues swiftly, helping you maintain a neat and even appearance.
Recommended
- How to Make Granny Squares: A Beginner’s Guide – CRAFTISS
- Crochet Granny Square Guide: Master the Classic Design – CRAFTISS
- What Is a Granny Square? Complete Guide for Crafters – CRAFTISS
- 7 Easy Crochet Patterns for Beginners to Try Now – CRAFTISS


