

Ultimate Yarn Weight Selection Guide for Crafters
Choosing the right yarn can make or break your next craft project. Most people focus on color or softness, but the real secret lies in the details you might overlook. Understanding yarn weight categories—even just knowing that ‘medium weight’ yarn is the most versatile, used for everything from sweaters to blankets—can completely change your results. Once you see how each step adds up, you may never look at those skeins on the shelf the same way again.
Table of Contents
- Step 1: Identify Your Project Requirements
- Step 2: Understand Yarn Weight Categories
- Step 3: Select Suitable Patterns And Designs
- Step 4: Match Yarn Weight With Tools And Techniques
- Step 5: Test Yarn Samples Before Finalizing
- Step 6: Verify Weight Consistency And Adjust
Quick Summary
| Key Point | Explanation |
|---|---|
| 1. Define project requirements clearly | Understanding your project’s needs guides your entire yarn selection process, ensuring you choose the appropriate yarn type and weight. |
| 2. Learn yarn weight categories | Familiarize yourself with the standardized yarn weight system to make informed choices based on thickness and intended use. |
| 3. Match yarn with patterns effectively | Selecting patterns that align with your yarn’s properties ensures optimal results, facilitating better crafting outcomes. |
| 4. Test yarn samples before finalizing | Creating sample swatches allows you to assess the yarn’s performance, ensuring it meets your project expectations. |
| 5. Verify weight consistency among skeins | Checking for uniformity in yarn weight among multiple balls prevents issues in stitch definition and fabric appearance. |
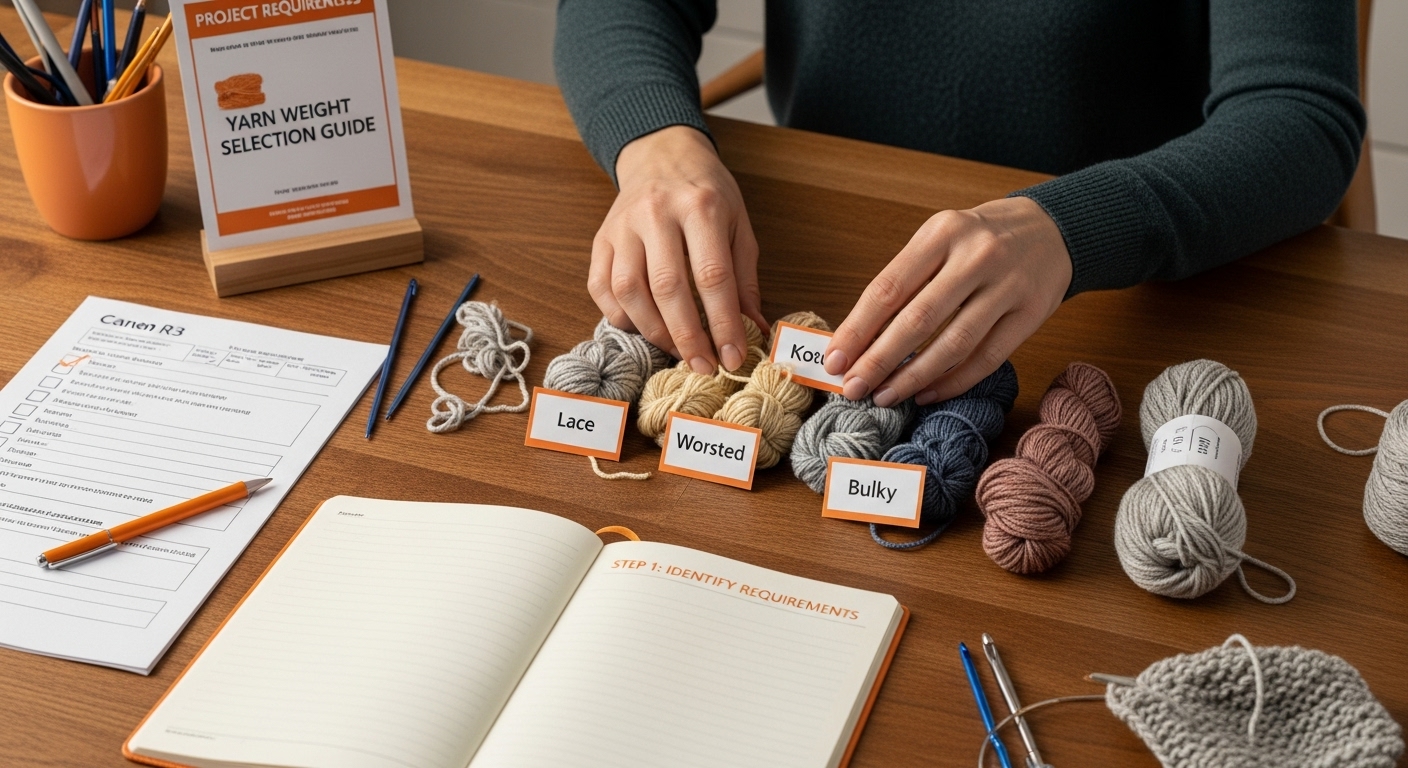
Step 1: Identify Your Project Requirements
Successful yarn selection begins with a clear understanding of your specific project requirements. This crucial first step determines the entire trajectory of your crafting journey, influencing everything from yarn weight to total material needed. Before diving into specific yarn choices, you need to methodically assess your project’s unique characteristics and demands.
Start by defining the precise nature of your project. Are you creating a lightweight summer shawl, a cozy winter blanket, or a delicate baby garment? Each project type requires different yarn properties and weights. The project’s intended use will significantly impact your yarn selection strategy. A blanket demanding warmth and durability requires different considerations compared to a delicate lace accessory.
According to the Craft Yarn Council, understanding project complexity helps crafters match appropriate yarn weights. Consider factors like the item’s final dimensions, expected wear and tear, and desired aesthetic. For instance, a baby blanket needs soft, washable yarn that withstands repeated laundering, while a decorative wall hanging might prioritize texture and color over durability.
Carefully evaluate your skill level and the project’s technical requirements. Some yarn weights and fiber types demand advanced techniques, while others suit beginners. If you’re tackling an intricate pattern with complex stitching, choose a yarn that provides clear stitch definition and minimal splitting. Conversely, forgiving yarns with more texture work well for simpler projects or less experienced crafters.
By meticulously examining your project’s specific needs upfront, you establish a solid foundation for successful yarn selection. This preliminary assessment prevents common pitfalls like purchasing inappropriate materials or underestimating yarn requirements. Take time to visualize the finished product, understanding its functional and aesthetic goals before making any yarn commitments.
Step 2: Understand Yarn Weight Categories
Understanding yarn weight categories is fundamental to selecting the right material for your crafting project. Think of yarn weight as a critical language that communicates the thickness, density, and potential uses of your chosen fiber. This step transforms your yarn selection from guesswork to strategic decision making.
The standardized yarn weight system, ranging from 0 to 7, provides crafters with a universal framework for comparing and selecting appropriate yarns. Lace weight (0) represents the finest, most delicate yarns, perfect for intricate shawls and lightweight accessories. As you progress through the categories, yarn thickness increases, offering more versatility and structural integrity. Learn more about the role of yarn weight in crafting to deepen your understanding of these critical distinctions.
According to the Craft Yarn Council, each weight category corresponds to specific needle or hook sizes and typical gauge measurements. Medium weight yarns (category 4), often called worsted weight, represent the most versatile category. These yarns work beautifully for sweaters, blankets, and accessories, striking an ideal balance between thickness and flexibility. Lighter weights like sport and fingering (categories 2 and 3) excel in creating delicate garments with refined stitch definition, while heavier weights like bulky and super bulky (categories 5 and 6) quickly produce warm, substantial pieces.
Recognizing yarn weight goes beyond mere thickness measurements. Consider the intended project, desired drape, and fabric characteristics when selecting your yarn category. A lightweight summer top requires different weight considerations compared to a winter afghan. Pay attention to yarn labels, which typically display standardized weight symbols and recommended needle sizes.
Below is a comparison table summarizing the standard yarn weight categories, their typical uses, and recommended needle/hook sizes for easy reference.
| Yarn Weight Category | Thickness/Appearance | Common Uses | Recommended Needle/Hook Size |
|---|---|---|---|
| 0 Lace | Very fine, delicate | Shawls, lightweight accessories | Needles: 1.5-2.25 mm (US 000-1) |
| 1 Super Fine | Slightly thicker than lace | Socks, lightweight scarves, baby items | Needles: 2.25-3.25 mm (US 1-3) |
| 2 Fine (Sport) | Light, soft | Baby garments, lightweight sweaters | Needles: 3.25-3.75 mm (US 3-5) |
| 3 Light (DK) | Light to medium | Drapey tops, midweight accessories | Needles: 3.75-4.5 mm (US 5-7) |
| 4 Medium (Worsted) | Standard, versatile | Sweaters, blankets, hats, scarves | Needles: 4.5-5.5 mm (US 7-9) |
| 5 Bulky | Thick, chunky | Home décor, winter accessories | Needles: 5.5-8 mm (US 9-11) |
| 6 Super Bulky | Very thick, substantial | Big blankets, quick winter projects | Needles: 8 mm+ (US 11+) |
By mastering yarn weight categories, you transform potential crafting challenges into opportunities for artistic expression. Each weight offers unique possibilities, enabling you to select materials that bring your creative concepts to life with precision and elegance.
Step 3: Select Suitable Patterns and Designs
Selecting the right pattern and design is a critical bridge between yarn weight understanding and successful project execution. This step transforms your theoretical knowledge into practical crafting decisions, ensuring your chosen yarn harmonizes perfectly with your intended design.
Pattern complexity and yarn weight are intrinsically linked. Different stitch patterns require specific yarn characteristics to achieve optimal results. Intricate lace designs demand smooth, consistent yarns with excellent stitch definition, while textured patterns like cables work best with yarns that hold structural integrity. Discover expert tips on choosing yarn for your craft project to refine your selection strategy.
According to the Craft Yarn Council, matching pattern gauge specifications becomes paramount. Every pattern provides recommended yarn weight, needle or hook size, and expected stitches per inch. These technical details serve as your roadmap, guiding you toward yarn selections that will produce the intended fabric texture and dimensions.
Consider the visual and tactile qualities your project demands. Lightweight, drapey yarns excel in creating flowing garments with elegant movement, while dense, robust yarns provide structure for items like bags or winter accessories. Carefully examine pattern recommendations, paying special attention to suggested yarn fiber content and weight category. Some designs require specific yarn behaviors impossible to replicate with alternative weights or materials.
Experienced crafters understand that successful pattern selection involves more than technical specifications. Visualize how your chosen yarn will interact with the design’s intricate details. Will the yarn’s color variations complement or distract from the stitch pattern? Will its texture enhance or obscure the intended design elements? By approaching pattern selection as an intentional, holistic process, you transform potential challenges into opportunities for creative expression.
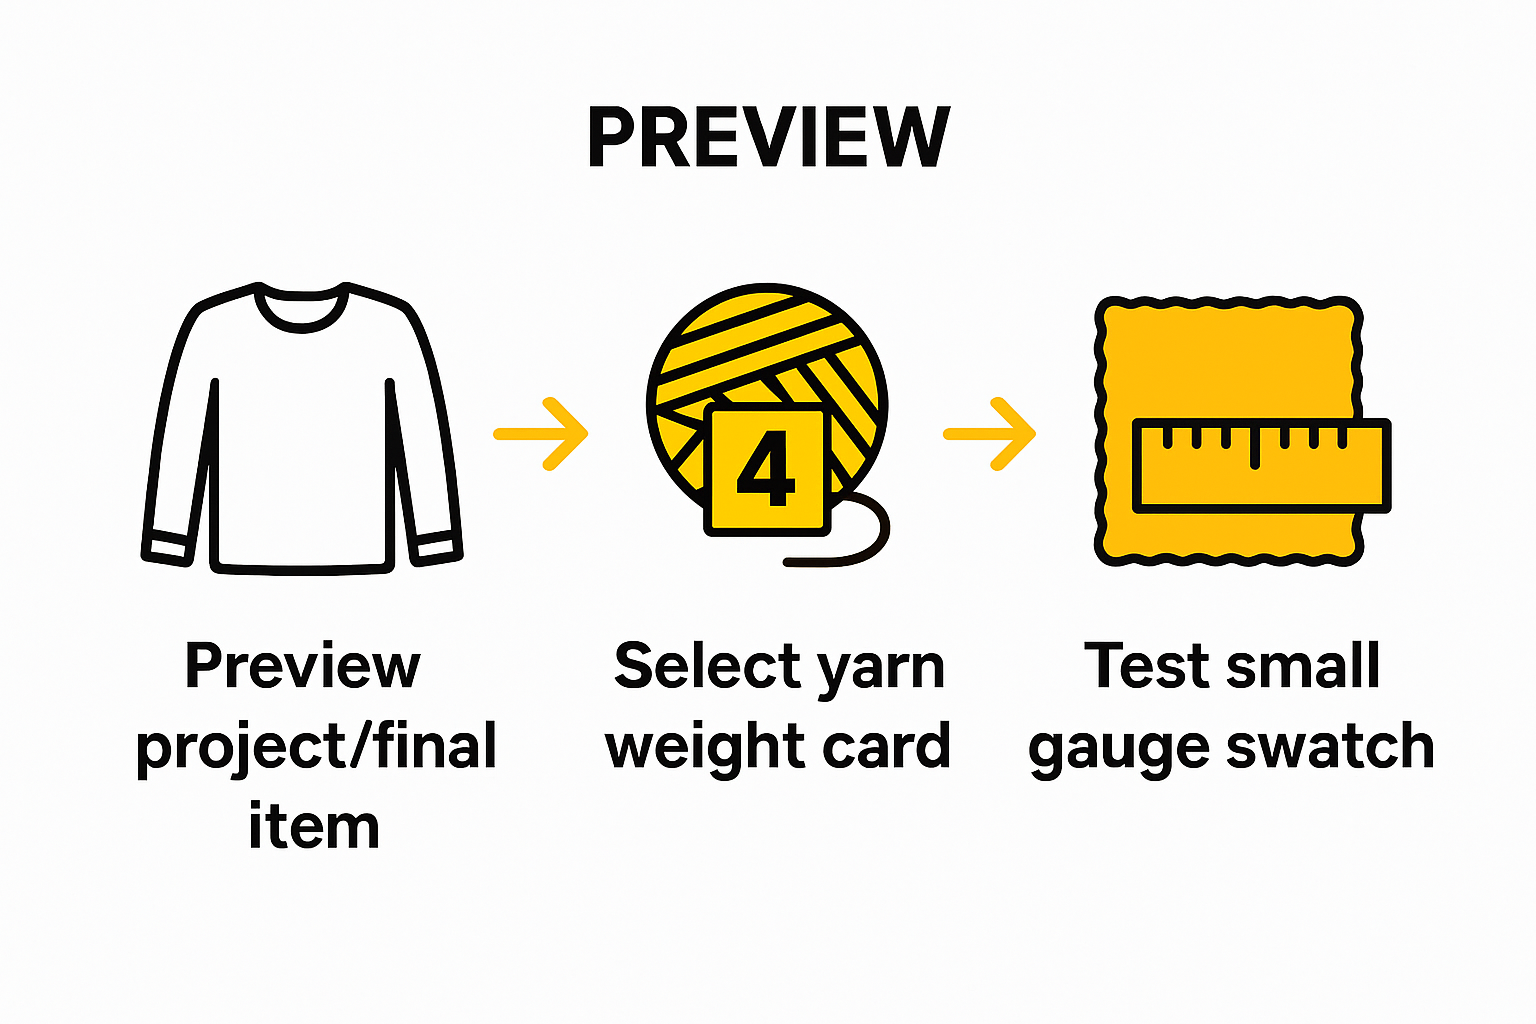
Verify your pattern and yarn compatibility by creating a small gauge swatch. This crucial step allows you to test yarn behavior, check stitch definition, and confirm that your selected materials will produce the desired aesthetic and functional outcomes.
Step 4: Match Yarn Weight with Tools and Techniques
Matching yarn weight with appropriate tools and techniques is a nuanced art that transforms raw materials into beautifully crafted projects. This critical step bridges theoretical knowledge with practical execution, ensuring your yarn and tools work in harmonious synchronization. Explore 8 essential types of yarn weights to deepen your understanding of this intricate process.
Needle and hook selection becomes paramount in translating yarn weight into successful crafting. Each yarn weight demands specific tool sizes to achieve optimal stitch definition, fabric drape, and structural integrity. Lightweight lace and fingering weight yarns typically require smaller needles or hooks, while bulky and super bulky yarns need substantially larger tools to create appropriate gauge and fabric texture.
According to research from the Massachusetts Institute of Technology, understanding the mechanical properties of yarn and tools is crucial. Crafters must consider not just the numerical size of their tools, but also their material composition. Wooden needles grip lighter weight yarns differently compared to metal or bamboo, potentially affecting stitch tension and overall fabric behavior. Metal needles work exceptionally well with slippery synthetic fibers, while wooden needles provide more friction for woolly or textured yarns.
Technique selection plays an equally vital role in successful yarn and tool pairing. Delicate lace patterns demand precise, controlled techniques that maintain stitch integrity, whereas chunky yarns allow for more forgiving, robust stitching methods. Advanced crafters understand that certain stitch patterns inherently require specific yarn weights to achieve their intended visual and textural effects. Cable knitting, for instance, requires yarns with sufficient body to showcase intricate twisted stitches, while colorwork techniques like fair isle benefit from yarns with consistent thickness and minimal fuzzing.
To verify your tool and yarn compatibility, create a comprehensive gauge swatch. This small sample reveals critical information about stitch definition, fabric drape, and overall project suitability. Pay close attention to how your chosen tools interact with the yarn, noting tension consistency, stitch clarity, and fabric behavior.
A well-executed gauge swatch serves as your roadmap, preventing potential crafting challenges before they emerge.
Step 5: Test Yarn Samples Before Finalizing
Testing yarn samples is the critical checkpoint that transforms theoretical selections into reliable crafting materials. This pivotal step allows you to validate your yarn’s performance, texture, and compatibility before committing to an entire project. Comprehensive sample testing prevents potential disappointments and ensures your creative vision translates perfectly into reality.
Explore our yarn project organization guide to streamline your testing process and maintain meticulous craft documentation. Creating multiple sample swatches becomes your strategic approach to understanding yarn behavior. Select approximately 6-8 inches of yarn and knit or crochet a small test piece that represents your intended project’s primary stitch pattern. This miniature preview reveals crucial information about stitch definition, fabric drape, color interaction, and potential texture variations.
According to North Carolina State University’s Zeis Textiles Extension, systematic yarn sampling involves evaluating multiple critical properties. Stretch your sample swatch to assess elasticity, wash it according to manufacturer recommendations to check colorfastness and potential shrinkage, and examine how it responds to different lighting conditions. Pay special attention to how the yarn behaves when subjected to gentle stress, looking for signs of splitting, pilling, or unexpected texture changes.
Your sample testing should simulate realistic project conditions as closely as possible. If you’re creating a garment, include testing for comfort against skin by wearing the swatch against your wrist or neck. For items like blankets or accessories, evaluate how the yarn feels when draped and manipulated. Experiment with different needle or hook sizes to understand how they influence the yarn’s appearance and structural integrity. Some yarns transform dramatically with slight tool adjustments, revealing unexpected aesthetic possibilities.
Verification becomes your final crucial step. A successful yarn sample should demonstrate consistent stitch formation, maintain structural integrity after washing, exhibit minimal color bleeding, and match your original design expectations. Document your findings meticulously, noting specific observations about yarn behavior, potential challenges, and overall suitability. This comprehensive approach transforms yarn selection from a guessing game into a precise, informed decision-making process.
Step 6: Verify Weight Consistency and Adjust
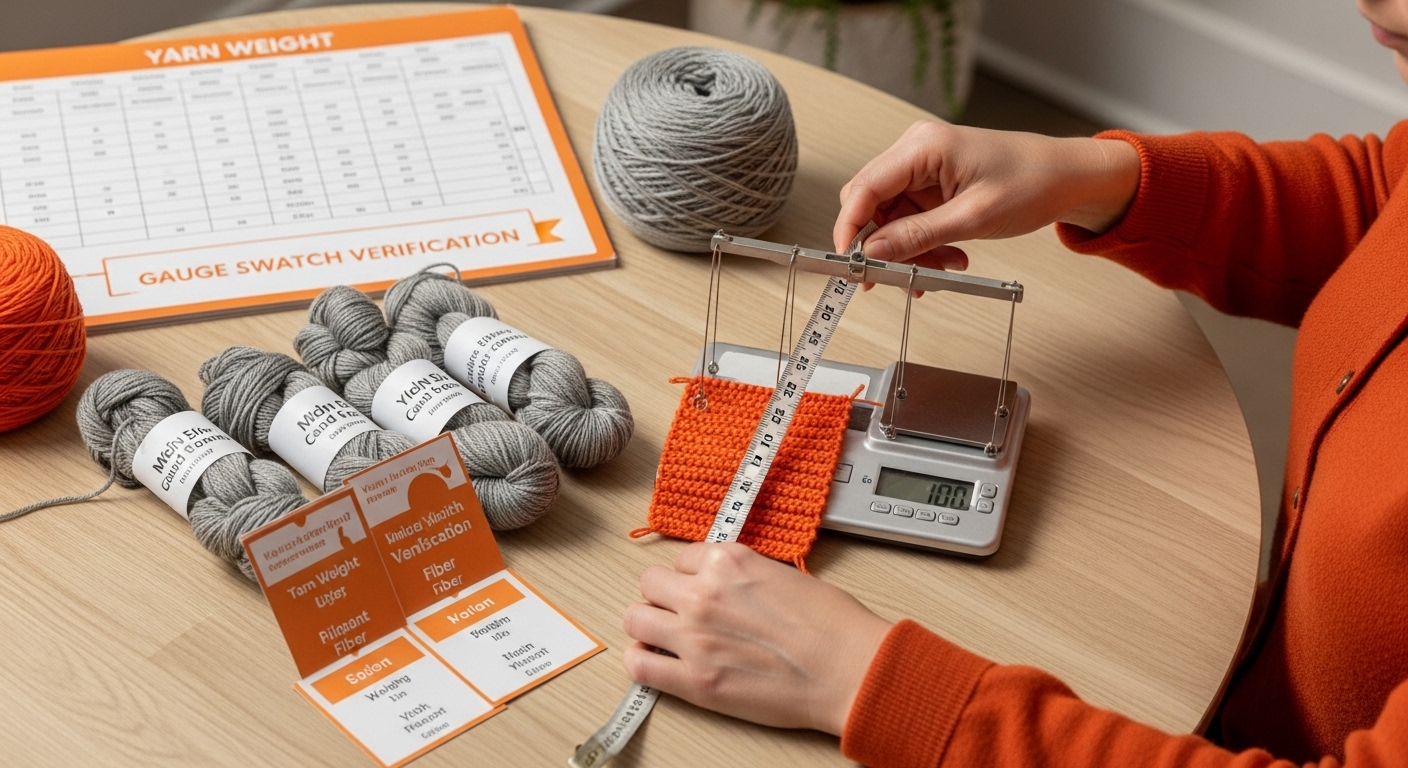
Verifying yarn weight consistency is the final quality checkpoint that separates professional crafters from amateur enthusiasts. This meticulous process ensures your project will maintain structural integrity, aesthetic appeal, and professional finish. Weight consistency determines everything from stitch uniformity to overall fabric performance, making it a critical evaluation step in your crafting journey.
Careful examination requires more than casual observation. Systematically compare multiple skeins or balls of your chosen yarn, looking for subtle variations in thickness, twist, and color tone. Even yarns from the same dye lot can exhibit microscopic differences that dramatically impact your project’s final appearance. Lay out your yarn skeins in natural light, rotating them to detect any inconsistencies in color saturation or fiber alignment.
Here is a checklist table to help you systematically verify yarn weight consistency across multiple skeins before starting a project.
| Verification Step | What to Do | Why It Matters |
|---|---|---|
| Compare thickness and twist | Lay skeins side by side and inspect for visible changes | Ensures even stitch definition |
| Examine color saturation | Rotate skeins in natural light for subtle shifts | Prevents noticeable color changes in fabric |
| Test with a scale or yarn balance | Weigh equal lengths from each skein | Confirms uniform weight per yard/meter |
| Alternate skeins while swatching | Knit/crochet from 2 skeins in turns | Blends minor differences seamlessly |
| Check after washing/stressing swatch | Observe for shrinkage, pilling, or texture change | Reveals hidden inconsistencies pre-project |
According to research from the National Center for Biotechnology Information, maintaining optimal yarn tension is crucial for ensuring evenness and minimizing potential fabric defects. Use a yarn balance or digital scale to weigh multiple sections, checking that each segment maintains consistent weight per yard. Slight variations might necessitate strategic yarn placement or alternating skeins every few rows to distribute potential inconsistencies.
Technical precision meets creative problem solving in this verification stage. If you detect weight variations, consider creative adjustment strategies. Blending skeins by working from multiple yarn sources can help camouflage minor inconsistencies. Some crafters intentionally create subtle color and weight transitions as a design feature, transforming potential challenges into unique aesthetic opportunities.
Verification success means achieving a uniform fabric with consistent stitch definition, minimal unexpected texture changes, and reliable structural integrity. Your final checklist should confirm that yarn weight remains consistent across your entire project, with no abrupt thickness transitions or unexpected color shifts. By investing time in this comprehensive verification process, you transform potential crafting uncertainties into a confident, professional-quality creation.
Choose the Perfect Yarn Every Time—Craft With Confidence
Selecting the right yarn weight is one of the biggest decisions crafters face. It can make or break your project’s texture, durability, and finish. Maybe you’ve experienced the frustration of yarn that feels just wrong in your hands, or your finished piece simply does not drape as imagined. If you dream of stress-free crafting and crave material that matches your creative vision, it’s time to solve the mystery of yarn weight once and for all. Visit our Yarn collection where each yarn is clearly labeled and expertly categorized to simplify the selection process.
.png)
Transform your crafting journey today. Shop yarns with confidence and never guess again. For more inspiration and smart tools to upgrade your projects, visit Craftiss. Need a stylish way to organize your new finds? Discover our premium Yarn Bags designed for crafters who value both function and creativity. Make your next project your best yet—start shopping now and see the difference that choosing the right yarn can make.
Frequently Asked Questions
What are the different yarn weight categories?
Yarn weight categories range from 0 to 7, from Lace weight (0) which is very fine, to Super Bulky (6). The categories help determine the appropriate uses and corresponding needle sizes for each yarn type.
How do I select the right yarn for my project?
Begin by identifying your project’s requirements, including its intended use and complexity. Assess factors like desired warmth, durability, and visual characteristics to choose a suitable yarn weight and fiber type.
Why is matching yarn weight to needle size important?
Using the correct needle or hook size for your yarn weight is key to achieving the desired stitch definition, fabric drape, and overall project integrity. Each weight has a recommended tool size to ensure your project turns out as planned.
How can I test yarn samples before finalizing my selection?
Create sample swatches by knitting or crocheting a small piece using the yarn and stitch pattern intended for your project. This allows you to evaluate the yarn’s behavior, texture, and visual appeal before committing to larger quantities.
Recommended
- Understanding the Role of Yarn Weight in Crafting
- 8 Essential Types of Yarn Weights Every Crafter Should Know
- Understanding Sport Weight Yarn
- What is Sport Weight Yarn? Understanding Its Importance


