

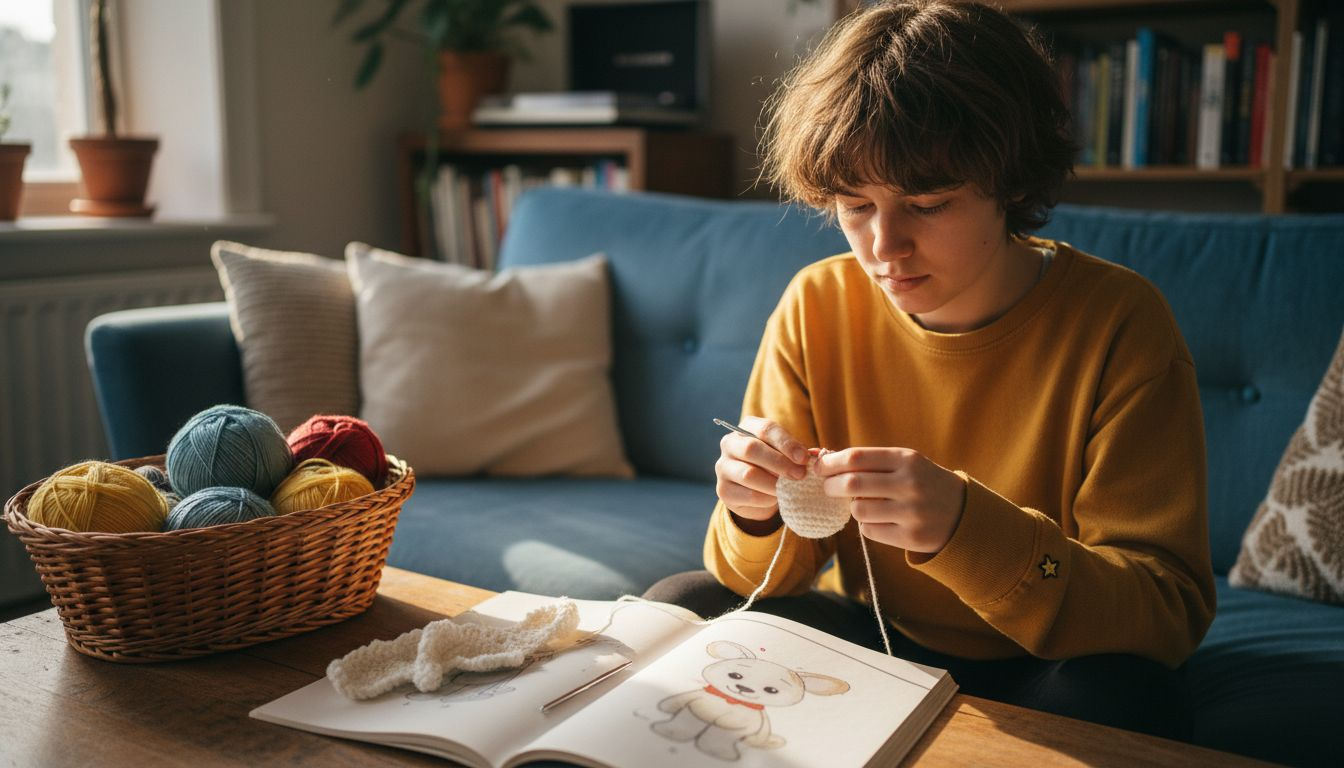
Step by Step Amigurumi Guide for Beginners and Beyond
Choosing the right supplies is often the first challenge for anyone eager to crochet adorable amigurumi characters. With the sheer variety of yarns, hooks, and tools available, it can be tough to know where to begin. Gathering essential amigurumi materials and understanding basic techniques sets the foundation for success. This guide breaks down the must-have supplies, clear steps, and expert tips to help American crochet crafters achieve polished, professional-looking projects from start to finish.
Table of Contents
- Step 1: Gather Essential Amigurumi Materials
- Step 2: Master Basic Amigurumi Crochet Techniques
- Step 3: Create and Shape Amigurumi Pieces Carefully
- Step 4: Join and Assemble Amigurumi Components Neatly
- Step 5: Review Finished Amigurumi for Quality and Details
Quick Summary
| Key Point | Explanation |
|---|---|
| 1. Gather Quality Materials | Use 100% cotton yarn, safety eyes, and other essential supplies to ensure durable amigurumi. High-quality items lead to better results and longevity. |
| 2. Master Basic Techniques | Learn single crochet, working in the round, and maintaining tight tension to create neat amigurumi forms. Practice these skills until consistent. |
| 3. Focus on Precision in Shaping | Use geometric shapes like spheres and cylinders to craft limbs and body parts accurately. This attention to detail enhances overall appearance. |
| 4. Carefully Assemble Components | Align parts before sewing and use matching thread for seamless connections. Pay attention to stitch tension for a polished look. |
| 5. Review for Quality and Consistency | Perform a thorough inspection of stitches, shape, and structural integrity. Small adjustments can elevate your amigurumi to a professional standard. |
Step 1: Gather Essential Amigurumi Materials
Starting your amigurumi journey requires assembling the right tools and materials to create adorable crocheted toys. When selecting your supplies, pay close attention to the specific requirements for crafting these miniature masterpieces.
To create successful amigurumi projects, you’ll need several key materials. Professional crafters recommend medium weight yarn that provides excellent structure and workability. Here are the essential items you’ll want to collect:
- Yarn: 100% cotton or cotton blend yarns in medium weight
- Crochet hooks: Sizes appropriate for your chosen yarn weight
- Safety eyes: Various sizes for different project needs
- Stitch markers: To track rounds and maintain pattern accuracy
- Polyester fiberfill: For stuffing your amigurumi creations
- Scissors: Sharp fabric scissors for clean yarn cuts
- Tapestry needle: For weaving in loose yarn ends
When selecting your yarn, focus on materials that will help your amigurumi maintain its shape and withstand handling. Cotton yarns offer softness and durability, making them ideal for toys that might be cuddled or played with frequently.
Pro tip: Invest in high-quality materials from the start to ensure your amigurumi projects look professional and last longer.
Step 2: Master Basic Amigurumi Crochet Techniques
Learning the fundamental techniques of amigurumi requires patience and practice. You’ll need to develop skills in creating precise stitches and shaping your adorable crocheted characters with accuracy.
Beginners should start by mastering basic crochet stitches and techniques. The essential techniques for successful amigurumi include:
- Single crochet stitch: The primary stitch used in most amigurumi projects
- Working in the round: Creating seamless circular shapes
- Increases and decreases: Shaping your amigurumi character
- Color changes: Transitioning between different yarn colors smoothly
- Tight stitch tension: Maintaining a compact, sturdy fabric
To begin, focus on creating tight, consistent stitches. Working in the round is crucial for amigurumi, as it allows you to create smooth, seamless shapes without visible seams. Practice your single crochet stitch until you can maintain an even tension throughout your work.
Mastering these basic techniques is the foundation of creating beautiful, professional-looking amigurumi characters.
As you progress, you’ll learn to read patterns, understand stitch markers, and manipulate your stitches to create intricate shapes and details. Take your time and practice each technique carefully.
Pro tip: Use a smaller hook size than typically recommended to create tighter, more compact stitches that will help your amigurumi maintain its shape.
Step 3: Create and Shape Amigurumi Pieces Carefully
Crafting beautiful amigurumi requires precision and attention to detail in creating and shaping individual pieces. Your goal is to transform simple stitches into expressive, three-dimensional characters with unique personalities.
Mastering geometric shapes and design techniques is crucial for developing professional-looking amigurumi. The fundamental shapes you’ll need to learn include:
Here is a quick-reference summary of amigurumi shape types and their common uses:
| Shape Type | Typical Use | Impact on Design |
|---|---|---|
| Sphere | Heads, bodies | Enables rounded, cute look |
| Cylinder | Arms, legs | Creates elongated body features |
| Triangle | Ears, snouts, details | Adds character and definition |
| Tapered shape | Limbs, tails, transitions | Smooth connections, realistic effect |
- Spheres: Perfect for heads and body sections
- Cylinders: Ideal for arms, legs, and tubular structures
- Triangles: Useful for creating angular features
- Tapered shapes: Essential for smooth transitions between body parts
When forming body parts, pay special attention to your stitch tension and count. Consistent tension ensures that your pieces maintain their intended shape and look professionally crafted. Each section requires careful consideration of increases and decreases to achieve the desired form.
Precision in shaping is what transforms a basic crochet project into a charming, lifelike amigurumi character.
Start by practicing basic geometric forms, focusing on creating smooth, even surfaces. Learn to read patterns carefully, counting stitches and following instructions meticulously to develop each body part with accuracy.
Pro tip: Use stitch markers to track your round beginnings and critical shaping points, helping you maintain consistent shape and symmetry throughout your amigurumi creation.
Step 4: Join and Assemble Amigurumi Components Neatly
Successfully bringing your amigurumi character to life depends on carefully joining and assembling its individual pieces. Each connection point requires precision and attention to ensure a polished, professional-looking final creation.
Joining amigurumi parts seamlessly involves several critical techniques. Here are the key steps for neat assembly:
- Alignment: Position body parts precisely before sewing
- Thread selection: Use matching yarn color for invisible seams
- Needle technique: Use a tapestry needle for smooth, tight stitches
- Secure connections: Ensure parts are firmly attached without gaps
- Yarn end management: Hide and secure loose yarn ends neatly
Begin by laying out all your crocheted pieces and planning their exact placement. Take time to align edges carefully, pinning parts in position if needed. Use small, consistent stitches that blend into the existing fabric, creating an almost invisible connection.
Patience and precision during assembly transform individual crochet pieces into a charming, cohesive amigurumi character.
Pay special attention to symmetry and tension when joining parts. Each stitch should be tight enough to hold securely but not so tight that it distorts the shape of your amigurumi.
Here is a comparison of common amigurumi assembly mistakes and their solutions:
| Mistake | Visible Result | Recommended Solution |
|---|---|---|
| Misaligned parts | Crooked limbs or features | Reposition and pin before sewing |
| Loose stitches at joins | Gaps between pieces | Use tighter, smaller stitches |
| Unhidden yarn ends | Exposed tails or threads | Weave in securely with needle |
| Uneven stuffing | Lumps or sagging | Redistribute or add fiberfill |
Pro tip: Work in good lighting and use a neutral-colored work surface to help you see your stitches clearly and maintain consistent assembly technique.
Step 5: Review Finished Amigurumi for Quality and Details
Completely crafting an amigurumi requires a thorough final review to ensure your creation meets professional standards. The last step in your journey is carefully examining every aspect of your handmade character.
Quality inspection techniques are crucial for creating a polished amigurumi. Here are the key areas to evaluate:
- Stitch consistency: Check for uniform tension throughout
- Structural integrity: Ensure all parts are securely attached
- Shape maintenance: Verify the amigurumi holds its intended form
- Yarn ends: Confirm all loose threads are woven in neatly
- Surface appearance: Look for any unintended bumps or irregularities
- Symmetry: Validate balanced proportions of body parts
Carefully rotate your amigurumi, examining it from multiple angles. Use natural lighting to highlight potential imperfections. Check that stuffing is evenly distributed and creates a smooth, uniform surface without visible lumps or gaps.
A meticulous review transforms a good amigurumi into an exceptional handcrafted masterpiece.
Pay special attention to details like eye placement, facial features, and the overall character expression. Small adjustments can significantly improve the final appearance of your creation.
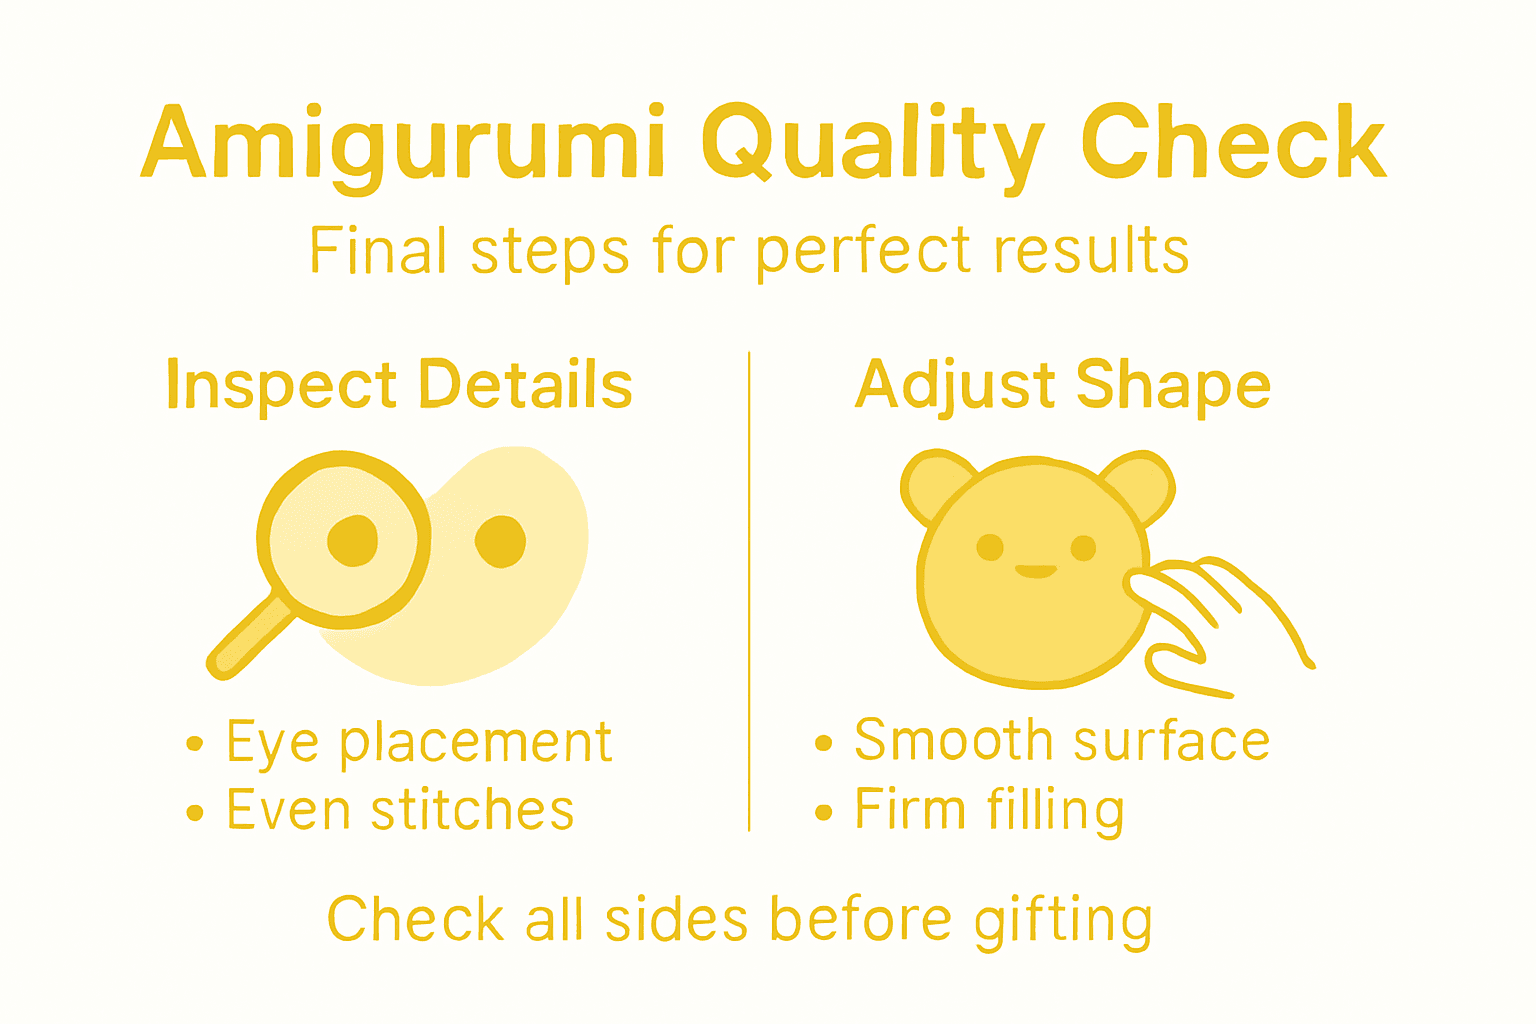
Pro tip: Take a photograph of your amigurumi and review the digital image, as cameras often reveal imperfections the naked eye might miss.
Elevate Your Amigurumi Craft with Premium Yarn and Tools
Starting your amigurumi projects can be exciting but challenging when you lack the right materials and guidance. This detailed guide highlights the importance of precise stitch tension, consistent shaping, and neat assembly—all achievable with the best supplies and support. If you want your creations to hold their perfect shape and last long, choosing quality yarn and reliable accessories is essential.
.png)
Get ahead in your crochet journey by exploring our wide range of carefully selected Yarn designed for amigurumi enthusiasts. At CRAFTISS, we understand your passion for flawless craftsmanship and offer tools that help you master every stitch with confidence. Start crafting professional-quality amigurumi today and transform your ideas into charming handmade characters. Visit us now and take your crochet skills to the next level.
Frequently Asked Questions
What essential materials do I need to start my amigurumi projects?
You’ll need medium weight yarn, a crochet hook suitable for your yarn, safety eyes, stitch markers, polyester fiberfill, scissors, and a tapestry needle. Gather these materials before starting to ensure you have everything necessary for your crafting journey.
How do I master basic crochet techniques for amigurumi?
Start by practicing single crochet stitches, working in the round, and understanding how to increase and decrease stitches. Focus on creating tight and consistent stitches to master these foundational techniques before advancing to more complex designs.
What types of shapes should I learn to create in amigurumi?
Learn to create spheres, cylinders, triangles, and tapered shapes, as these are fundamental for crafting heads, bodies, arms, and other features of your amigurumi characters. Practice each shape separately to gain confidence and precision before combining them into more intricate designs.
How can I join different parts of my amigurumi together neatly?
Align the pieces precisely before sewing them together, using matching yarn for invisible seams. Employ small, consistent stitches to create secure connections without visible gaps for a professional finish.
What factors should I check when reviewing my finished amigurumi?
Examine stitch consistency, structural integrity, shape maintenance, and overall appearance. Make adjustments where necessary to ensure your amigurumi looks polished and professionally crafted.
What are some common mistakes to avoid during the amigurumi assembly?
Avoid misaligning parts, using loose stitches, and leaving visible yarn ends. Carefully pin pieces before sewing and utilize tighter stitches to ensure a seamless assembly.
Recommended
- How to Make Crochet Amigurumi: A Step-by-Step Guide – CRAFTISS
- How to crochet with yarn: your ultimate beginner’s guide to mastering – CRAFTISS
- What is Amigurumi? Understanding the Art of Crochet Toys – CRAFTISS
- 7 Inspiring Crochet Pattern Ideas for Every Yarn Crafter – CRAFTISS


