

Beginner Crochet Stitches Tutorial: Master Basic Techniques Fast
Over 80 percent of beginners who learn crochet say the right materials make the biggest difference in how quickly they pick up the basics. Getting started can seem like a puzzle, especially with rows of yarn and hooks lining store shelves. Once you know what to look for, assembling your crochet toolkit becomes simple and even fun. This guide takes out the guesswork so you can start your first project with confidence and enthusiasm.
Table of Contents
- Step 1: Gather Essential Crochet Materials
- Step 2: Learn to Hold Yarn and Hook Properly
- Step 3: Practice Forming a Slip Knot and Foundation Chain
- Step 4: Master Basic Crochet Stitches Step by Step
- Step 5: Check and Refine Your Stitch Consistency
Quick Summary
| Key Point | Explanation |
|---|---|
| 1. Gather essential materials first | Start with crochet hooks, yarn, scissors, and stitch markers. Choose light-colored, medium-weight yarn for easier visibility while learning. |
| 2. Hold yarn and hook properly | Use a relaxed grip for comfort and control. Experiment with yarn tension methods to find what suits you best. |
| 3. Create a slip knot and chain | Master forming a slip knot and foundation chain as they are the first steps in every crochet project. Practice consistently. |
| 4. Learn basic crochet stitches | Focus on mastering single crochet and slip stitch as they are the foundation for many patterns. Each stitch will enhance your skills. |
| 5. Check stitch consistency | Evaluate your work for uniformity in stitch size by examining hand positioning and yarn tension. Adjusting tension improves your overall work quality. |
Step 1: Gather Essential Crochet Materials
Starting your crochet journey means assembling the right tools and materials to set yourself up for success. In this section, you will learn exactly what you need to begin creating beautiful handmade projects with confidence.
Every beginner crocheter needs a few fundamental materials to get started. Your essential kit should include:
- Crochet hooks in multiple sizes (recommended sizes G/4.0mm and H/5.0mm for beginners)
- Yarn in light colors (makes it easier to see your stitches)
- Scissors for cutting yarn
- Stitch markers to track your progress
- A measuring tape
- A yarn needle for weaving in ends
When selecting your first yarn, choose an affordable medium weight yarn in a light solid color. Avoid dark or variegated yarns initially as they can make learning more challenging. Acrylic or wool blend yarns work great for beginners because they are forgiving and relatively inexpensive.
If you want to accelerate your learning, check out our beginner crochet tips article for additional guidance on getting started with the right materials and techniques.
As you gather your materials, remember that practice matters more than perfection. Your first projects might look a bit uneven, but each stitch brings you closer to mastering this wonderful craft.
Step 2: Learn to Hold Yarn and Hook Properly
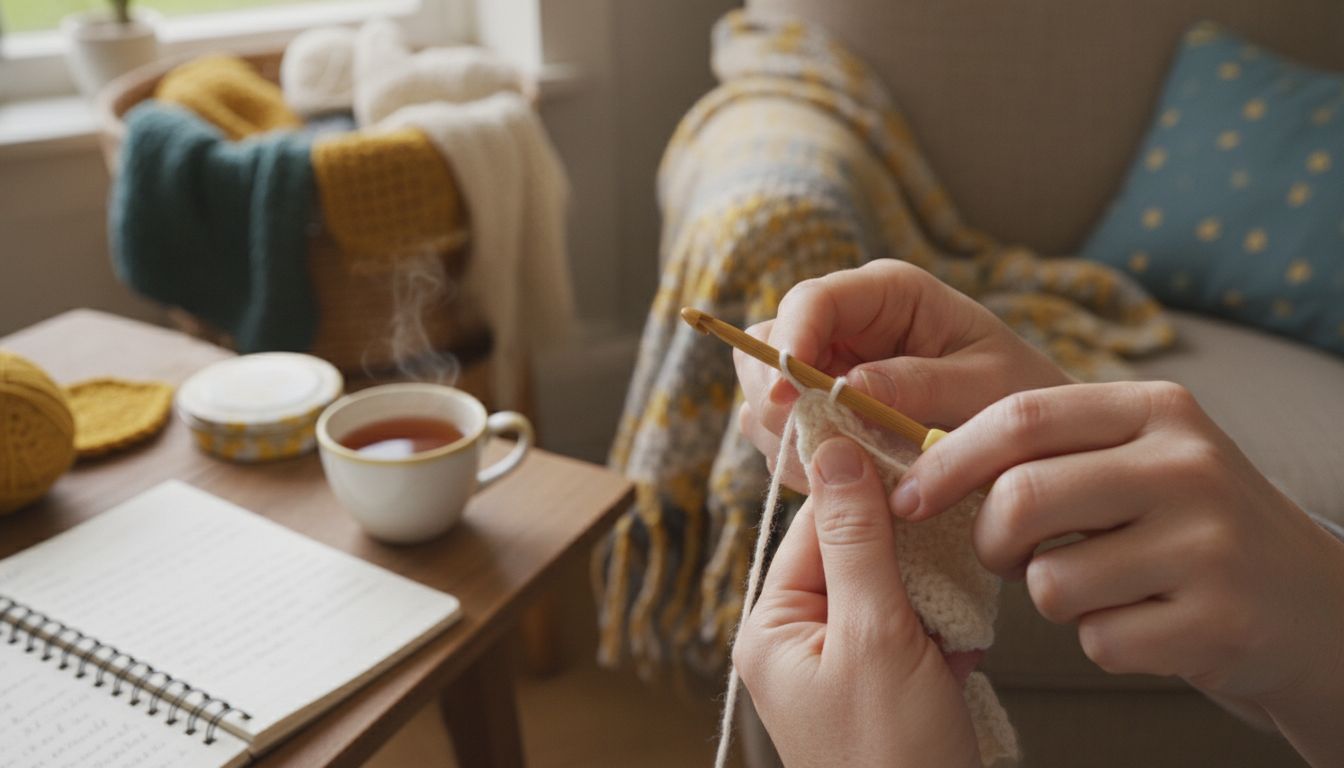
Mastering the right technique for holding your crochet hook and yarn is crucial for creating smooth consistent stitches. In this section, youll learn the fundamental hand positioning that will set the foundation for your crochet skills.
According to Ignite, finding a comfortable grip that works for you is key to successful crocheting. For the hook, most beginners start with an overhand grip similar to holding a pencil. Hold the hook between your thumb and index finger with a relaxed but secure grasp. Your hand should feel comfortable and not tense.
For managing yarn tension, wrap the yarn around your non dominant hand. Most crocheters use one of two methods wrap the yarn around your pinky and ring finger or weave the yarn between your fingers to create consistent tension. Experiment to find what feels most natural. If your stitches are too tight or loose, adjust how you tension the yarn.
To help you progress faster, learn how to crochet with yarn from our ultimate beginners guide which offers additional insights into perfecting your technique.
Remember that muscle memory develops with practice. Your first attempts might feel awkward, but keep practicing and youll soon find a comfortable rhythm that feels like second nature.
Step 3: Practice Forming a Slip Knot and Foundation Chain
Learning to create a slip knot and foundation chain are the first true steps in your crochet journey. These fundamental techniques form the starting point for nearly every crochet project you will create.
According to the Utah State University Extension, creating a slip knot involves a simple but precise process. Start by making a loop with your yarn leaving a tail about 6 inches long. Insert your crochet hook into the loop and gently pull the working yarn through to create a slip knot. The knot should be snug but not too tight around your hook.
To form your foundation chain pull the yarn through the slip knot and continue creating loops. Wrap the yarn over your hook and pull through the loop on your hook. Repeat this process to create a series of chain stitches. Keep your tension consistent aim for each chain to be roughly the same size. Beginners often struggle with maintaining even tension so dont get discouraged if your first attempts look uneven.
If youre looking to refine your technique further, learn how to crochet with yarn from our ultimate beginners guide which offers additional insights and visual demonstrations.
Practice is key. Your first foundation chain might look a bit wobbly but with each attempt youll develop muscle memory and improve your consistency.
Step 4: Master Basic Crochet Stitches Step by Step
Learning basic crochet stitches is your gateway to creating beautiful handmade projects. In this section, youll discover how to confidently perform fundamental stitches that form the foundation of most crochet patterns.
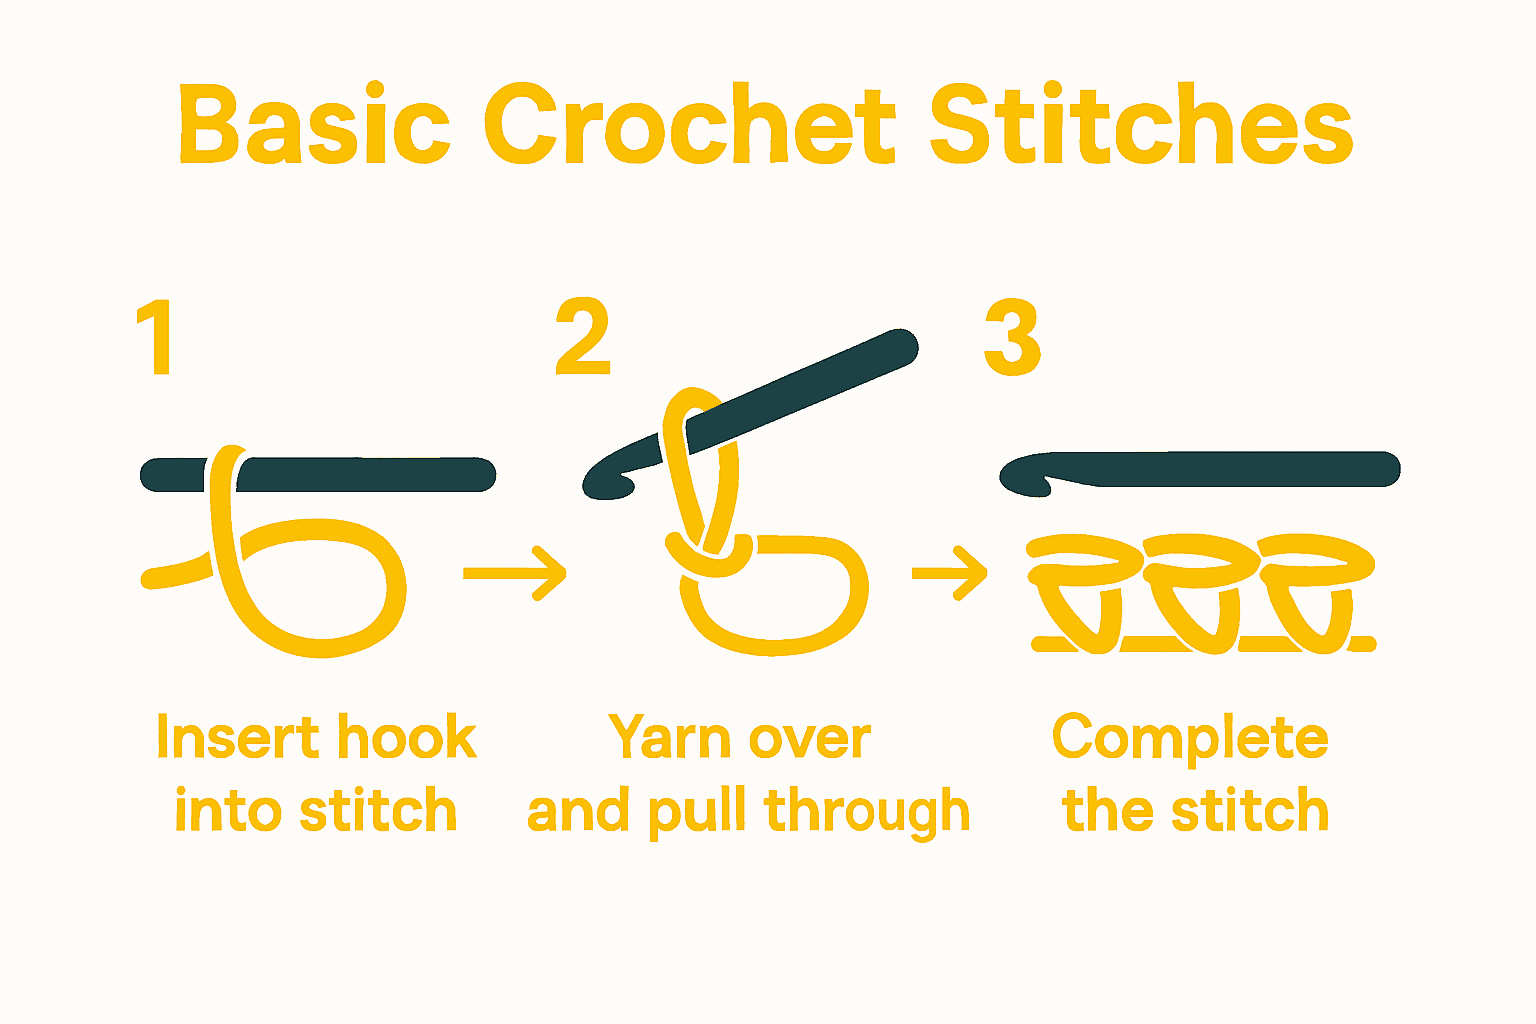
According to the Utah State University Extension, mastering basic stitches involves understanding three core techniques single crochet, slip stitch, and chain stitch. Start with the single crochet as your primary stitch. Insert your hook into the next stitch, yarn over, pull through the first loop, then yarn over again and pull through both loops. This creates a neat compact stitch that forms the basis of many patterns.
The slip stitch is another crucial technique used for joining rounds or moving across your work without adding height. Simply insert your hook into the next stitch, yarn over, and pull directly through both the stitch and the loop on your hook. This creates a nearly invisible connection between stitches.
For additional insights into perfecting your technique, explore our comprehensive crochet stitch guide which breaks down each stitch with detailed instructions.
Remember that consistency comes with practice. Your first attempts might look uneven, but each stitch brings you closer to becoming a confident crocheter.
Step 5: Check and Refine Your Stitch Consistency
Achieving uniform and consistent stitches is the hallmark of a skilled crocheter. In this section, youll learn how to evaluate and improve the quality of your crochet work through careful tension control and technique refinement.
According to Ignite, maintaining consistent yarn tension is critical for creating professional looking projects. Start by focusing on your hand positioning and grip. Keep your yarn hand relaxed but firm, allowing the yarn to flow smoothly between your fingers. Practice holding the yarn with consistent pressure creating even loops and preventing tight or loose sections.
To check your stitch consistency, lay your work flat and examine the overall appearance. Look for variations in stitch height and width. If you notice significant differences, adjust your hand positioning or try changing how you wrap the yarn around your fingers. Some crocheters find success by wrapping the yarn around their pinky finger to create natural tension control.
If you want to dive deeper into perfecting your technique, explore our comprehensive crochet tension guide which offers additional insights for creating uniform stitches.
Remember that consistency comes with muscle memory. Dont get discouraged if your first attempts look uneven. Practice makes perfect and each project will help you improve your technique.
Take Your Beginner Crochet Skills to the Next Level Today
Mastering basic crochet stitches like the single crochet and slip stitch takes time and practice. If you find yourself struggling with consistent tension or need better materials to build your confidence start with the right tools. Discover our wide selection of quality Yarn designed especially for beginners who want smooth, even stitches every time.
.png)
Don’t let uneven stitches slow you down. Explore premium yarn options and helpful resources at CRAFTISS to make your crochet journey enjoyable and rewarding. Ready to transform your crochet projects? Shop now and create with confidence while supplies last.
Frequently Asked Questions
What are the basic crochet stitches I need to learn as a beginner?
To start your crochet journey, focus on mastering the single crochet, slip stitch, and chain stitch. These fundamental stitches form the basis of most crochet patterns and will enable you to create a variety of projects.
How do I maintain consistent tension while crocheting?
Easily maintain consistent tension by keeping your yarn hand relaxed while holding the yarn with firm pressure. Practice wrapping the yarn around your fingers in a way that creates even loops, as this will help control how tight or loose your stitches are.
How can I check if my stitches are uniform in size?
Lay your work flat and visually inspect for variations in stitch height and width. If you notice any inconsistencies, adjust your grip or tension technique until your stitches appear uniform.
What is the correct way to hold the crochet hook and yarn?
Hold the crochet hook between your thumb and index finger with a relaxed grip, similar to holding a pencil. For the yarn, try wrapping it around your pinky and ring fingers to achieve the right tension and comfort as you work.
How can I practice forming a slip knot and foundation chain?
Start by creating a loop with your yarn and leaving a 6-inch tail to form your slip knot. Then, pull the yarn through the slip knot to form your foundation chain, repeating the process to create a series of chain stitches with consistent tension.
What should I do if my stitches look uneven at first?
Don’t worry if your initial stitches appear uneven; this is common for beginners. Keep practicing to build muscle memory, and aim for consistent tension with each stitch you create to improve over time.
Recommended
- How to crochet with yarn: your ultimate beginner’s guide to mastering – CRAFTISS
- Crochet Stitch Guide: Master Essential Stitches Easily – CRAFTISS
- 8 Essential Beginner Crochet Tips for Success – CRAFTISS
- 7 Easy Crochet Patterns for Beginners to Try Now – CRAFTISS


