

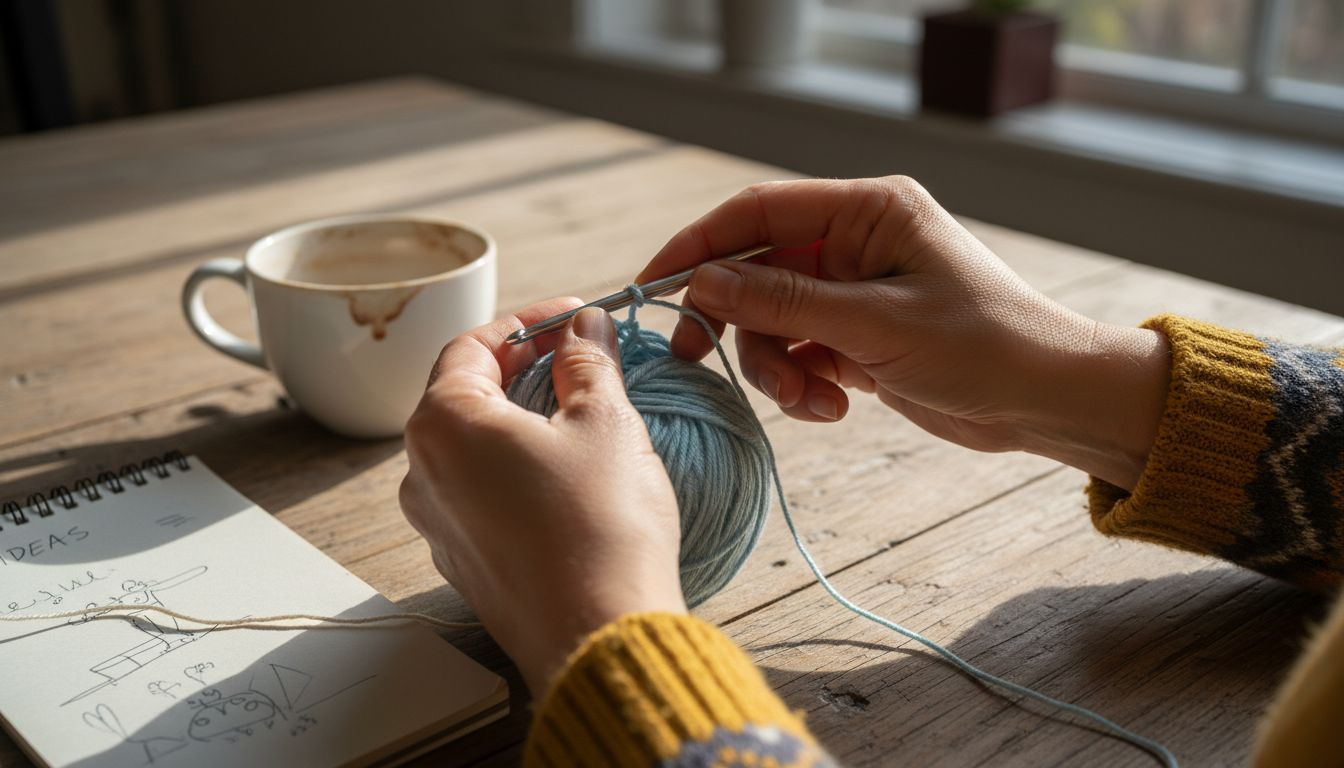
How to Start Crocheting: Your First Stitches Made Easy
Over 20 million American crafters have picked up a crochet hook, but beginners often overlook the importance of choosing the right tools from the very start. Selecting quality yarn and comfortable hooks makes a huge difference in the learning process, setting you up for smoother stitches and faster progress. This guide explains exactly which essential crochet supplies you need so you can start your projects with confidence and avoid the mistakes that trip up most first timers.
Table of Contents
- Step 1: Select Essential Crochet Tools and Yarn
- Step 2: Master How to Hold Your Hook and Yarn
- Step 3: Create a Basic Crochet Foundation Chain
- Step 4: Practice Making First Crochet Stitches
- Step 5: Check Your Work and Troubleshoot Common Issues
Quick Summary
| Key Point | Explanation |
|---|---|
| 1. Select Suitable Crochet Tools | Choose medium-sized aluminum or bamboo hooks and medium weight yarn for beginner-friendly projects. |
| 2. Proper Hook and Yarn Technique | Use pencil or knife grip for comfort and control; experiment to find what suits you best. |
| 3. Create a Consistent Foundation | Master the chain stitch for a solid base; practice maintaining even tension throughout. |
| 4. Practice Basic Crochet Stitches | Start with single crochet to develop technique; focus on stitch height and uniformity. |
| 5. Evaluate and Troubleshoot Work | Regularly check for stitch consistency and tension issues; learn to recognize and fix errors. |
Step 1: Select Essential Crochet Tools and Yarn
Starting your crochet journey requires assembling the right tools and materials. This step will help you gather everything needed to begin creating beautiful handmade projects.
Your essential toolkit starts with selecting the right crochet hooks and yarn. Domestika’s comprehensive guide on crochet materials recommends beginning with aluminum or bamboo hooks in medium sizes like G/H (4.0 or 5.0 mm), which work well for most beginner projects. For yarn, choose a medium weight (size 4) wool or acrylic blend that’s smooth and easy to work with. Avoid slippery or fuzzy yarns that can complicate learning basic stitches.
As you build your initial kit, focus on versatile tools that provide comfort and ease. Aim for a set of hooks ranging from sizes E to I, which will cover most starter projects. Select light colored yarns initially so you can easily see your stitches while practicing. Look for yarns labeled as “worsted weight” or “medium” which are perfect for learning and creating everything from scarves to simple blankets.
Pro tip: Purchase a small project bag or container to keep your tools organized and protected from dust and damage, ensuring your crochet supplies remain in top condition for your crafting adventures.
Here’s a quick comparison of common crochet hook and yarn choices for beginners:
| Material/Type | Typical Features | Pros | Best For |
|---|---|---|---|
| Aluminum Hooks | Lightweight, smooth surface | Glides through yarn, affordable | General beginner projects |
| Bamboo Hooks | Warm feel, natural grip | Comfortable hold, eco-friendly | Those who prefer soft grip |
| Acrylic Yarn | Synthetic, wool-like texture | Inexpensive, widely available | First-time learners |
| Wool Blend Yarn | Natural fibers, soft and elastic | Durable, holds shape well | Scarves, hats, basic blankets |
Step 2: Master How to Hold Your Hook and Yarn
Learning how to properly hold your crochet hook and yarn is a fundamental skill that will set the foundation for all your future projects. Mastering this technique ensures comfort, control, and consistent stitch formation.
Montana State University’s crochet guide highlights two primary methods for holding your crochet hook: the pencil grip and the knife grip. In the pencil grip, you hold the hook similar to how you would hold a writing utensil, with your thumb and index finger pinching the handle near the top. This method works well for crafters with smaller hands or those who prefer a more precise control. The knife grip involves holding the hook more like a knife, with your hand wrapped around the handle in a more relaxed position, which can reduce hand fatigue during longer crocheting sessions.
For yarn tension, wrap the yarn around your non dominant hand’s fingers to create consistent tension. Practice finding a grip that feels natural and allows you to maintain steady yarn movement without straining your hands. Experiment with both hook holding techniques to discover which feels most comfortable and provides the most control for your unique hand anatomy.
Pro tip: Practice your hook and yarn grip while watching television or during short breaks to build muscle memory without the pressure of completing a specific project.
Step 3: Create a Basic Crochet Foundation Chain
The foundation chain is the starting point for almost every crochet project, forming the base from which all other stitches will grow. Understanding how to create a consistent and even chain is crucial for successful crocheting.
Domestika’s beginner crochet guide emphasizes that the chain stitch is the most fundamental technique in crochet. Start by creating a slip knot by forming a loop with your yarn, then pulling the working end through to create a secure loop on your hook. To make your first chain, yarn over by wrapping the yarn from back to front over your hook, then pull this yarn through the existing loop on your hook. Repeat this process to create multiple chain stitches, maintaining consistent tension to ensure each stitch looks uniform.
As you practice, focus on keeping your chains relaxed and even. Your chains should not be too tight or too loose. A good rule of thumb is to create chains that are roughly the same size as the height of the stitches you will be using in your project. Practice creating chains of different lengths to build muscle memory and improve your technique. Remember that your first few attempts might look uneven, but with practice, you will develop a smooth and consistent rhythm.
Pro tip: Use light colored yarn when learning to create foundation chains so you can easily see your stitches and track your progress more effectively.
Step 4: Practice Making First Crochet Stitches
Now that you have mastered your foundation chain, it is time to learn your first actual crochet stitches. These initial techniques will form the building blocks of all your future crochet projects.
Domestika’s beginner crochet guide recommends starting with the single crochet stitch as the most basic technique. Begin by inserting your hook into the second chain from your hook, yarn over, and pull the yarn through the first loop. You will now have two loops on your hook. Yarn over again and pull through both loops. This creates one single crochet stitch. Continue practicing this motion across your foundation chain, focusing on maintaining consistent tension and keeping your stitches even.
As you progress, try creating rows of single crochet by turning your work after completing a row. When you reach the end of a row, chain one stitch and turn your work, then insert your hook into the first stitch of the previous row. Practice moving smoothly between rows, paying attention to your stitch height and maintaining a consistent width. Do not worry about perfection in your first attempts. Every stitch you make helps build muscle memory and improves your technique.
Pro tip: Count your stitches after each row to ensure you are maintaining a consistent number and not accidentally increasing or decreasing your stitch count.
Step 5: Check Your Work and Troubleshoot Common Issues
Learning to evaluate your crochet work is just as important as mastering the stitches themselves. Developing a critical eye will help you improve your technique and create more polished projects.
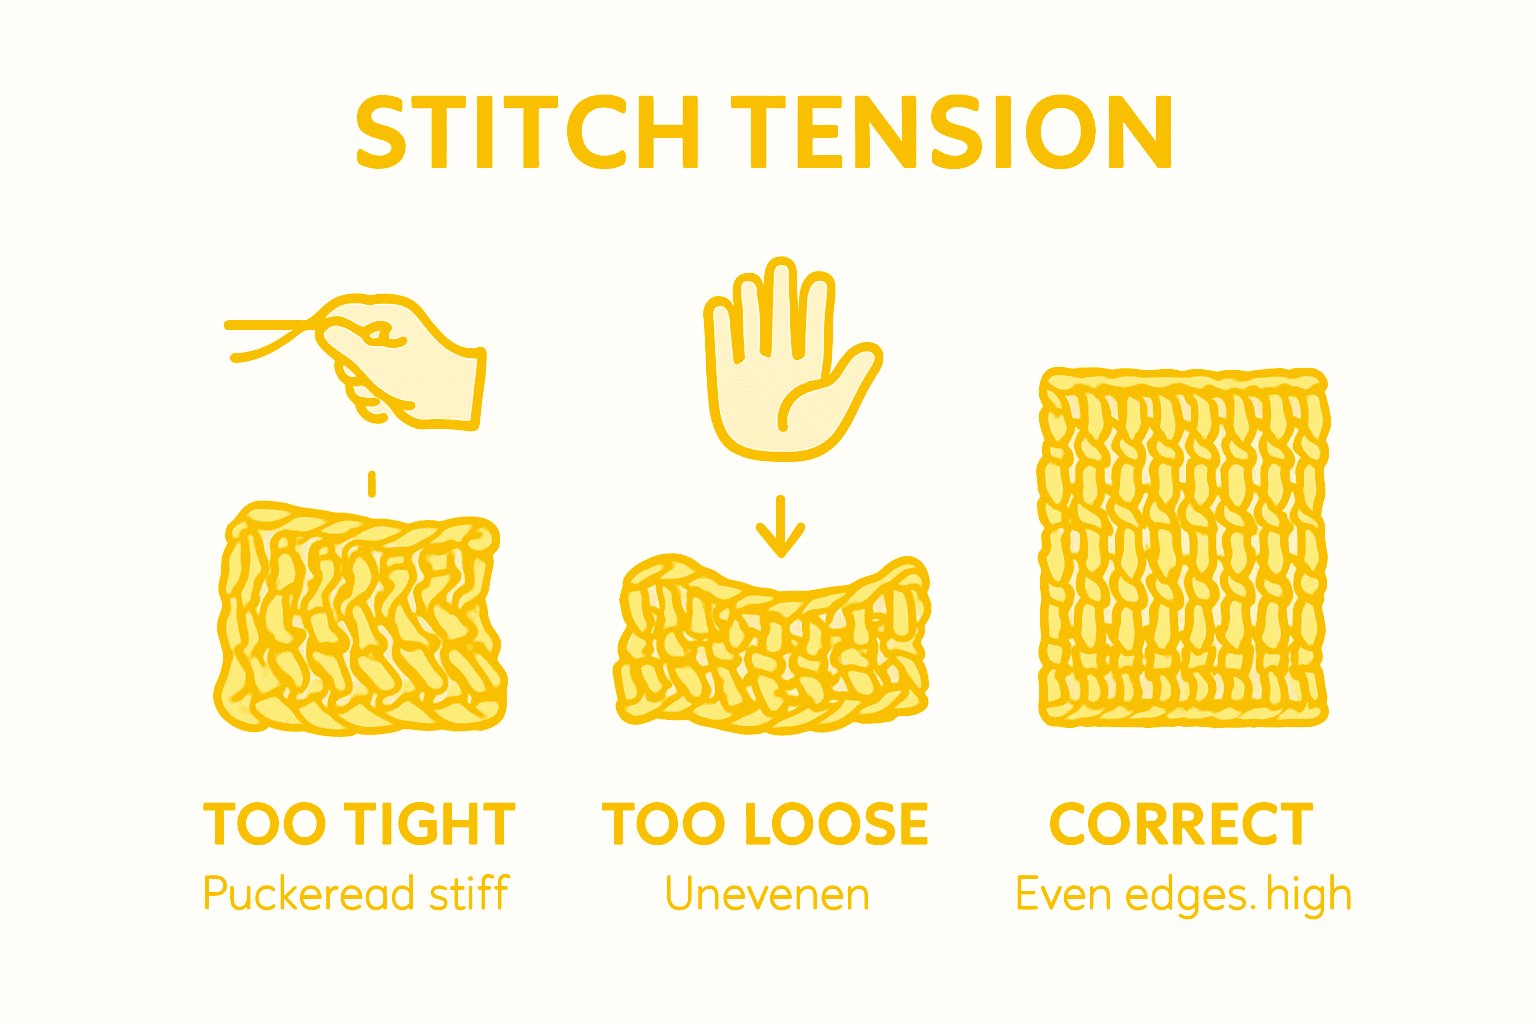
Domestika’s beginner crochet guide highlights several key areas to examine when checking your work. First, look at your stitch consistency. Uneven stitches often result from inconsistent tension or irregular hook placement. Hold your work at arms length and scan for areas where stitches appear larger or smaller. Pay attention to the edges of your work, which should form a straight line. If your edges are wavy or uneven, this typically indicates that you are accidentally adding or dropping stitches.
Tension is the most common challenge for new crocheters. If your work appears tight and stiff, you may be pulling your yarn too firmly. Conversely, loose stitches suggest you are not maintaining enough tension. Practice maintaining a steady grip on your yarn and hook, allowing the yarn to slide smoothly without excessive force. When you notice mistakes, do not be afraid to unravel your work and restart. Experienced crocheters call this process frogging because you are essentially jumping back like a frog to your previous point.
Pro tip: Use stitch markers to help you keep track of your row count and identify where you might have made mistakes in your pattern.
Use this table to understand and troubleshoot common crochet mistakes:
| Common Issue | Likely Cause | How to Fix |
|---|---|---|
| Crooked Project Edges | Adding or skipping stitches | Count stitches each row |
| Tight Stitches | Excessive tension, tight grip | Relax hand, loosen yarn hold |
| Loose Stitches | Lax tension, inconsistent grip | Maintain steady yarn tension |
| Uneven Row Height | Inconsistent stitch heights | Practice even stitch size |
Begin Your Crochet Journey With Expert Tools and Quality Yarn
Starting to crochet means overcoming challenges such as choosing the right yarn and tools, mastering your hook and yarn grip, and creating consistent stitches that bring your project to life. This article breaks down these essential skills and highlights common issues like tension and stitch consistency that every beginner faces.
.png)
Ready to take the next step? Discover our curated collection of premium Yarn perfect for beginners who want smooth, easy-to-work-with fibers that build confidence stitch by stitch. Keep your supplies organized and accessible with stylish Yarn Bags designed to protect and simplify your crafting experience. Explore everything you need today at CRAFTISS and start creating beautiful projects with comfort and ease.
Frequently Asked Questions
What basic crochet tools do I need to start?
To start crocheting, you’ll need a crochet hook and yarn. Opt for medium-sized hooks, such as G or H (4.0 or 5.0 mm), and a medium weight yarn for easy handling. Assemble your basic toolkit to begin crafting easily and comfortably.
How do I hold my crochet hook and yarn correctly?
Properly holding your crochet hook and yarn is essential for comfort and control. You can choose either the pencil grip or the knife grip method, depending on which feels more natural for you; practice with both methods to find your best fit.
What is a foundation chain and how do I create one?
The foundation chain is the starting point for most crochet projects. To create one, make a slip knot and then yarn over and pull through the loop on your hook; continue this process to build your chain, ensuring your stitches are even and consistent.
What stitch should I learn first as a beginner?
Start with the single crochet stitch, which is the most basic crochet stitch. Insert your hook into the second chain from the hook, yarn over, and pull through to form a single crochet; practice this across your foundation chain for consistency.
How can I check my work for common crochet mistakes?
To check your work, examine your stitch consistency and the edges of your project for straightness. If you see uneven stitches or crooked edges, count your stitches after each row and adjust your tension as needed to maintain uniformity.
What should I do if my stitches are too tight or too loose?
If your stitches are too tight, try relaxing your grip and allowing the yarn to slide more freely; conversely, if they are too loose, focus on maintaining steady tension. Practicing with consistent yarn tension within your grip can substantially improve your crochet technique.
Recommended
- 8 Essential Beginner Crochet Tips for Success – CRAFTISS
- Beginner Crochet Stitches Tutorial: Master Basic Techniques Fast – CRAFTISS
- How to crochet with yarn: your ultimate beginner’s guide to mastering – CRAFTISS
- 7 Easy Crochet Patterns for Beginners to Try Now – CRAFTISS


