

Complete Crochet Pattern Writing Guide for Beginners
More than 35 million people worldwide enjoy the soothing rhythm of crochet. Yet for most beginners, knowing where to start can be confusing. A clear guide not only prevents frustration but also helps new crafters build confidence stitch by stitch. This article breaks down the entire crochet pattern writing process into simple, manageable steps so you can create and share your own beautiful designs with ease.
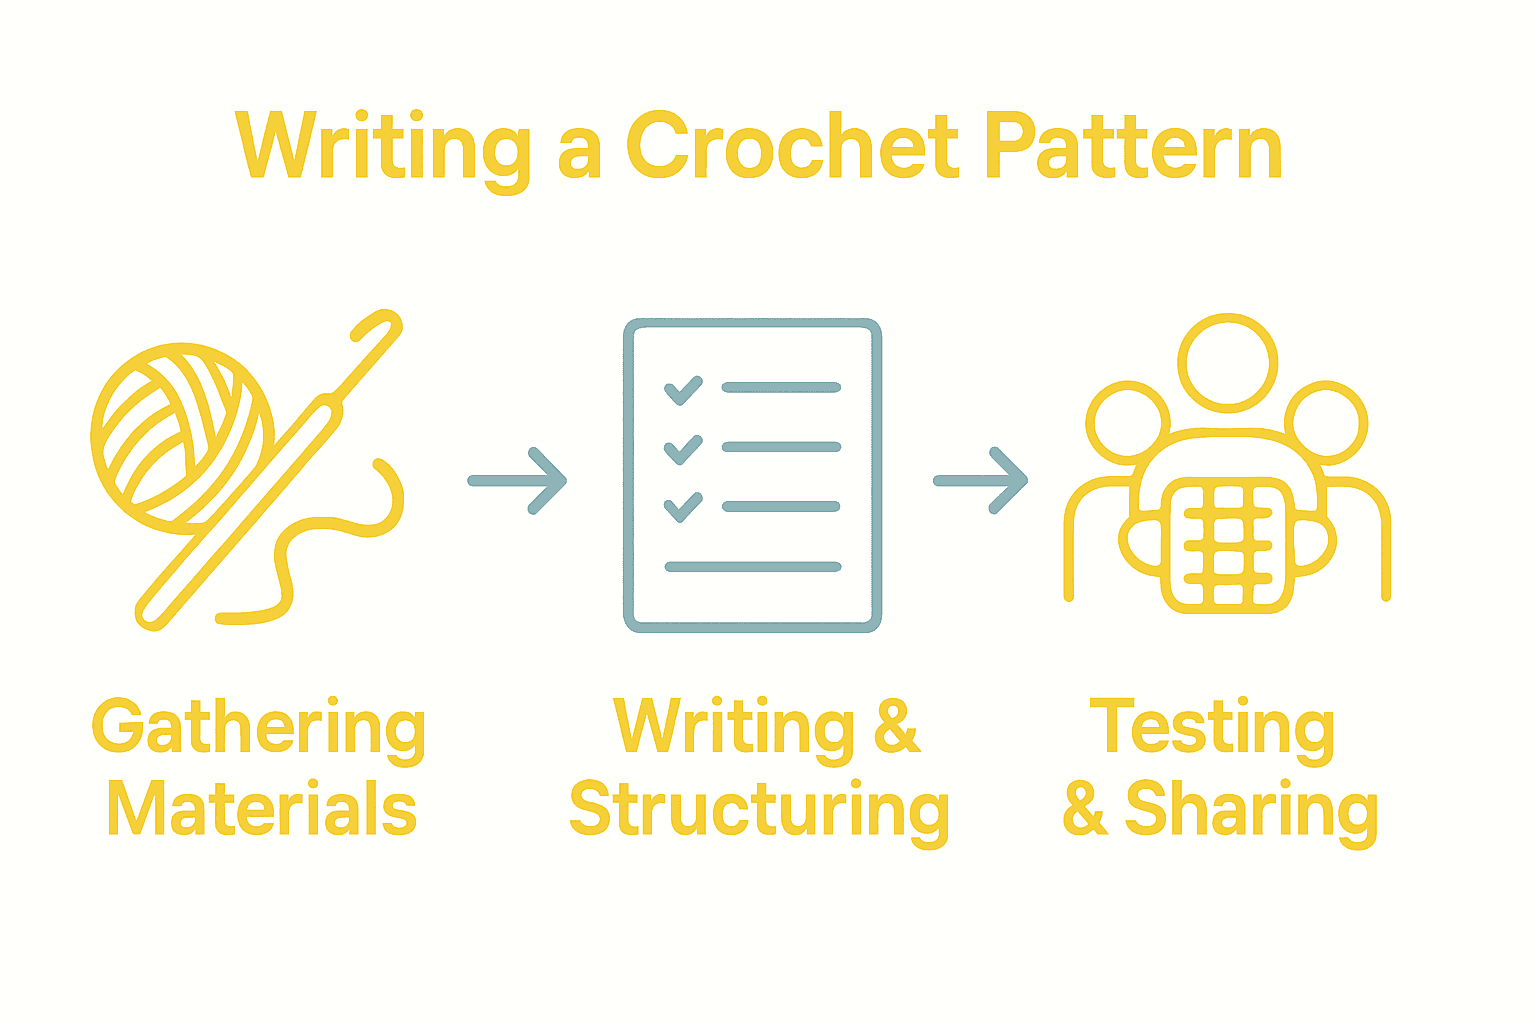
Table of Contents
- Step 1: Gather Essential Crochet Details And Materials
- Step 2: Structure Pattern Sections For Clarity
- Step 3: Write Clear Step-By-Step Pattern Instructions
- Step 4: Add Abbreviations, Notes, And Visuals
- Step 5: Test And Edit The Crochet Pattern For Accuracy
- Step 6: Format And Share Your Finished Pattern
Quick Summary
| Key Point | Explanation |
|---|---|
| 1. Gather essential crochet materials | Collect basic tools like hooks, yarn, and scissors to start your crochet journey effectively. |
| 2. Structure your crochet pattern clearly | Organize your pattern with sections like materials, stitch instructions, and final measurements for easy understanding. |
| 3. Write precise step-by-step instructions | Break down each step clearly, specifying exact actions to eliminate confusion for users of all skill levels. |
| 4. Include abbreviations and visuals | Enhance comprehension by providing a list of abbreviations and relevant visuals throughout your pattern. |
| 5. Test and edit your pattern rigorously | Thoroughly review and test your pattern to identify any unclear instructions, ensuring it’s user-friendly before sharing. |
Step 1: Gather essential crochet details and materials
Crochet is an exciting craft that requires a thoughtful collection of materials and understanding of basic techniques. In this step, you will learn exactly what tools and knowledge you need to start your crochet journey successfully.
According to the Montana Extension, selecting the right materials is crucial for beginners. You will need to gather several key items:
- Crochet hooks (sizes G 4.0mm to H 5.0mm are excellent for beginners)
- Yarn (medium weight yarn works best for learning)
- Scissors
- Measuring tape
- Stitch markers
- Yarn needle for weaving in ends
The Boston Public Library Guide recommends choosing smooth, light-colored yarn for your first projects so you can easily see your stitches. Avoid fuzzy or textured yarns that can make learning more challenging. Start with acrylic or wool blend yarns as they are forgiving and affordable.
Pro tip: When selecting your first crochet hook, opt for an ergonomic handle that feels comfortable in your hand. Aluminum or bamboo hooks work well for beginners and provide smooth yarn movement.
With your materials gathered, you are now ready to learn basic stitches and start your first crochet project.
Step 2: Structure pattern sections for clarity
Writing a clear and organized crochet pattern is essential for helping other crafters successfully recreate your design. In this step, you will learn how to create a well structured pattern that communicates your instructions effectively.
According to the Braille Authority of North America, a well crafted pattern should include several key sections:
- Materials list with exact yarn requirements
- Hook size and recommended gauge
- Skill level indicator
- Detailed stitch instructions
- Step by step row or round progression
- Final measurements
- Finishing and blocking instructions
The Domestika Tutorial emphasizes the importance of using clear abbreviations and standard crochet terminology. Create a legend at the beginning of your pattern that explains all abbreviations and special stitches you will use.
Pro tip: Use consistent formatting throughout your pattern. Consider creating a template that you can reuse for different projects to maintain a professional and easy to follow style.
With a clear pattern structure in place, you are ready to begin writing detailed instructions for your crochet design.
Step 3: Write clear step-by-step pattern instructions
Crafting a crochet pattern that anyone can follow requires precision, clarity, and a systematic approach to writing instructions. In this step, you will learn how to transform your creative vision into a comprehensive guide that helps crafters successfully recreate your design.
According to the Domestika Tutorial, writing clear pattern instructions involves breaking down each step into manageable and explicit directions. Start by numbering each row or round sequentially and describe exactly what stitches to make. For example, instead of writing “continue crocheting,” specify “single crochet in each stitch across the row” to provide crystal clear guidance.
The Montana Extension recommends using standard abbreviations consistently throughout your pattern. Create a legend at the beginning that explains all abbreviations like sc (single crochet), dc (double crochet), and ch (chain). This helps prevent confusion and ensures crafters of all skill levels can understand your instructions.
Pro tip: Read through your pattern instructions multiple times as if you were a beginner seeing them for the first time. Ask another crafter to test your pattern to identify any unclear sections or potential points of confusion.

With your step-by-step instructions refined and clear, you are ready to help crafters bring your unique design to life.
Step 4: Add abbreviations, notes, and visuals
Making your crochet pattern easy to understand requires more than just clear instructions. This step focuses on enhancing your pattern with essential abbreviations, helpful notes, and informative visuals that will guide crafters through your design.
According to the Domestika Tutorial, creating a comprehensive pattern legend is crucial. At the beginning of your pattern, include a detailed abbreviation key that explains every shorthand term you will use. For instance, explain that “sc” means single crochet, “dc” means double crochet, and “sl st” represents a slip stitch. Consider organizing your abbreviations alphabetically to make them easy to reference.
The Braille Authority of North America recommends incorporating visual aids to complement your written instructions. Include diagrams showing stitch techniques, charts for complex stitch patterns, and illustrations of finished sections. These visual elements can help crafters who learn better through images understand your pattern more effectively.
Pro tip: Consider adding special notes about technique challenges, yarn substitutions, or specific tension requirements. These additional details can help crafters anticipate potential difficulties and adjust their approach accordingly.
With your abbreviations, notes, and visuals in place, your pattern will be a comprehensive guide that speaks to crafters of all skill levels.
Step 5: Test and edit the crochet pattern for accuracy
Creating a perfect crochet pattern requires more than just writing instructions. This step focuses on thoroughly testing and refining your pattern to ensure it can be successfully followed by crafters of all skill levels.
According to the Braille Authority of North America, pattern testing involves multiple comprehensive reviews. Start by working through your own pattern exactly as written, carefully tracking each step. Check that your measurements match the original design, verify stitch counts, and confirm that each instruction leads logically to the next. Pay special attention to any complex techniques or unusual stitch combinations that might confuse other crafters.
The Domestika Tutorial recommends involving other crafters in your testing process. Recruit a few crocheters with different skill levels to work through your pattern independently. Ask them to provide detailed feedback about any sections that seem unclear or challenging. Their fresh perspectives can help you identify potential stumbling blocks that you might have overlooked.
Pro tip: Create a standardized feedback form for your test crafters. Include specific questions about instruction clarity, stitch difficulty, and overall pattern comprehension to gather structured insights.
With your pattern thoroughly tested and refined, you are ready to share your design confidently with the crafting community.
Step 6: Format and share your finished pattern
After meticulously crafting and testing your crochet pattern, the final step is presenting it professionally to the crafting world. This stage transforms your creative work into a shareable resource that can inspire and guide other crocheters.
According to the Braille Authority of North America, effective pattern formatting requires careful organization. Create a clean, consistent layout with clear headings for each section such as Materials, Gauge, Pattern Notes, and Step by Step Instructions. Use a legible font and ensure adequate white space to make your pattern easy to read. Consider using a two column format for materials list and instructions to maximize readability.
The Domestika Tutorial recommends including high quality images or diagrams that showcase your finished project from multiple angles. These visuals help crafters understand the final product and provide motivation to complete the pattern. Consider photographing your project in natural light and including close up shots of unique stitch details or complex techniques.
Pro tip: When sharing your pattern online, create both a printable PDF version and a web friendly format. This ensures accessibility for crafters who prefer different reading methods.
With your beautifully formatted pattern ready, you are prepared to share your design with crochet enthusiasts around the world.
Master Your Crochet Patterns With the Right Supplies
Writing a clear crochet pattern can feel overwhelming when you are trying to get every stitch and abbreviation just right. This guide highlights the challenges of organizing instructions, creating visuals, and testing your design. Whether you want to achieve professional clarity or simply avoid confusion in your projects you need materials that support your creative process.
Explore our premium Yarn collection at CRAFTISS designed for comfort and ease of use. We also offer practical Yarn Bags to keep your supplies organized and accessible so you can focus on pattern writing without distraction.
.png)
Start turning your crochet ideas into well-structured patterns now with quality tools that inspire confidence and precision. Visit CRAFTISS today and discover everything you need to bring your crochet designs to life.
Frequently Asked Questions
What materials do I need to start writing a crochet pattern?
To write your crochet pattern, you’ll need essential materials including a crochet hook, yarn, and a notepad or computer for drafting. Gather tools such as stitch markers and a measuring tape to ensure accuracy in your pattern instructions.
How do I structure my crochet pattern for beginners?
A well-structured crochet pattern should include a materials list, hook size, skill level, stitch instructions, and step-by-step progression. Use clear headings and consistent formatting to enhance readability and help beginners follow along easily.
What are some best practices for writing clear pattern instructions?
For clarity in pattern instructions, break down each step into concise and explicit directions, numbering them sequentially. Use standard abbreviations consistently and include a legend at the beginning to prevent confusion among readers.
How can I incorporate visuals into my crochet pattern?
Incorporate visuals such as diagrams and step-by-step images to complement your written instructions. These can provide additional guidance, especially for complex stitches, making it easier for beginners to understand your pattern.
How do I test my crochet pattern for accuracy?
To test your crochet pattern, work through it as written and have a few other crafters try it as well. Collect feedback on clarity and ease of understanding, and note any sections that may need revision to ensure it’s beginner-friendly.
What final touches should I make before sharing my crochet pattern?
Before sharing, format your pattern professionally by using clear headings, a legible font, and ample white space. Include high-quality images of the finished project to inspire crafters, ensuring it is accessible in both printable and web-friendly formats.
Recommended
- Complete Guide to Crochet Pattern Types Explained – CRAFTISS
- How to crochet with yarn: your ultimate beginner’s guide to mastering – CRAFTISS
- How to Design Crochet Patterns: Create Unique Designs Easily – CRAFTISS
- 7 Inspiring Crochet Pattern Ideas for Every Yarn Crafter – CRAFTISS


