


Crochet Gauge Explained: Achieve Perfect Project Fit
More than half of American crocheters end up with projects that do not fit as planned because of misunderstood gauge. Whether you are crafting a cozy sweater or a simple hat, mastering gauge helps you achieve the perfect fit and professional quality. This guide breaks down why gauge matters, how it affects your finished pieces, and what steps give you control over your results every time.
Table of Contents
- What Is Crochet Gauge And Why It Matters
- Types Of Gauge And Measurement Methods
- Factors That Affect Crochet Gauge Results
- How To Measure And Adjust Your Gauge
- Common Crochet Gauge Mistakes To Avoid
Key Takeaways
| Point | Details |
|---|---|
| Understanding Crochet Gauge | Crochet gauge is crucial for ensuring projects fit as intended, requiring precise measurements before starting. |
| Create a Gauge Swatch | Always make a gauge swatch using the same yarn and hook to verify your stitch count before beginning a project. |
| Factors Affecting Gauge | Various factors like yarn thickness, hook size, and personal tension will impact your gauge; adjust accordingly for best results. |
| Avoid Common Mistakes | Prevent sizing issues by always creating gauge swatches, using the correct materials, and being aware of potential tension variations. |
What Is Crochet Gauge and Why It Matters
Crochet gauge is the critical measurement that determines how your finished project will look and fit. Think of it as the blueprint for your crocheted creation. Gauge, sometimes called tension, represents the number of stitches and rows per inch in your specific crochet work. It serves as the foundation for ensuring your handmade items turn out exactly as you envision.
Understanding gauge is essential because even small variations can dramatically change your project’s final dimensions. A slight difference in how tightly or loosely you crochet can transform a perfectly sized sweater into something that’s too small or oversized. Professional crocheters know that creating a gauge swatch before starting any project is not just recommended - it’s crucial. This small sample allows you to test and adjust your technique, ensuring your hook size and yarn tension match the pattern’s specifications.
The process of checking gauge involves creating a small test square using the same yarn and hook you’ll use for the actual project. Carefully measuring this swatch reveals how many stitches and rows you create per inch. If your gauge doesn’t match the pattern’s recommended measurements, you’ll need to adjust your hook size. Going up a hook size creates looser stitches, while using a smaller hook produces tighter, more compact stitches. This precise adjustment ensures your finished item will have the correct proportions and appearance specified in the original design.
Pro tip: Always make your gauge swatch slightly larger than the recommended measurement to get the most accurate count and avoid stretching the fabric during measurement.
Recommended supplies for your project


Types of Gauge and Measurement Methods
Crochet gauge measurement is a precise technique that involves creating a test swatch to determine the accuracy of your crocheting technique. The most common method requires crafting a square swatch approximately 4 inches wide, which allows for a comprehensive evaluation of stitch consistency and size. This detailed approach helps crocheters ensure their finished projects will match the intended design specifications exactly.
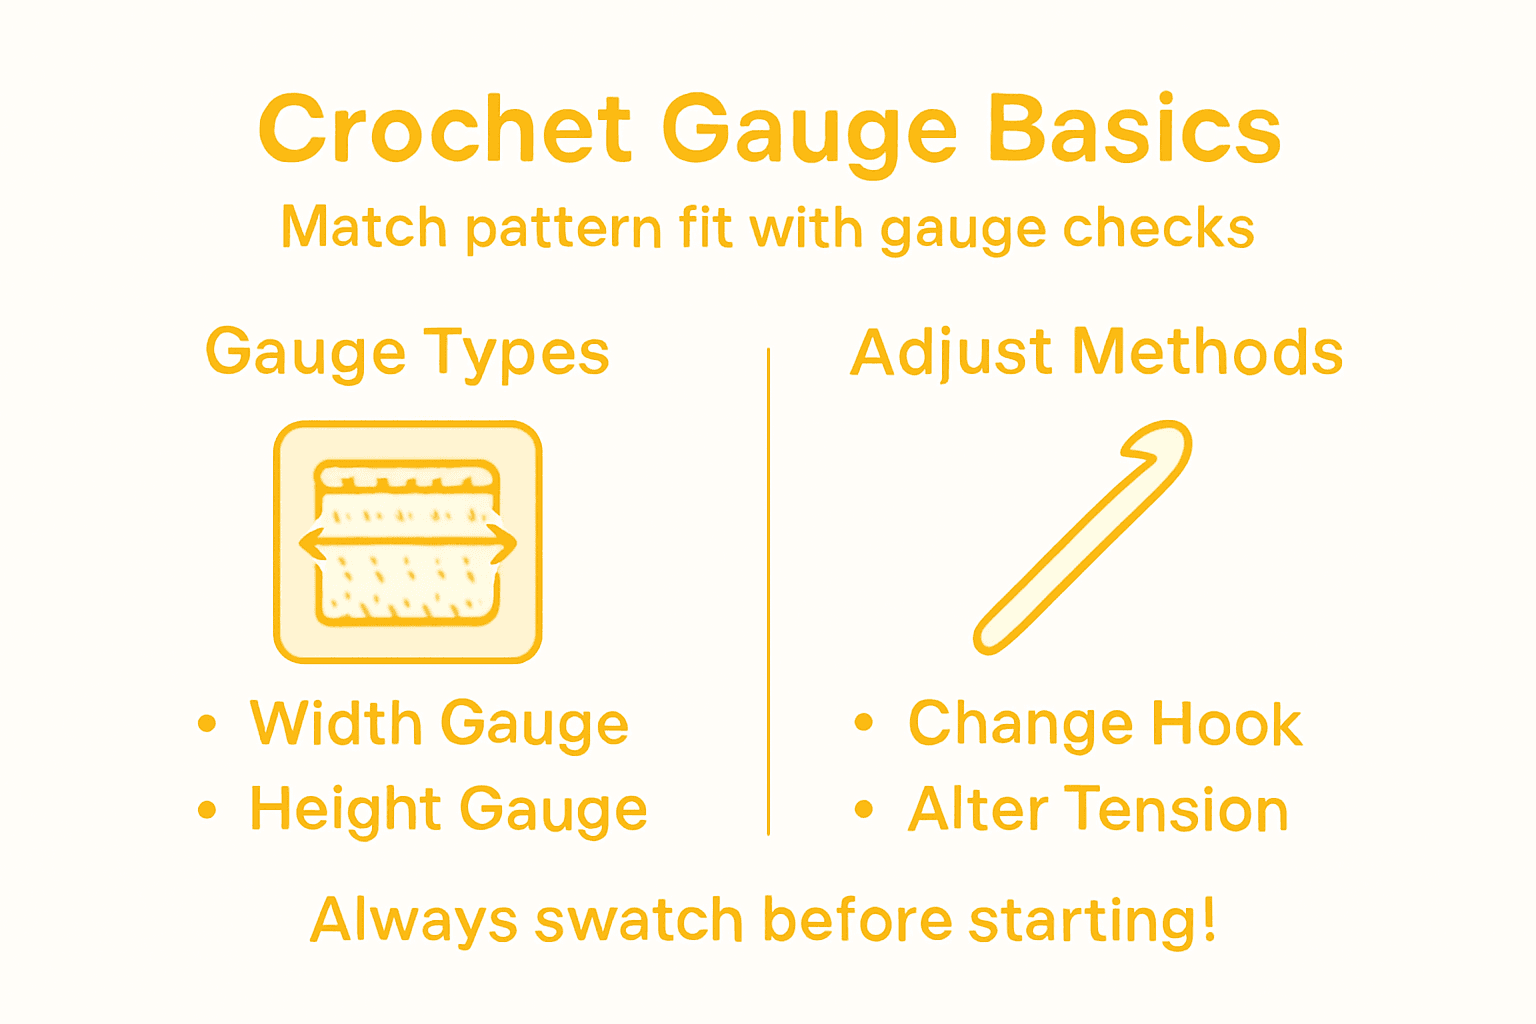
Two primary types of gauge measurements are critical for successful crocheting: width gauge and height gauge. Width gauge measures the number of stitches per inch horizontally, while height gauge tracks the number of rows per inch vertically. These measurements are not interchangeable and must be individually assessed. Different yarn weights, hook sizes, and individual crocheting styles can dramatically impact these measurements, making it essential to create a detailed swatch that represents your specific technique.
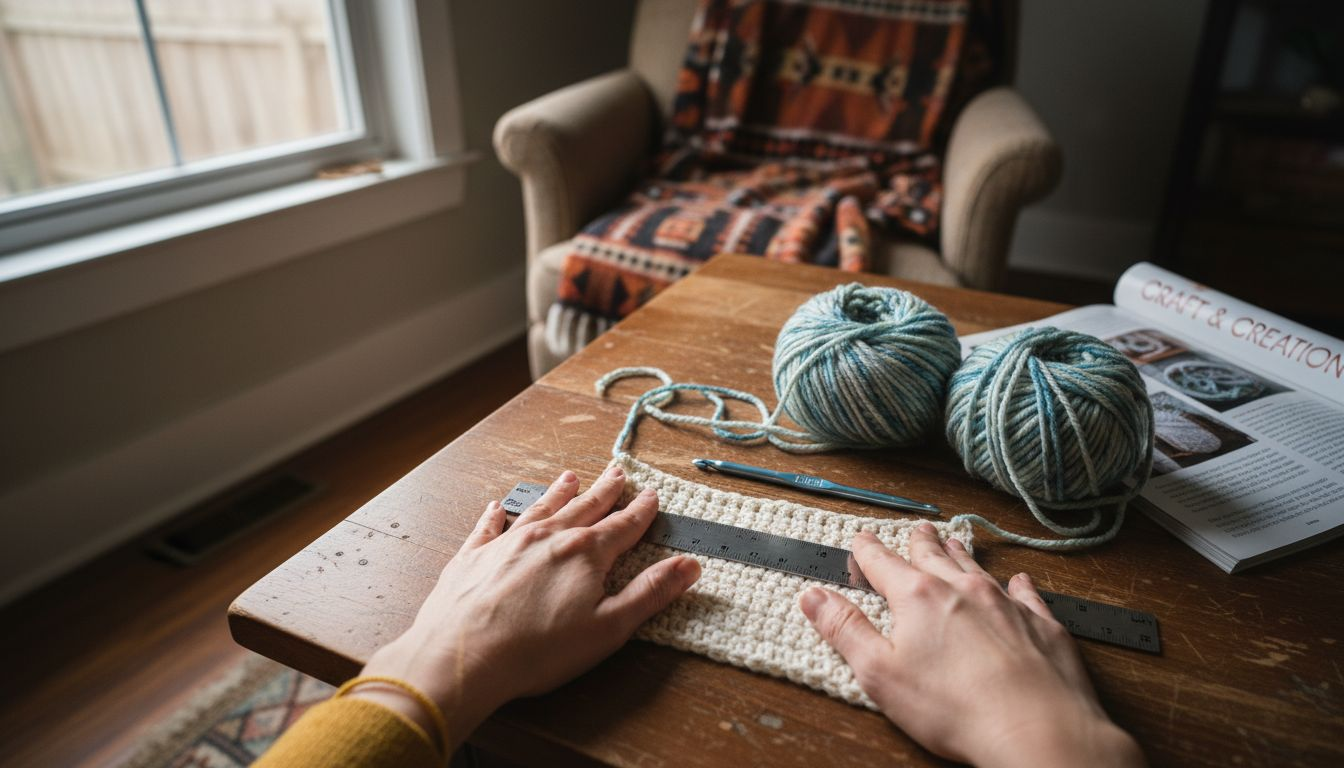
Crafters typically use a few standard techniques to measure gauge accurately. The most reliable method involves creating a swatch larger than the recommended measurement, then carefully blocking and laying it flat. Using a ruler or gauge measurement tool, you’ll count the number of stitches and rows within a precise 4-inch square. Some crocheters prefer digital tools or specialized gauge rulers with clear markings to ensure absolute precision. When counting, it’s crucial to measure from the center of the swatch to avoid potential edge distortions that could skew your measurements.
Pro tip: Create multiple gauge swatches using different hook sizes to understand how subtle changes in tension can impact your overall project dimensions.
Compare the two main types of gauge measurement methods in crochet:
| Gauge Type | What It Measures | Why It Matters |
|---|---|---|
| Width Gauge | Stitches per inch horizontally | Ensures correct fabric width |
| Height Gauge | Rows per inch vertically | Controls finished item height |
Factors That Affect Crochet Gauge Results
Crochet gauge is influenced by multiple interconnected variables that can dramatically impact your project’s final appearance. Factors affecting gauge) range from personal technique to materials and environmental conditions. Understanding these elements allows crocheters to create more consistent and predictable results across different projects.
The most significant factors include yarn characteristics, hook size, and individual tension. Yarn thickness and fiber composition play a crucial role in determining stitch size and overall gauge. Different yarn weights - from delicate laceweight to chunky wool - will produce dramatically different stitch densities. Similarly, hook size directly impacts stitch dimensions. A larger hook creates looser, more expansive stitches, while a smaller hook produces tighter, more compact rows. Individual crocheting technique, often called personal tension, represents the most variable element. Some crafters naturally crochet tightly, creating smaller stitches, while others produce looser, more relaxed work.
Additional nuanced factors can subtly influence gauge measurement. Stitch pattern complexity, for instance, can alter how stitches sit and compress. Cables, textured stitches, and intricate designs may require more careful gauge considerations than simple single or double crochet patterns. Environmental conditions like humidity and temperature can also affect yarn behavior, causing slight expansions or contractions that impact overall gauge. Experienced crocheters learn to adapt their technique, sometimes changing hook sizes or adjusting tension to compensate for these variable factors.
Pro tip: Practice creating gauge swatches using the exact yarn, hook, and working conditions you’ll use in your final project to achieve the most accurate measurements.
Here’s a summary of factors that influence crochet gauge and how each impacts your final project:
| Factor | Effect on Gauge | Potential Adjustment |
|---|---|---|
| Yarn Thickness | Changes stitch size and density | Switch yarn weight |
| Hook Size | Alters stitch compactness | Use larger or smaller hook |
| Personal Tension | Impacts uniformity of stitches | Practice for consistency |
| Stitch Pattern | Modifies row and stitch shape | Adjust stitch selection |
| Environment | Yarn can expand or contract | Block swatch if needed |
How to Measure and Adjust Your Gauge
Gauge measurement is a precise process that requires careful attention and systematic approach. Creating an accurate gauge swatch is the foundation of ensuring your crochet project will turn out exactly as intended. Professional crocheters understand that this preliminary step can save hours of potential frustration and prevent disappointing results.
To measure gauge effectively, begin by creating a test swatch using the exact yarn weight, hook size, and stitch pattern specified in your project instructions. The recommended swatch size is typically 4-6 inches square, which provides enough fabric to accurately count stitches and rows. Use a standard ruler or specialized gauge measurement tool to count the number of stitches horizontally and rows vertically within a precise 4-inch square. If your stitch count differs from the pattern’s recommended gauge, you’ll need to adjust your technique or tools.
Adjusting gauge involves strategic modifications to your crocheting approach. When your swatch shows more stitches per inch than the pattern requires, you’ll need to use a larger hook to create looser stitches. Conversely, if your swatch shows fewer stitches per inch, switch to a smaller hook to produce tighter, more compact stitches. Some crocheters also adjust their personal tension by consciously relaxing or tightening their grip on the yarn. Blocking your swatch - which involves washing and laying the fabric flat to its final shape - can also help provide a more accurate gauge measurement.
Pro tip: Always make multiple gauge swatches and compare them, as your first attempt might not represent your most consistent work.
Common Crochet Gauge Mistakes to Avoid
Crochet gauge mistakes can transform a promising project into a frustrating experience. Understanding these common pitfalls helps crocheters proactively prevent sizing and design issues before they become irreversible problems. Recognizing and addressing potential gauge errors early can save significant time, materials, and emotional investment in your crafting journey.
One of the most critical mistakes is skipping the gauge swatch entirely or creating an inaccurate sample. Inconsistent tension represents the primary culprit behind gauge variations. Beginners often struggle with maintaining uniform stitch size, which can lead to dramatic differences between their test swatch and final project. Different emotional states, environmental conditions, or even the time of day can subtly impact how tightly or loosely you crochet. Some crafters unconsciously tense up while working on complex patterns, causing their stitches to become progressively tighter without realizing it.
Additional gauge mistakes include using the wrong hook size, failing to match the exact yarn specified in the pattern, and neglecting to block your swatch before measurement. Yarn characteristics like fiber content, twist, and weight dramatically influence stitch appearance and size. Experienced crocheters understand that a cotton yarn behaves differently from wool, and each requires unique tension considerations. Some crafters make the mistake of assuming their previous gauge will remain consistent across different projects, overlooking the nuanced changes that can occur with new materials or design challenges.
Pro tip: Create multiple gauge swatches and label them with the date, yarn type, and hook size to track your technique’s evolution and identify potential inconsistencies.
Master Your Crochet Gauge with Quality Tools from CRAFTISS
Understanding how to measure and adjust your crochet gauge is key to creating projects that fit perfectly and look professional. If you have struggled with inconsistent tension or the frustration of incorrect sizing, you are not alone. Achieving precise width and height gauge depends greatly on the yarn and tools you choose. At CRAFTISS, we offer a carefully curated selection of premium Yarn designed to help you maintain consistent stitch size and tension for any project.
.png)
Take control of your crochet journey today by using the right materials that match your project needs. Whether you are making a cozy sweater or a delicate accessory, the perfect yarn paired with your hook can make all the difference. Visit CRAFTISS to explore our collection and find everything you need for flawless gauge measurement. For convenient storage and transport, check out our durable and stylish Yarn Bags to keep your supplies organized while you perfect your craft.
Frequently Asked Questions
What is crochet gauge?
Crochet gauge is the measurement of the number of stitches and rows per inch in your crocheted work, determining how your finished project will look and fit.
Why is it important to check your crochet gauge?
Checking your crochet gauge is essential to ensure that your finished item matches the specified dimensions of the pattern. Even small variations can lead to a project being too small or oversized.
How do I create a gauge swatch?
To create a gauge swatch, crochet a small square, usually around 4 inches wide, using the same yarn and hook as your project. Measure the number of stitches and rows in a 4-inch square to check your gauge.
What should I do if my gauge does not match the pattern?
If your gauge does not match the pattern, adjust your hook size: a larger hook will create looser stitches, while a smaller hook will create tighter stitches. You may also need to adjust your personal tension while crocheting.
