

How to Crochet Flowers Easily for Stunning Decorations
More than 60 percent of American beginners say gathering the right crochet supplies feels confusing when starting a floral project. Choosing tools and yarn can shape your entire crocheting experience especially if you dream of making decorative flowers that brighten up your home. This guide walks you through each step from selecting beginner-friendly materials to perfecting your crochet flower’s shape so your American crafting journey starts with clarity and confidence.
Table of Contents
- Step 1: Gather Essential Crochet Supplies
- Step 2: Choose Suitable Yarn And Hook
- Step 3: Start Forming The Flower Center
- Step 4: Create Petals Using Basic Stitches
- Step 5: Finish And Secure Your Crochet Flower
- Step 6: Check Your Flower For Quality And Shape
Quick Summary
| Key Point | Explanation |
|---|---|
| 1. Gather essential supplies | Assemble crochet hooks, yarn, scissors, and stitch markers for starting your flower project. |
| 2. Choose the right yarn and hook | Use medium weight yarn with a compatible hook size to achieve a professional look in your flowers. |
| 3. Start with a solid center | Create a solid foundation chain for your flower to ensure a compact and well-defined center. |
| 4. Master basic petal stitches | Use single and double crochet stitches to form petals, focusing on consistent tension and shape. |
| 5. Finish and secure your flower | Weave in ends and adjust petals for symmetry to complete a polished and professional-looking flower design. |
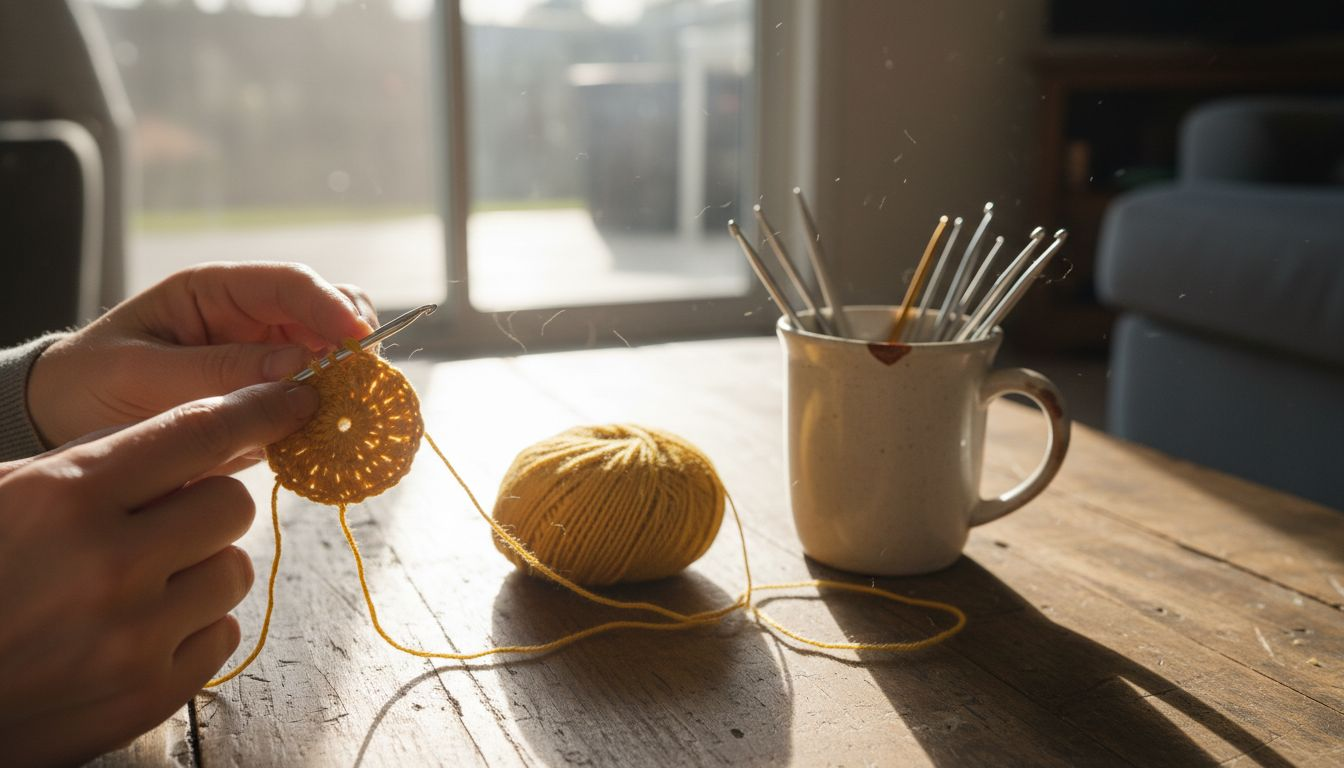
Step 1: Gather Essential Crochet Supplies
Starting your crochet flower project requires assembling the right tools and materials. Understanding essential beginner crochet supplies will help you create beautiful decorative flowers with confidence and ease.
For your flower crochet project, you will need several key items. First, select crochet hooks in various sizes perfect for creating delicate flower designs. Choose lightweight yarn in colors that complement your decorative vision - cotton and acrylic yarns work wonderfully for flower crafting. Additional essential supplies include sharp scissors for clean yarn cuts, stitch markers to track your progress, and a darning needle for weaving in loose yarn ends.
Organize your supplies in a dedicated crafting container to keep everything accessible. As you prepare to start crocheting, make sure your workspace is well lit and comfortable. The right preparation sets the foundation for creating stunning crocheted flowers that will enhance your home decor.
Pro tip: Purchase a beginner crochet kit that includes multiple hook sizes and a variety of yarn colors to give yourself maximum creative flexibility.
Step 2: Choose Suitable Yarn and Hook
Selecting the right yarn and hook is crucial for creating beautiful crocheted flowers that look professional and hold their shape perfectly. When choosing materials, pay close attention to yarn weight and hook sizes that work harmoniously together.
For flower projects, medium weight yarn (number 4) works best. This weight provides enough structure for delicate flower petals while remaining lightweight and easy to manipulate. Cotton and acrylic yarns are ideal for creating crisp flower designs that maintain their shape. When matching your hook, select a size that complements your yarn thickness - typically a G hook (4 mm) works wonderfully for most medium weight yarns. The goal is achieving consistent tension that creates even stitches and allows your flower design to emerge cleanly and precisely.
Experiment with different yarn colors and textures to add unique character to your flower decorations. Softer yarns create more delicate looking flowers, while slightly stiffer yarns provide better structural definition. Consider the final placement of your crocheted flowers when selecting materials think about whether they will be decorative accessories, appliques, or standalone art pieces.
Pro tip: Keep a small swatch test piece handy to check your yarn and hook combination before starting your full flower design.
Here’s a helpful comparison of crochet yarn types for flower projects:
| Yarn Type | Key Characteristics | Best Use in Flowers | Care Instructions |
|---|---|---|---|
| Cotton | Smooth, crisp stitch definition | Structured, crisp petals | Machine wash, air dry |
| Acrylic | Soft, holds shape | Versatile, vibrant color | Machine wash, tumble dry |
| Blends | Combines cotton & synthetic | Unique texture effects | Follow label instructions |
| Wool | Warm, textured appearance | Decorative, tactile style | Hand wash, lay flat to dry |
Step 3: Start Forming the Flower Center
Creating a beautiful crocheted flower begins with mastering the fundamental technique of forming its center. Understanding foundation chain techniques will help you build a solid base for your flower design. Start by creating a slip knot with your selected yarn color, which will serve as the anchor point for your entire flower structure.
To form the flower center, begin with a small foundation chain approximately 4 to 6 stitches long. Then carefully join the chain into a ring by inserting your hook into the first chain and connecting the ends. This circular foundation allows you to work your initial stitches in the round creating a tight and compact center for your flower. Use single crochet or double crochet stitches to fill in the center ring gradually building texture and dimension with each careful stitch.
As you work your center stitches pay attention to maintaining consistent tension. This ensures your flower center looks uniform and professional. Adjust your grip and hook angle as needed to keep your stitches even and neat. The first few rounds are crucial in determining the overall shape and appearance of your crocheted flower.
Pro tip: Use a stitch marker to track the beginning of your rounds and prevent losing your place while working in the circular pattern.
Step 4: Create Petals Using Basic Stitches
Transforming your flower center into a stunning design requires mastering essential crochet stitches that shape beautiful petals. Each petal begins by working from your established center ring, using fundamental techniques that will bring your flower to life.
Start by selecting your preferred basic stitch type single crochet for smaller tighter petals or double crochet for more open and textured designs. Working around your center ring, create petals by increasing stitches strategically to form curved shapes. For instance, a simple five petal flower might involve working 3 to 5 double crochet stitches into each section of your center ring. Alternate between increasing and maintaining consistent stitch counts to create natural looking curves and dimensions that mimic real flower formations.
Pay careful attention to your tension and stitch placement as you form each petal. Consistent spacing and even stitches will ensure your flower looks professional and symmetrical. Experiment with varying stitch heights and combinations to create unique textural effects some petals might feature tighter clusters while others showcase more open and airy designs.
Pro tip: Practice creating petals on scrap yarn first to perfect your technique before working on your final flower design.
Step 5: Finish and Secure Your Crochet Flower
With your beautiful flower petals now complete, the final step is securing and finishing your creation to ensure it maintains its shape and professional appearance. Learning proper yarn finishing techniques will transform your handmade flower from a simple craft project into a polished decorative piece.
To finish your flower, carefully cut your working yarn leaving a tail approximately 6 inches long. Pull the yarn through your last stitch and tighten to create a secure knot. Using a darning needle, weave the loose yarn end through the back of your flower petals several times. This technique not only prevents unraveling but also helps stabilize the flower’s structure and creates a clean back surface perfect for attaching to clothing, accessories, or home decor items.
Take time to adjust and shape your petals after weaving in the ends. Gently manipulate the flower to ensure symmetry and smooth out any irregular stitches. If you plan to use the flower as a decorative element consider blocking it by lightly steaming or pressing to enhance its crisp shape and professional finish.
For quick reference, here is a summary of key steps for finishing and shaping your crochet flower:
| Step | Purpose | Result |
|---|---|---|
| Weave in ends | Secure loose yarn | Stable, tidy flower back |
| Adjust petals | Enhance symmetry | Balanced, neat appearance |
| Block (steam/press) | Set final shape and texture | Professional crisp finish |
Pro tip: Use matching thread color when weaving in ends to create an invisible and seamless finish.
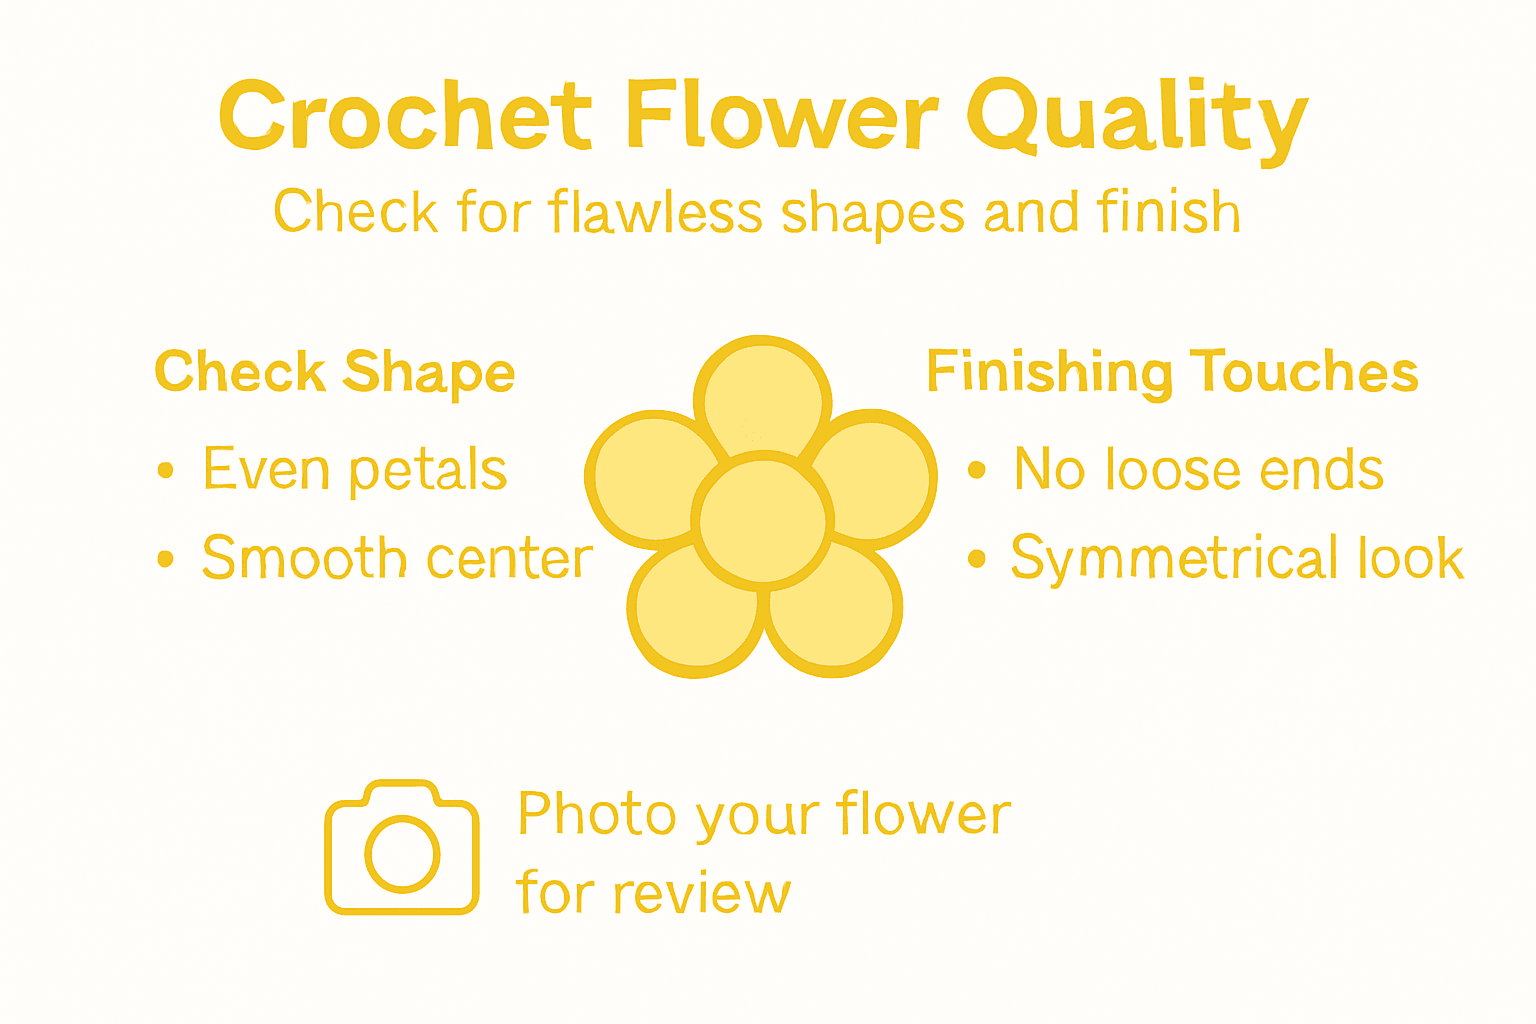
Step 6: Check Your Flower for Quality and Shape
After completing your crochet flower, a thorough final quality assessment ensures your decorative piece meets professional crafting standards. Taking time to carefully examine your work will help you create a polished and visually appealing flower.
Begin by laying your flower flat and examining its overall symmetry. Check that all petals are roughly equal in size and shape, with consistent stitch tension throughout. Look closely at the edges to ensure they are smooth and even without any unexpected curling or irregular formations. Gently stretch and adjust the petals if needed to create a balanced and natural looking design. Pay special attention to the center of the flower where your initial stitches were formed checking that the foundation looks neat and well constructed.
If you notice any minor imperfections consider using light blocking techniques. This can involve steaming the flower gently or pressing it carefully with a warm iron to help smooth out uneven areas and set the final shape. Remember that small variations can actually add character to handmade items creating a unique and charming aesthetic that machine made objects cannot replicate.
Pro tip: Photograph your completed flower against a neutral background to objectively assess its shape and symmetry.
Elevate Your Crochet Flower Creations with Premium Supplies
Struggling to find the perfect yarn and tools to bring your crocheted flowers to life can be frustrating. This article highlights essential crochet stitches, tension control, and finishing techniques that require quality materials to achieve professional looking results. Whether you want crisp petals or vibrant colors, choosing the right yarn makes all the difference. At CRAFTISS, we understand these needs and offer a wide selection of carefully curated Yarn to help you craft stunning flower decorations with ease.
.png)
Don’t let limited supplies hold back your creativity. Explore our premium yarn collection and discover the perfect textures and colors that match your project vision. Plus find convenient storage options with our durable Yarn Bags to keep your crochet essentials organized and accessible. Start crafting beautiful flowers today with confidence by visiting CRAFTISS. Your next masterpiece is just a click away.
Frequently Asked Questions
What supplies do I need to crochet flowers easily?
You will need several essential supplies, including crochet hooks in various sizes, lightweight yarn in your desired colors, sharp scissors, stitch markers, and a darning needle. Organize these in a crafting container to keep everything accessible before you start your flower project.
How do I choose the right yarn and hook for my flower project?
Select medium weight yarn (number 4) along with a G hook (4 mm) for most flower designs. Make sure to match the yarn thickness to your hook size to ensure consistent tension and even stitches in your flower.
What steps should I follow to create the flower center?
Begin by creating a slip knot with your selected yarn and then chain about 4 to 6 stitches to form a ring. Work single or double crochet stitches into the ring to build a compact center, ensuring consistent tension throughout.
How can I create petals for my crocheted flower?
To create petals, start from your center ring and use either single crochet or double crochet stitches to form the shapes. Increase stitches strategically to create natural-looking curves, ensuring consistent spacing and even stitches for a professional appearance.
What should I do to finish and secure my crocheted flower?
Cut your working yarn and pull it through the last stitch to create a knot, then weave in any loose ends with a darning needle. This will stabilize your flower’s structure and give it a polished finish suitable for decorations.
How can I check the quality and shape of my finished flower?
Lay your flower flat and evaluate its symmetry, checking that all petals are roughly equal in size and shape. Adjust and gently shape the petals as needed, and consider using light blocking techniques to smooth out any imperfections.
Recommended
- 7 Inspiring Crochet Home Decor Ideas for Creative Crafters – CRAFTISS
- Complete Crochet Home Decor Guide for Cozy Spaces – CRAFTISS
- 7 Crochet Gift Ideas Every Yarn Lover Can Make Easily – CRAFTISS
- How to crochet with yarn: your ultimate beginner’s guide to mastering – CRAFTISS


