

Crochet Blanket Tutorial for Beginners: Step-by-Step Success
Choosing yarn for a crochet blanket can feel confusing when faced with shelves packed full of soft fibers and bold colors. For beginner blanket makers across the United States, understanding which materials and tools suit each project helps build confidence and spark new creative ideas. This guide covers how to select the perfect yarn and basic toolkit, master fundamental stitches, and work through every step from foundation to finishing, so you can create warm and beautiful blankets with ease.
Table of Contents
- Step 1: Choose the Perfect Yarn and Tools
- Step 2: Learn Basic Blanket Crochet Stitches
- Step 3: Start Crocheting the Blanket Foundation
- Step 4: Build the Blanket Row by Row
- Step 5: Finish and Check Your Crochet Blanket
Quick Summary
| Key Point | Explanation |
|---|---|
| 1. Choose the Right Yarn Type | Select yarn based on purpose: warmer yarns for winter throws, softer options for baby blankets. |
| 2. Master Basic Crochet Stitches | Start with chain, single, and double crochet stitches to build your skills for creating blankets. |
| 3. Keep Tension Consistent | Maintain even tension throughout the project to ensure your blanket fabric is flat and professional looking. |
| 4. Use Stitch Markers | Track the beginning and end of rows with markers to maintain consistent stitch counts and patterns. |
| 5. Finish with Care and Detail | Weaver ends securely and consider blocking to improve the blanket’s final appearance and durability. |
Step 1: Choose the Perfect Yarn and Tools
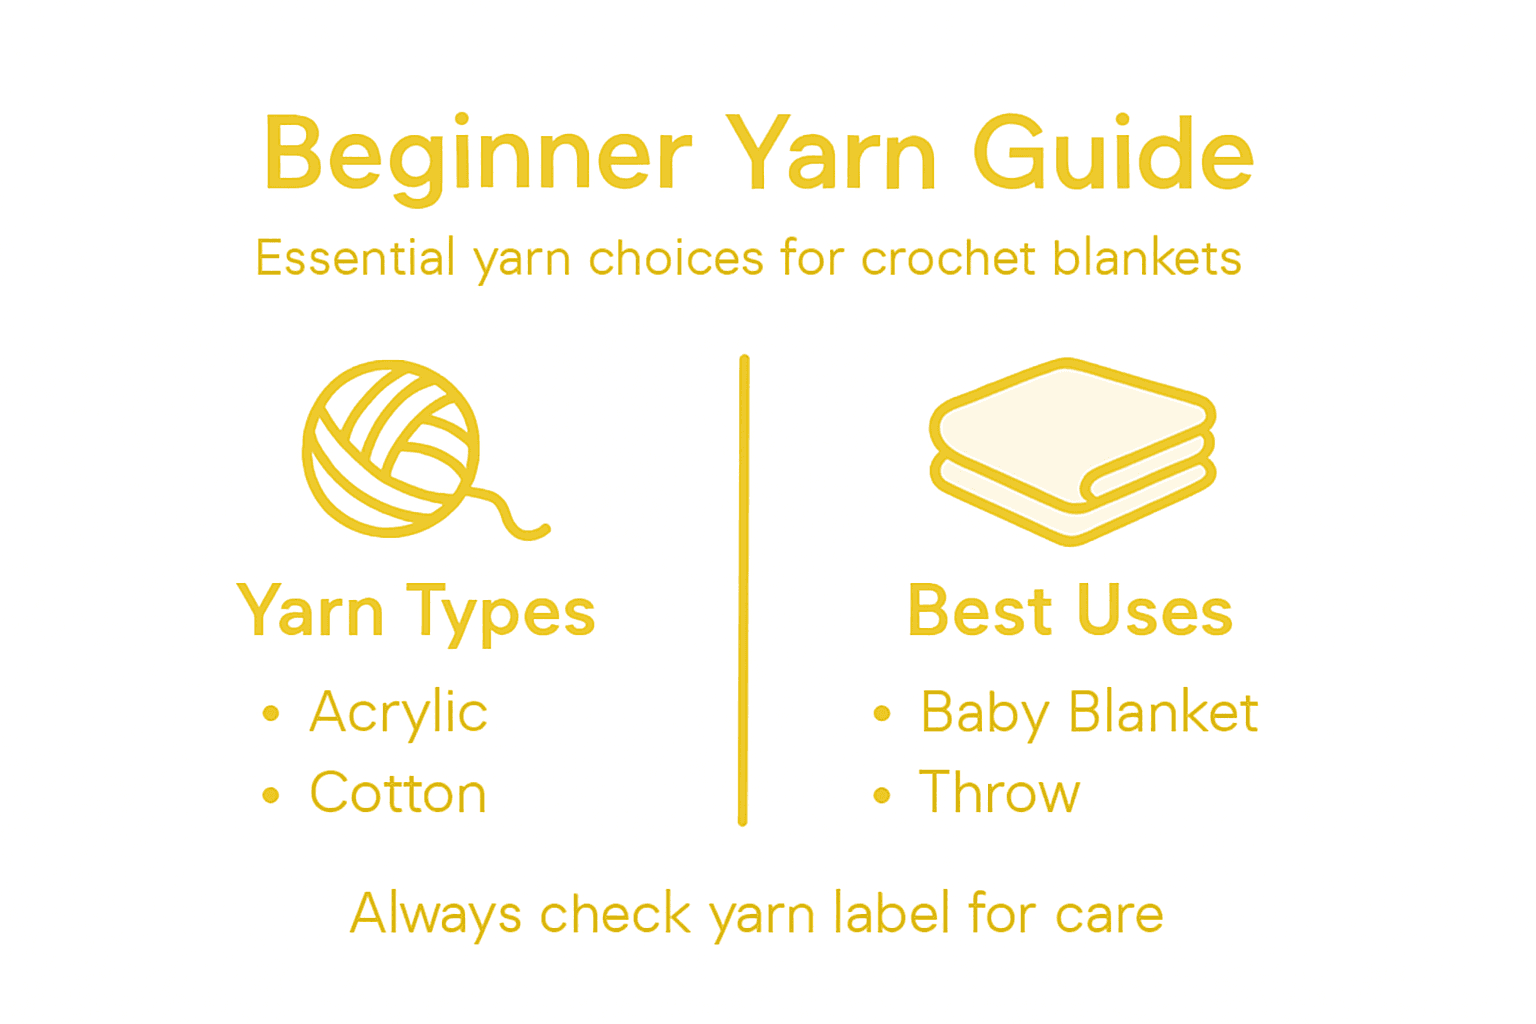
Crochet blanket projects begin with selecting the right yarn and tools. Your success depends on understanding how different materials impact your final creation. When choosing yarn for crochet projects, consider weight, fiber content, and texture to match your blanket goals.
Worsted weight yarn offers an excellent starting point for beginners. This medium weight provides versatility and works well for most blanket styles. Look for soft acrylic or wool blends that provide warmth and durability. Your basic toolkit should include medium sized crochet hooks (sizes G through I), sharp scissors, a yarn needle for weaving ends, and stitch markers to track your progress.
Consider your blanket’s intended use when selecting yarn. Baby blankets require softer fibers like merino wool or cotton blends, while winter throws benefit from thicker wool or alpaca yarns that provide extra insulation. Always check yarn labels for recommended hook sizes and care instructions to ensure your project turns out beautifully.
Here’s a comparison of popular yarn types for different blanket purposes:
| Yarn Type | Best For | Benefits | Care Requirements |
|---|---|---|---|
| Acrylic Blend | Everyday throws | Durable, affordable | Machine washable |
| Merino Wool | Baby blankets | Very soft, hypoallergenic | Gentle wash recommended |
| Cotton Blend | Summer blankets | Breathable, lightweight | Machine or hand wash |
| Alpaca | Winter throws | Extra warm, soft texture | Air dry preferred |
Pro tip: Purchase an extra skein of yarn beyond your estimated project requirements to account for tension variations and potential mistakes.
Step 2: Learn Basic Blanket Crochet Stitches
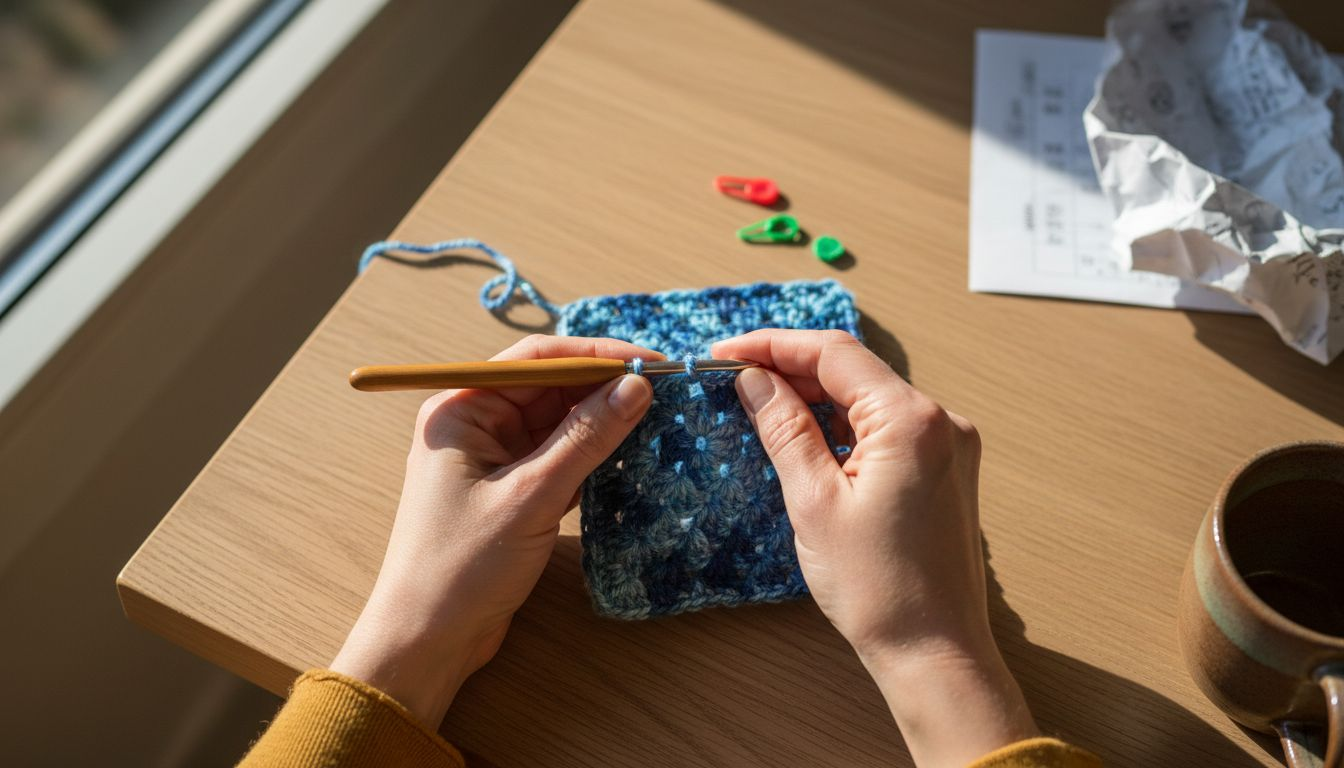
Creating a beautiful crochet blanket starts with mastering fundamental stitches that form the foundation of your project. Essential crochet stitches provide the building blocks for crafting warm and intricate blankets that showcase your growing skills.
Begin with the basic chain stitch as your starting point. This simple yet critical technique creates the initial row for most blanket patterns. Next, learn the single crochet stitch by inserting your hook into a stitch, pulling yarn through, and completing the stitch with two loops on your hook. The double crochet stitch offers more height and creates a looser fabric perfect for blankets. Practice these stitches by creating small swatches to understand tension and yarn movement.
The classic granny stitch technique provides an excellent method for beginners to create textured blanket squares. This versatile stitch involves creating clusters of double crochet stitches that can be joined together to form larger blanket designs. Start by chaining three stitches, then work two double crochet stitches into the first chain to create your initial cluster.
This summary outlines foundational crochet stitches for blankets:
| Stitch Name | Description | Typical Use |
|---|---|---|
| Chain Stitch | Basic starting foundation | Initial row setup |
| Single Crochet | Short, dense stitch | Tight or textured fabric |
| Double Crochet | Taller, looser stitch | Soft, airy blankets |
| Granny Stitch | Clustered double crochets | Patchwork, classic style |
Pro tip: Practice your stitches on scrap yarn before starting your actual blanket project to build muscle memory and confidence.
Step 3: Start Crocheting the Blanket Foundation
Learning to build a solid foundation is crucial for creating a beautiful crochet blanket. Foundational crochet techniques provide the critical first steps that will determine the overall success and stability of your project.
Begin by creating a slip knot on your crochet hook. Hold the yarn between your thumb and index finger, creating a loop. Insert the hook through the loop, then pull the working yarn through to create a secure starting point. Next, work your foundation chain by yarning over and pulling through the loop on your hook. Maintain consistent tension to ensure your chain remains even and flat. Aim to create a chain that matches the width of your desired blanket design.
As you progress, learn the initial granny stitch rows to establish your blanket’s base structure. After completing your foundation chain, turn your work and begin adding your first row of stitches. For a traditional granny square blanket, start by creating clusters of double crochet stitches. Work three double crochet stitches into the fourth chain from your hook to create your first cluster.
Pro tip: Count your stitches frequently to maintain an even edge and prevent accidental increases or decreases in your blanket width.
Step 4: Build the Blanket Row by Row
Crocheting a blanket requires mastering the art of building consistent rows that create a uniform and professional looking fabric. Progressive row construction techniques will help you transform your initial foundation into a complete blanket.
After completing your first row, you will need to turn your work and prepare for the next row. Insert your hook into the second stitch from the hook to begin your return row. When working granny square patterns, remember to chain three stitches before turning to maintain the correct height. Maintain consistent tension throughout each row to ensure your blanket remains flat and even. Pay close attention to your stitch count and keep track of how many stitches you complete in each row to prevent accidental increases or decreases.
Granny stitch row techniques provide an excellent method for creating textured and interesting blanket patterns. As you add each row, work your clusters of double crochet stitches into the spaces between previous row clusters. This approach allows you to create a flexible and expandable blanket design that grows smoothly with each additional row.
Pro tip: Use stitch markers to track the beginning and end of each row to help maintain your pattern consistency and stitch count.
Step 5: Finish and Check Your Crochet Blanket
After completing your blanket, the final steps are crucial for creating a professional and polished result. Crochet finishing techniques will help you transform your handmade project into a beautiful and durable blanket.
First, carefully examine your blanket for any inconsistencies in tension or stitch size. Gently stretch the blanket to check for evenness and identify any areas that might need adjustment. Weave in all loose yarn ends securely by threading them through nearby stitches using a yarn needle. Work carefully to ensure the ends are hidden and will not unravel over time.
If your blanket seems slightly misshapen, consider blocking it to achieve a more professional finish. Blanket finishing guidelines recommend laying the blanket flat on a clean surface, misting it lightly with water, and gently reshaping it to the desired dimensions. Allow the blanket to dry completely, which will help set the stitches and create a smooth, even appearance.
Pro tip: Use sharp scissors when trimming yarn ends to prevent fraying and ensure a clean, neat finish.
Start Your Crochet Blanket Journey with Confidence
Crocheting a blanket can feel overwhelming when choosing the right yarn and mastering foundational stitches like the granny stitch. Many beginners struggle with maintaining consistent tension and completing even rows while ensuring their blanket turns out soft, durable, and beautifully finished. If you want to avoid frustration and enjoy every stitch of your project, having the right materials at your fingertips is essential.
Explore our premium selection of Yarn – CRAFTISS designed to support your crochet goals. Whether you need soft acrylic blends for everyday throws or cozy wool blends for warm winter blankets, our collection helps you craft with ease and precision.
.png)
Don’t wait to transform your creative vision into a stunning crochet blanket. Visit CRAFTISS now and elevate your craft with quality yarn and handy tools. Start stitching your masterpiece today and experience the joy of handmade warmth.
Frequently Asked Questions
What type of yarn should I use for a beginner crochet blanket?
Choose a worsted weight yarn for your first project. Look for a soft acrylic or wool blend that balances warmth and durability, and aim to select yarn that is easy to work with and forgiving of mistakes.
How do I start my first crochet blanket?
Begin by creating a slip knot on your crochet hook, then work a foundation chain that matches the desired width of your blanket. After establishing your chain, follow up with your chosen basic stitches, like single or double crochet, to build the initial rows.
How can I maintain even tension while crocheting?
To maintain even tension, hold your yarn consistently and practice slowly at first. Aim to keep the same amount of yarn between your fingers while crocheting to create uniform stitches.
What should I do if my blanket looks misshapen after finishing?
Inspect your blanket for any inconsistencies and gently stretch it to check for evenness. Consider blocking your finished project by misting it lightly with water and reshaping it to achieve a tidy, polished look.
How do I weave in loose yarn ends properly?
Use a yarn needle to thread loose ends through nearby stitches, ensuring they are secured and hidden. Work the ends through several stitches to prevent unraveling and create a clean finish for your crochet blanket.
How can I practice crochet stitches before starting my blanket?
Practice basic crochet stitches on scrap yarn to build muscle memory and confidence. Create small swatches using chain stitches, single crochet, and double crochet to familiarize yourself with the movements before starting your main project.
Recommended
- How to crochet with yarn: your ultimate beginner’s guide to mastering – CRAFTISS
- 8 Essential Beginner Crochet Tips for Success – CRAFTISS
- 7 Inspiring Crochet Blanket Ideas for Every Skill Level – CRAFTISS
- How to Start a Crochet Project for Beginners: Easy Steps – CRAFTISS


